How to monitor the incoming Source-Connect Signal in Nuendo/Cubase
This article is a tutorial on how to monitor the incoming Source-Connect signal in Nuendo/CubaseYou have the Talent in your studio and need to get their live performance out to another Source–Connect equipped studio. In this tutorial you only monitor the incoming signal (usually their talkback), not record it. The Talent can be recorded in your studio as well as at the other end. If you want to record the incoming signal, see the Part 2 article.
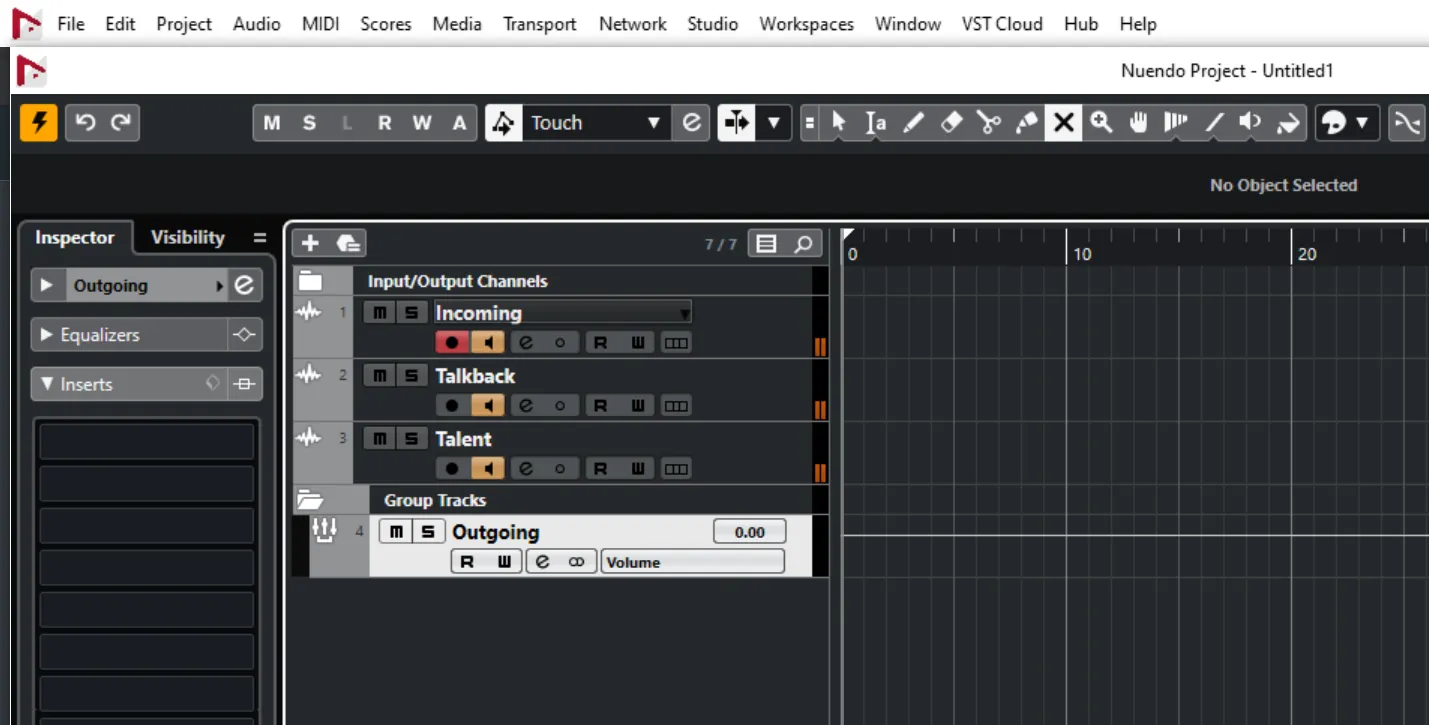
- Create a new project.
- Click on Project > Add Track > Audio.
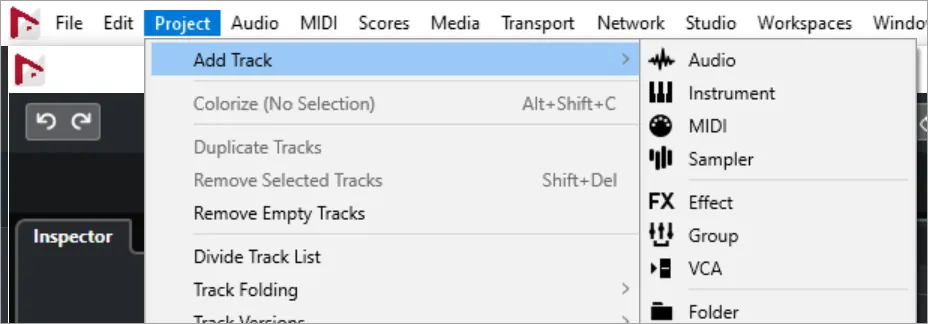
- Add 3 Mono tracks.
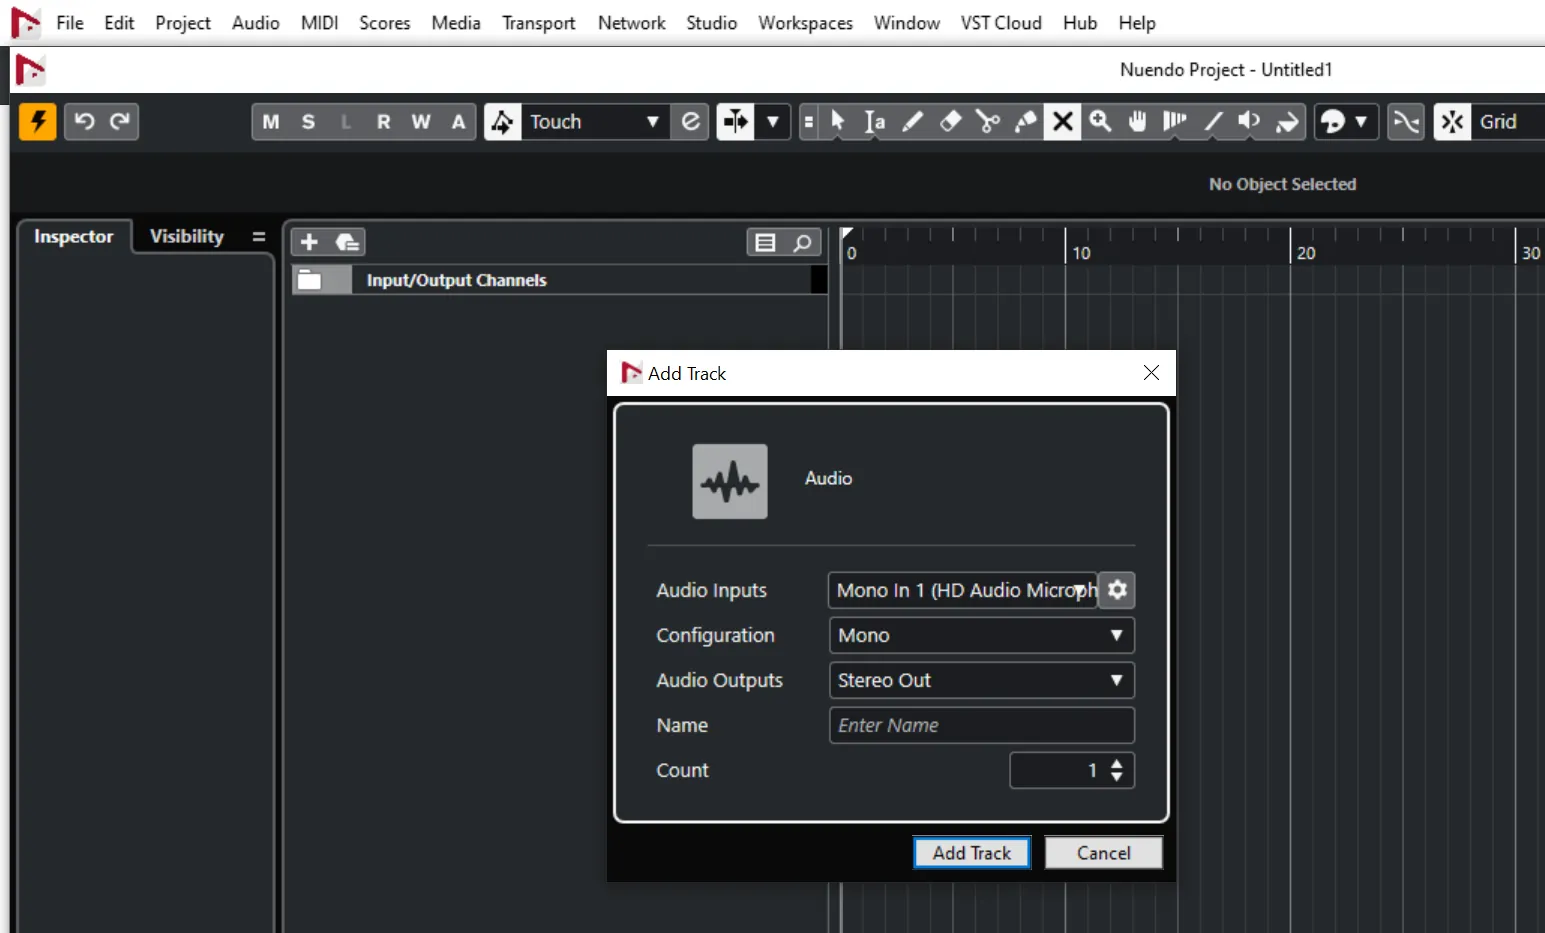
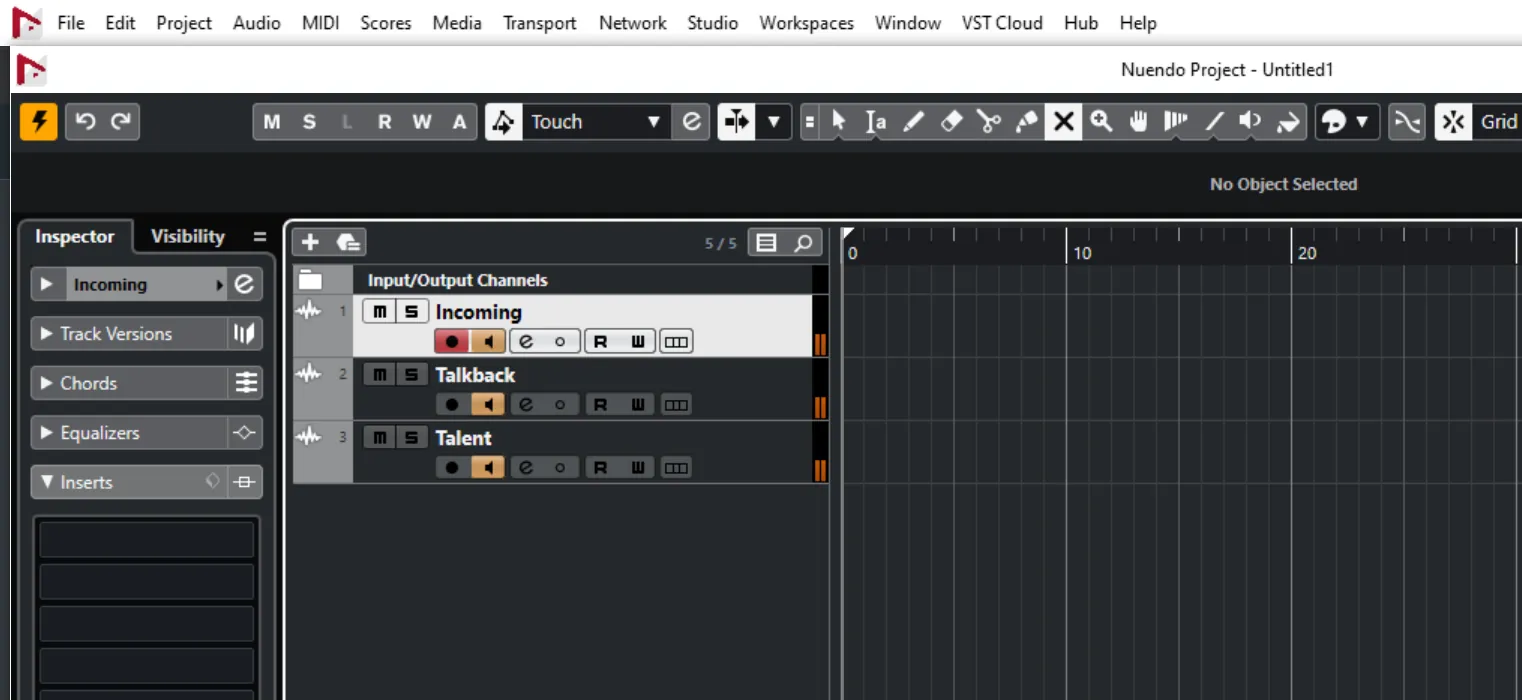
- Name them Incoming, Talkback and Talent. Enable monitoring on all three tracks (make sure you haven't
selected Tapemachine Style in the VST preferences page, it should be set to Manual) and Record Enable
the Incoming track.
- Now add a stereo Group Channel Track (Project > Add Track > Group).
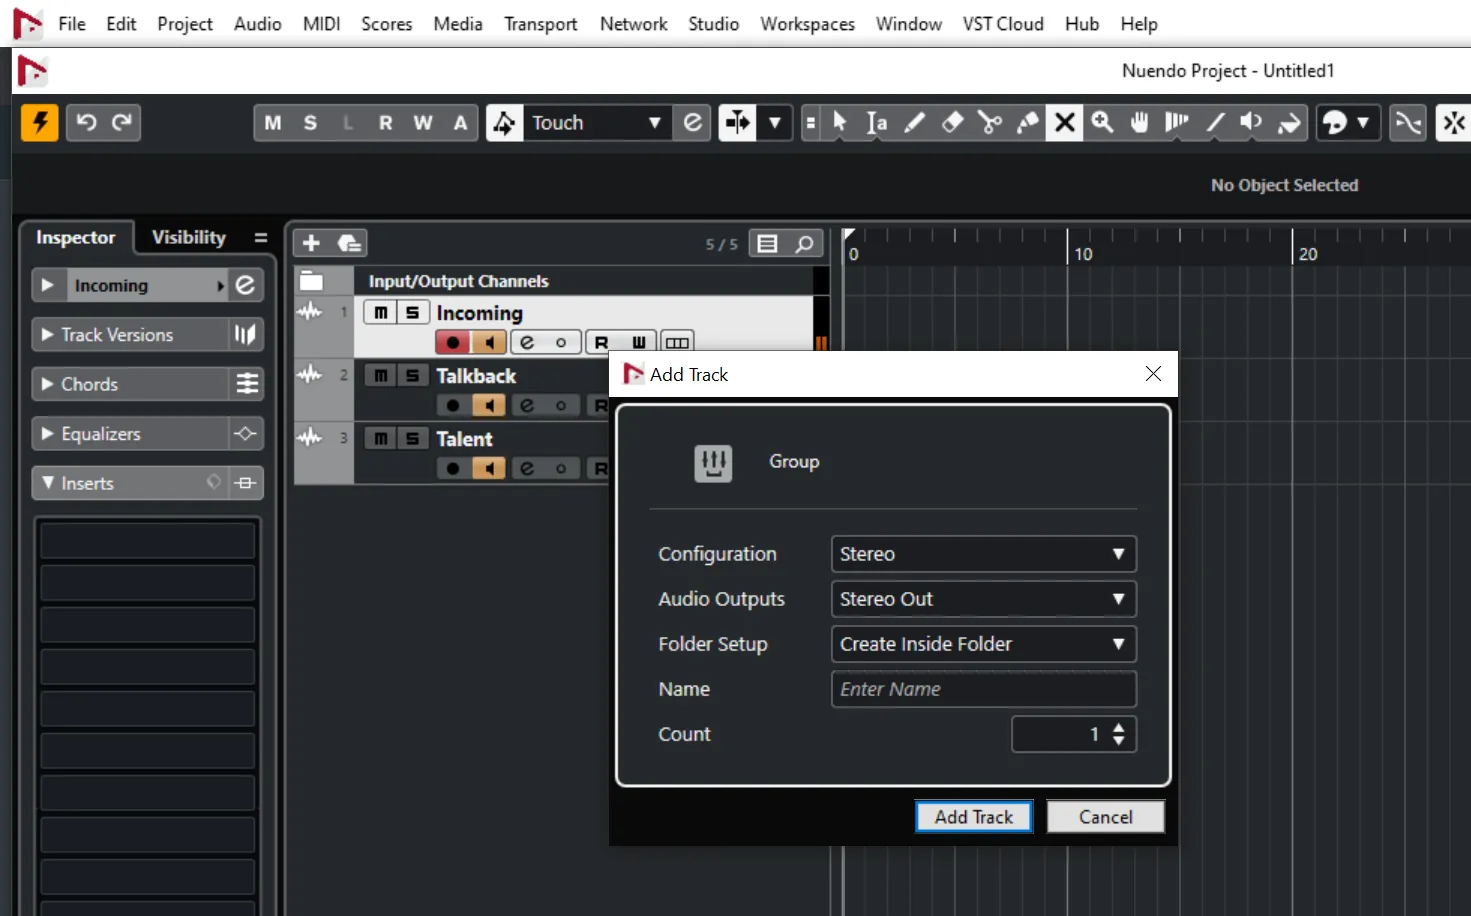
- Name it Outgoing.
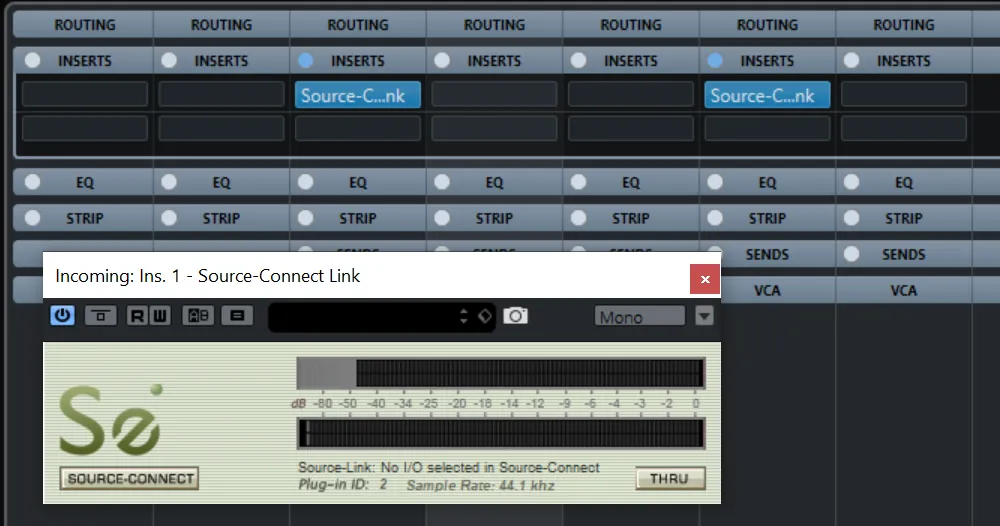
- In the mixer window (F3) select the Inserts view.
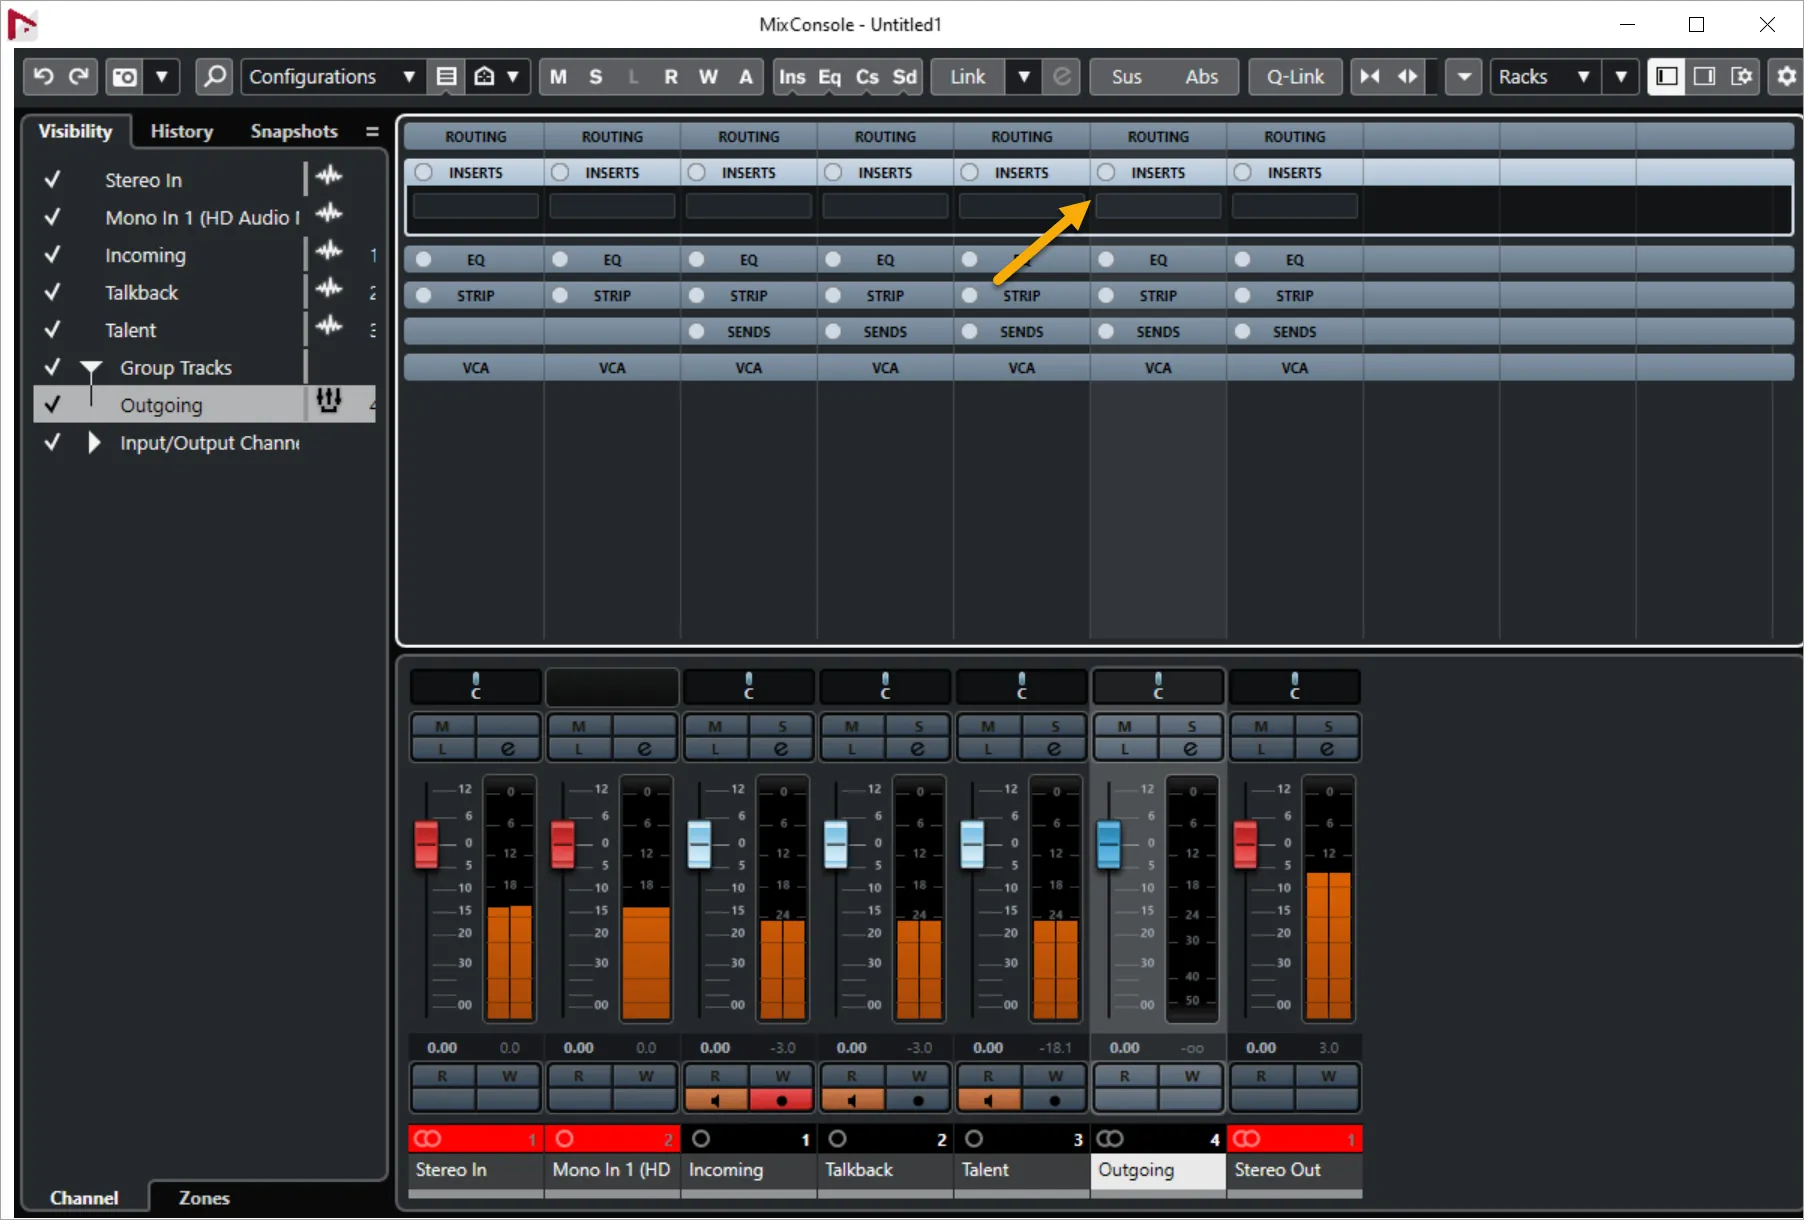
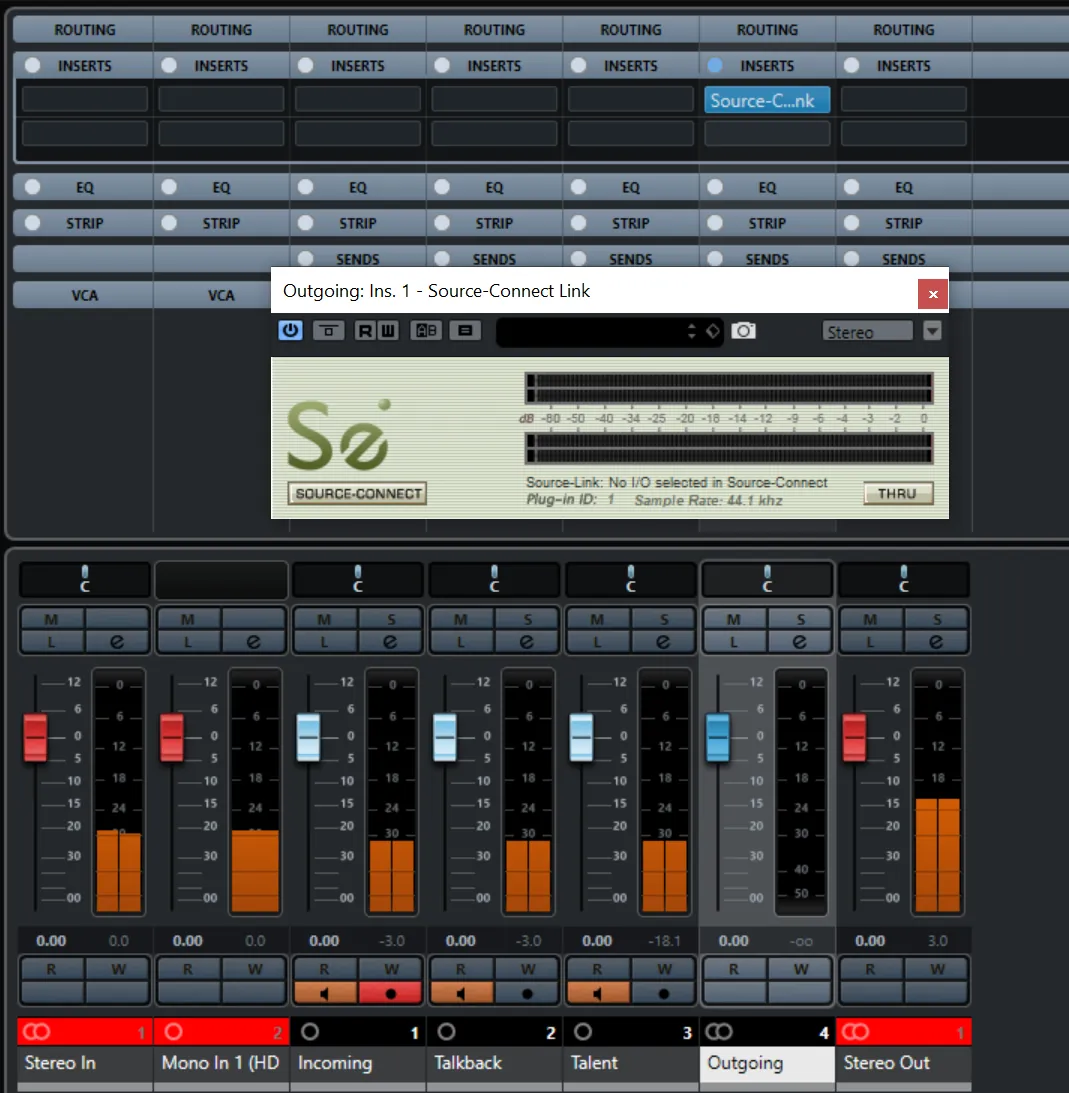
- Insert the Source–Connect plugin on the Outgoing group channel.
Note: if you don't see the plugin in Nuendo, go to Studio > VST Plug-in Manager. In the "VST Effects", drag and drop "Source-Connect Link" to one of the "Default" folders on the right side.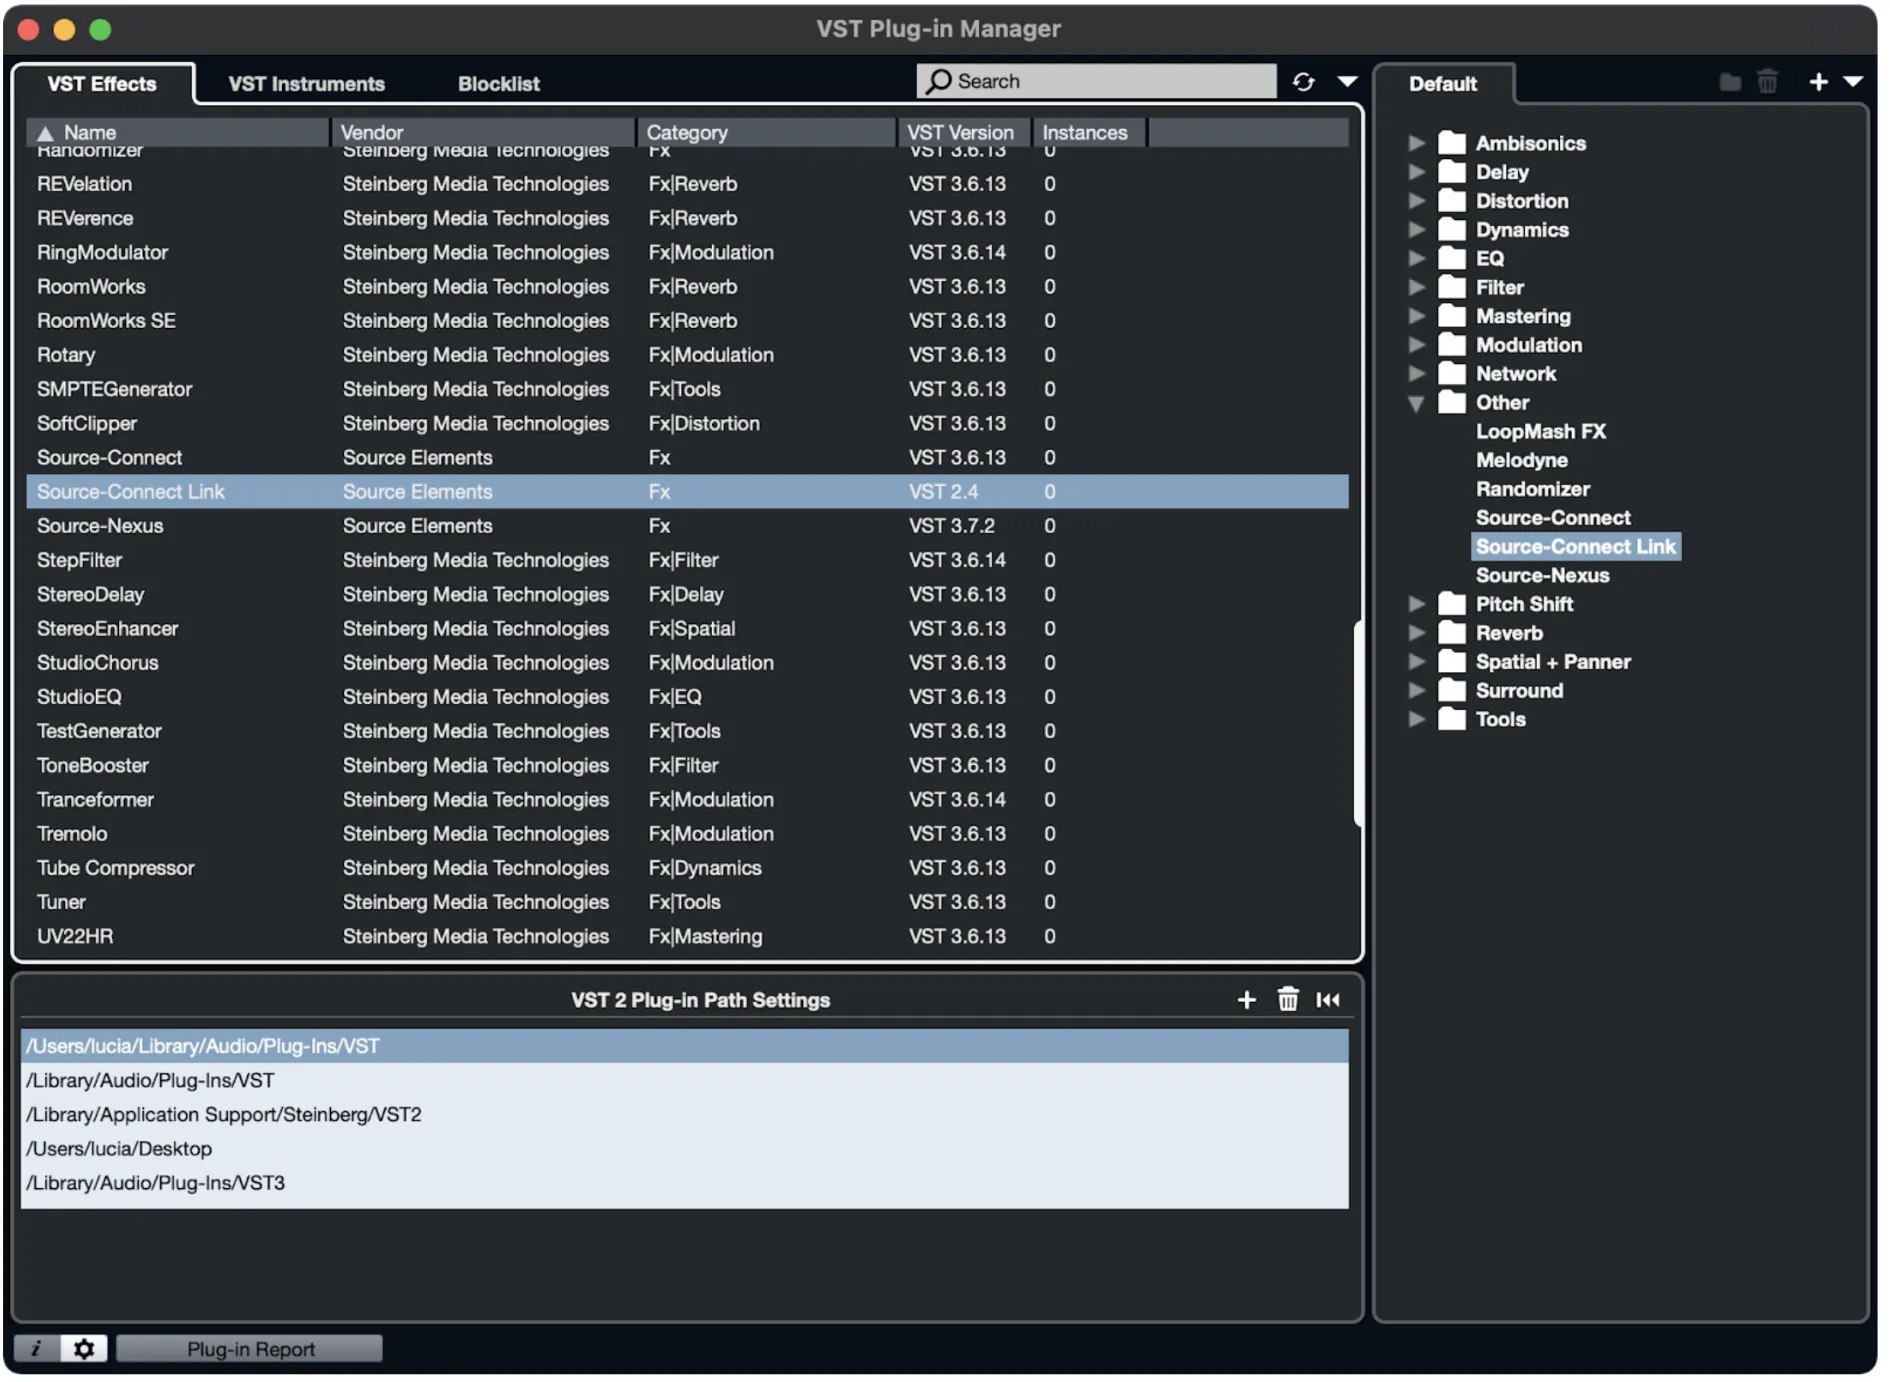
- Now insert a Source-Connect plugin into the channel marked Incoming.
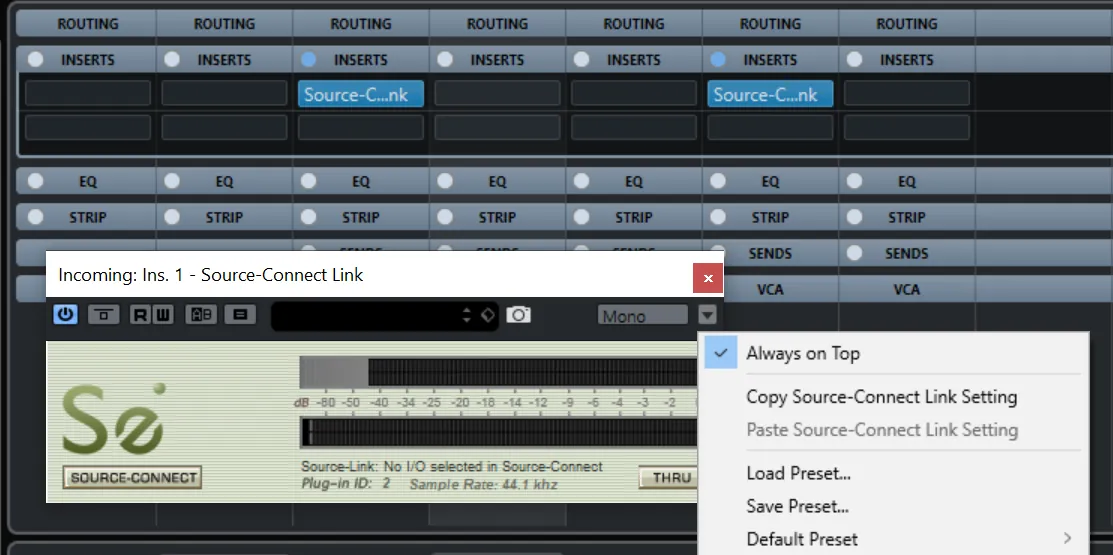
- Depending on how much display real estate you have (or rather how little) it may also be useful to
assign both Source-Connect plugins to be 'Always On Top'.
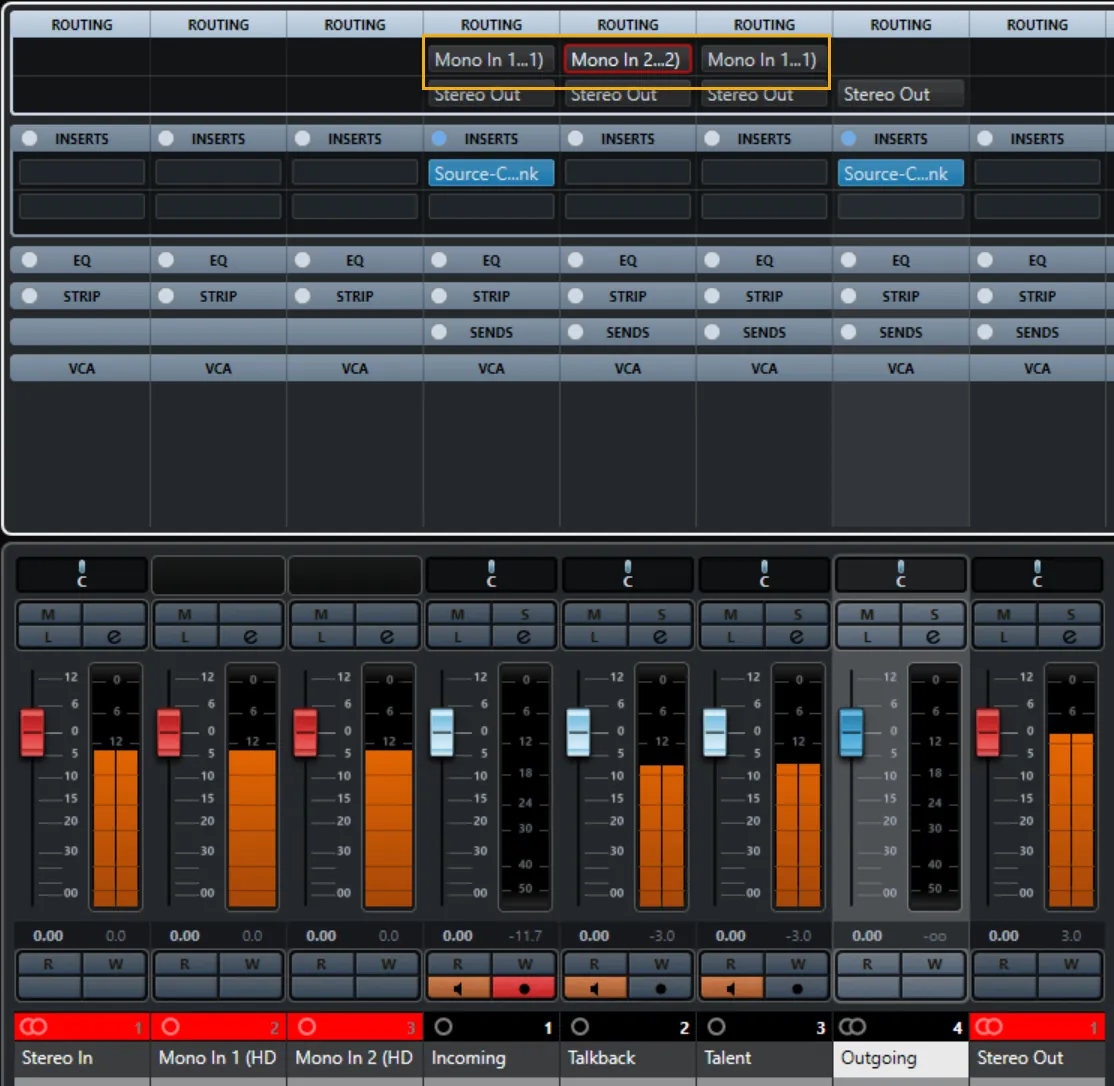
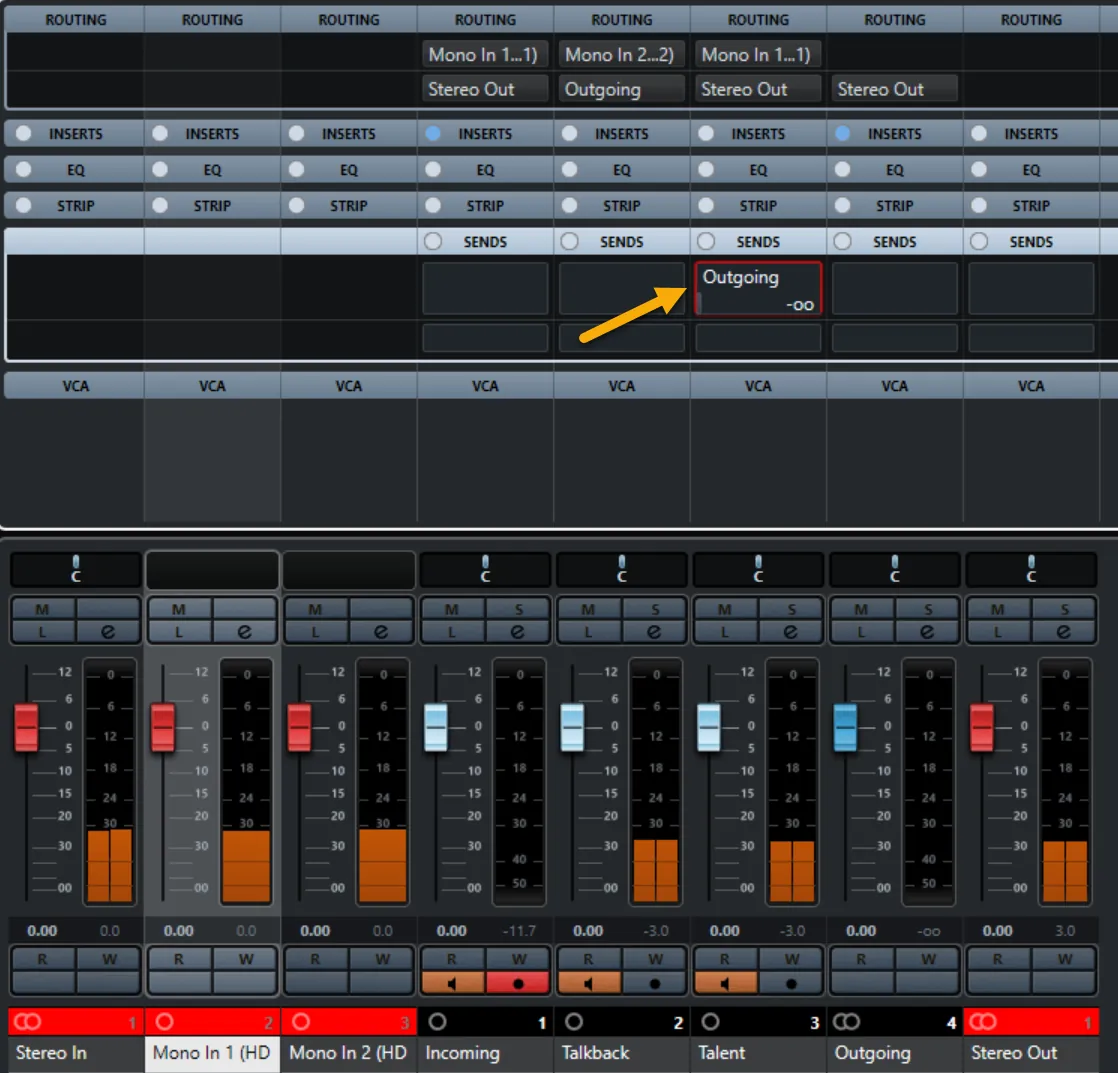
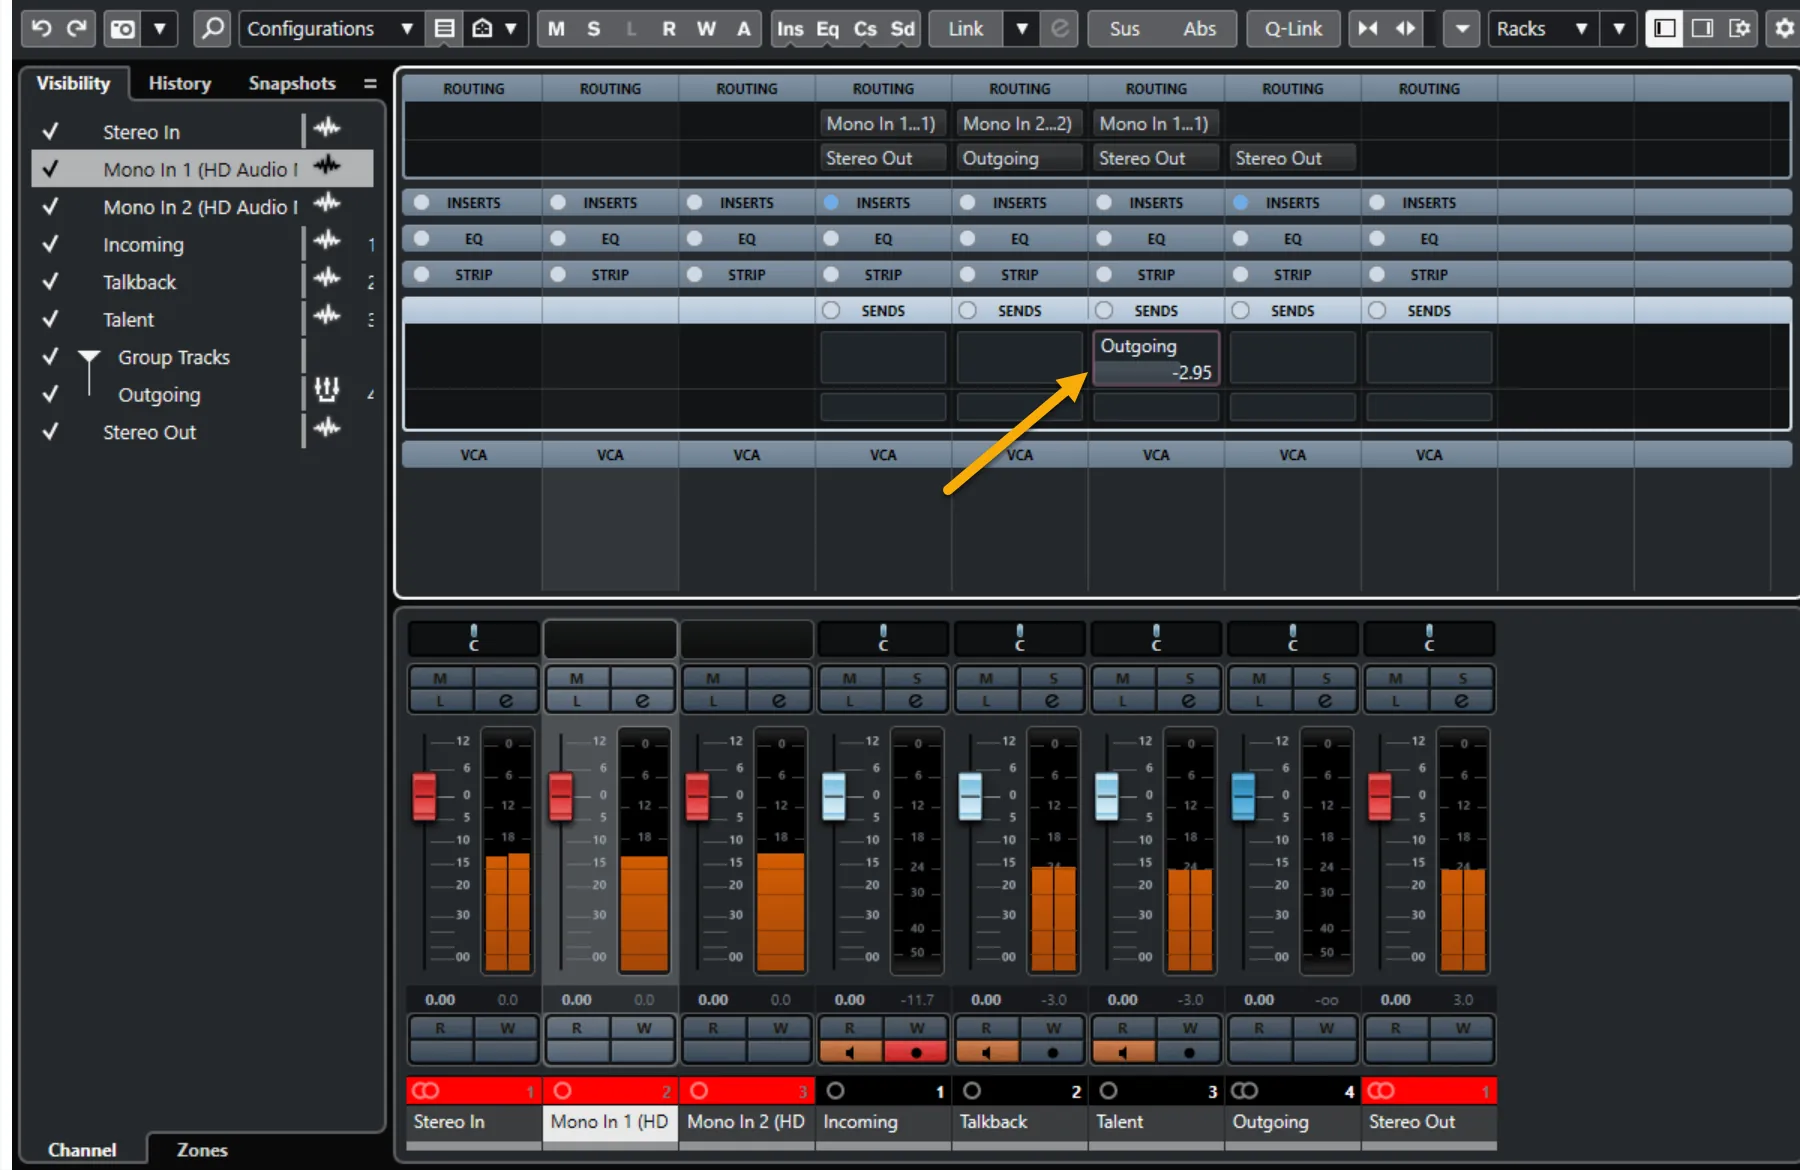
- In the mixer window set each channel's input accordingly. In the picture below the Talent channel is
fed by Mono In 1 and the Talkback channel is fed by Mono In 2. Note that the Incoming channel and the
Talent channel are both set to the same source (Mono In 1). This isn't an issue because the Incoming
channel derives its signal only from the Source–Receive plugin. NB your input sources will be named
according to the VST Connections window (F4).
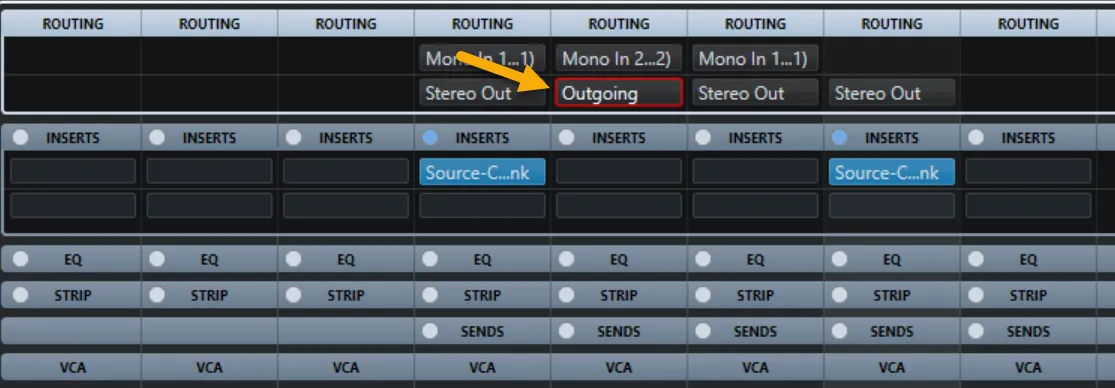
- Next route the output of the Talkback channel to the Outgoing group channel. This ensures that it goes
nowhere else, avoiding feedback loops.
- On the Talent channel, open "SENDS" and select Groups - Outgoing.
- Now switch it on and drag the send fader to around 3/4 of its travel. This tiny fader controls the
amount of signal you are sending to the receiving facility. You may find it useful to make this send
pre–fade.
- If you need to send an additional channel (music/sfx, etc) out to the other studio simply repeat steps 14 & 15 for that channel.
- Login to your account via the Source–Connect plugin and connect to your Contact.
Related Topics
Table of Contents