Installing and Uninstalling Source-Nexus I/O
This article is part of the Source-Nexus I/O User GuideSource-Nexus I/O can be purchased in the Source Elements store by following this link.
Installing Source-Nexus I/O on Mac
After purchasing your license, go to your account dashboard, and access the Downloads section. Then, select "Source-Nexus Suite".

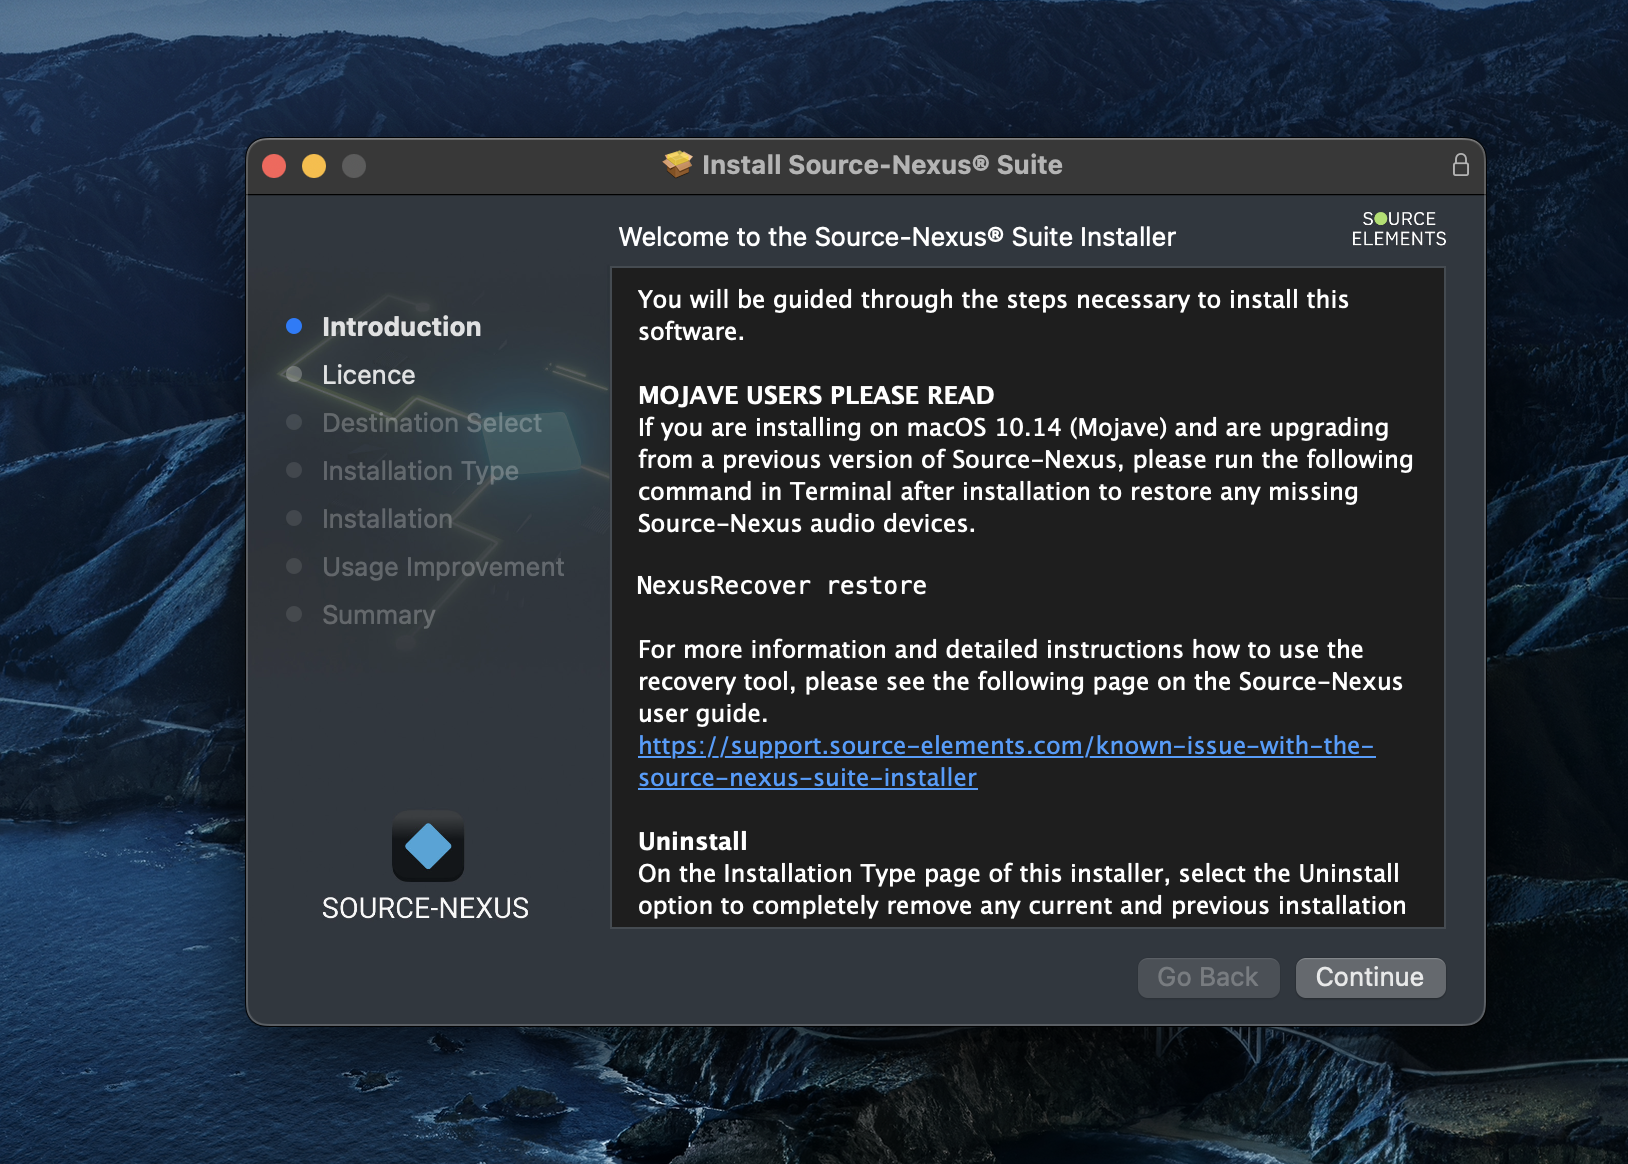
Once ready, select the Mac version and download the product. After downloading the application, double-click the DMG executable file.

You can choose which plug-in to install (AAX, Audio Unit or VST3) by clicking the “Customize” button and checking or unchecking the box next to the plug-in. Source-Nexus Control Panel will be automatically installed.
IMPORTANT: if you are upgrading from Source-Nexus I/O 1.2, use the "Upgrade from previous version" in order to avoid removing any devices.
Then, click “Install” to complete the installation. You will be prompted to enter your administrator password during the “Installation” step.
Installing Source-Nexus I/O on Windows
Source-Nexus I/O for Windows requires the iLok License Manager to be installed (version 5.4 or above)After purchasing your license, go to your account dashboard, and access the Downloads section. Then, select "Source-Nexus" and download the Windows version for “Source-Nexus Suite”. Once you have the executable file, run it.
Select the features and number of devices you want to install; by default, there will be 2.

Your application will then be installed successfully.

You can check whether or not the application was successfully installed by checking your Sound Settings. The devices you installed will be listed in the output/input dropdowns.
How to Uninstall Source-Nexus I/O on Mac
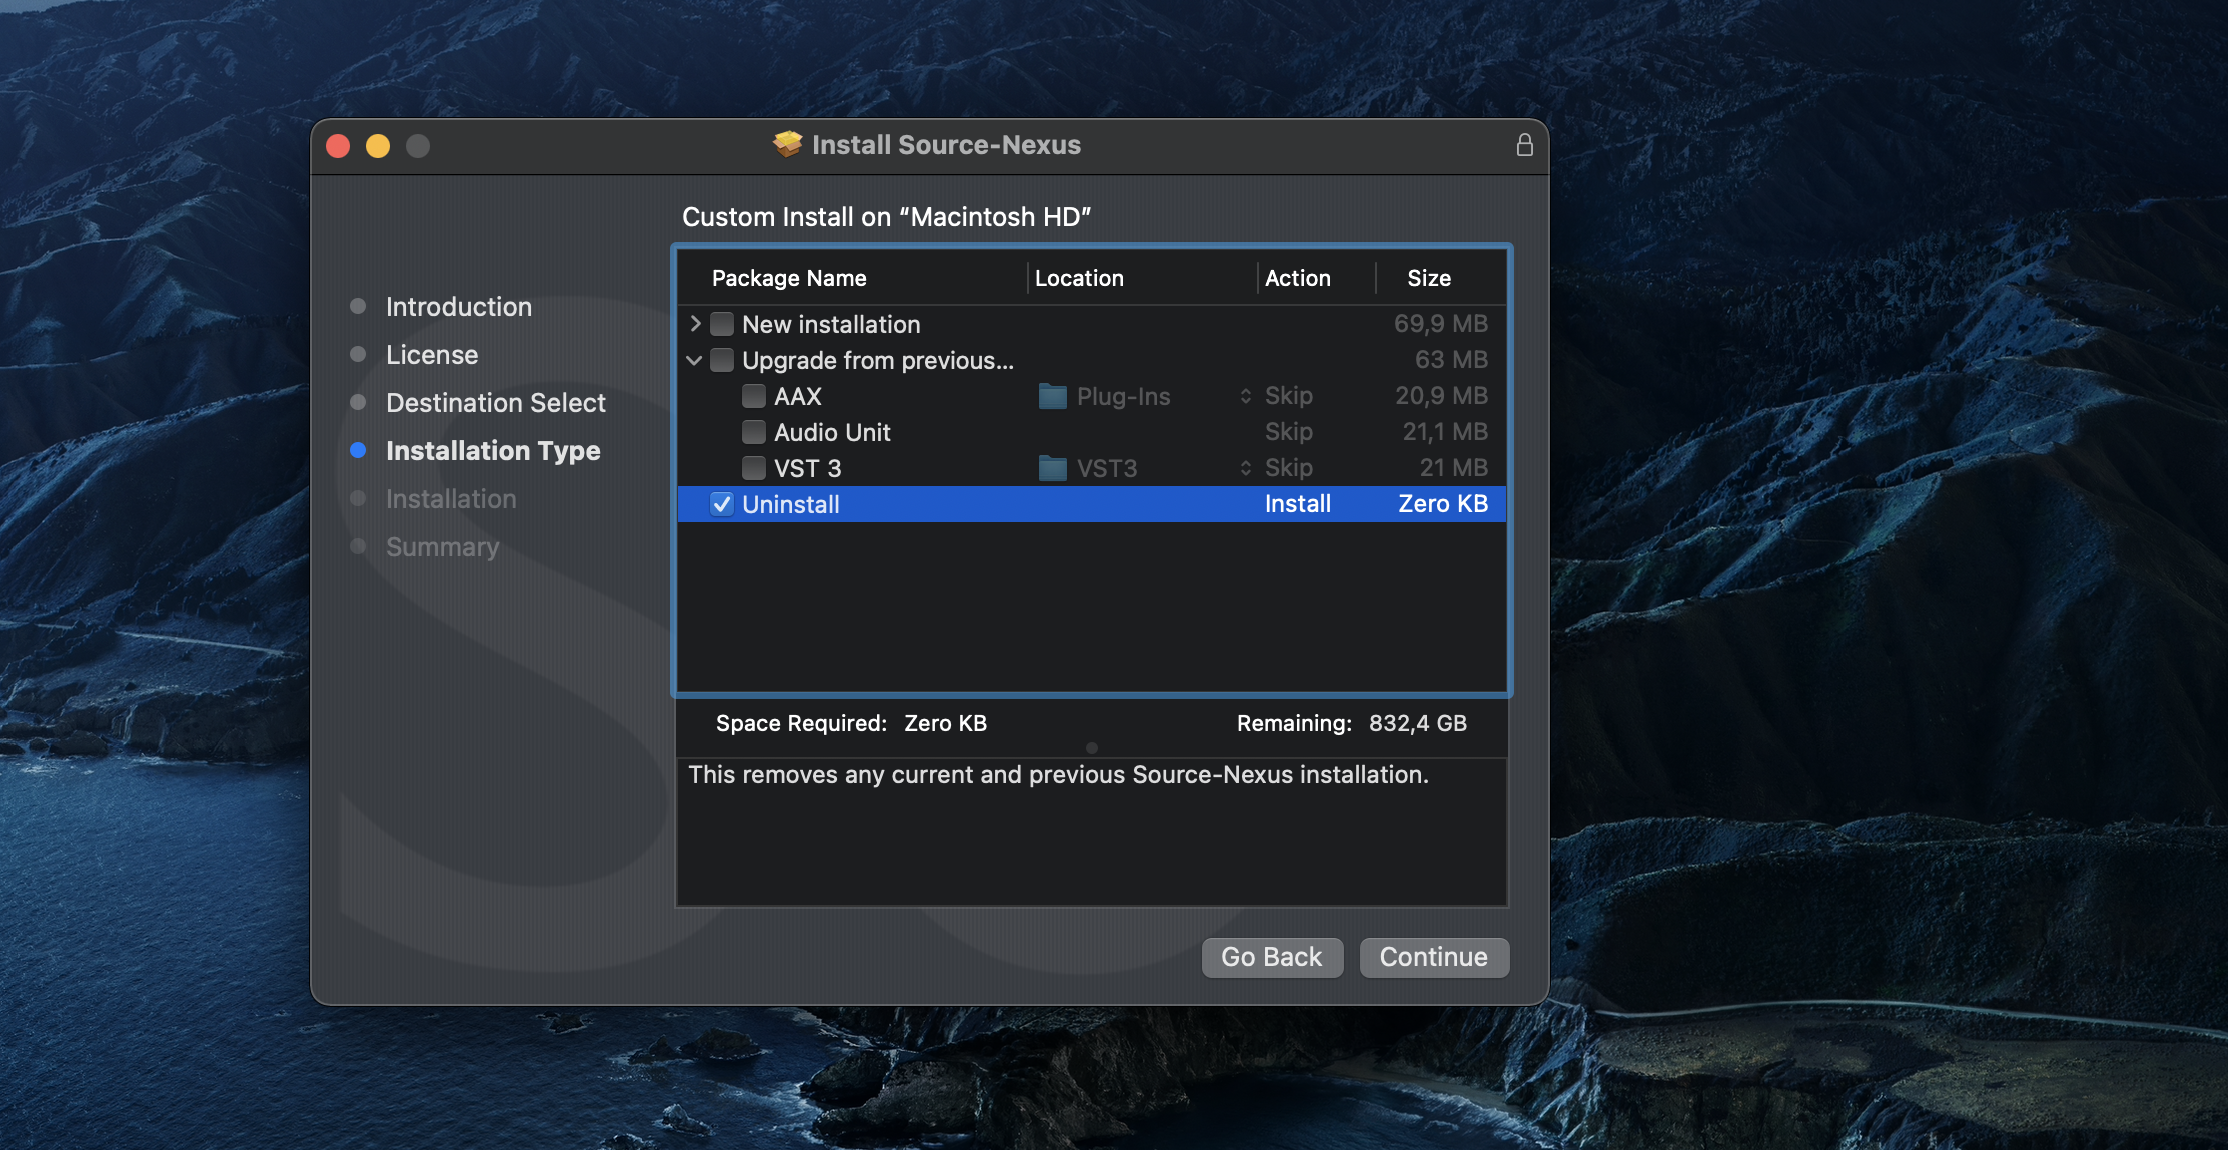
To uninstall Source-Nexus I/O, open the DMG executable file and navigate to the “Installation Type” step. Then, click “Customize” and check the “Uninstall” option.
This option removes any current and previous Source-Nexus I/O installation from your computer. Click “Install” and complete the uninstall steps.
How to Uninstall Source-Nexus I/O on Windows
In order to uninstall Source-Nexus I/O from Windows:
- Click the Start button and type in "Control Panel".
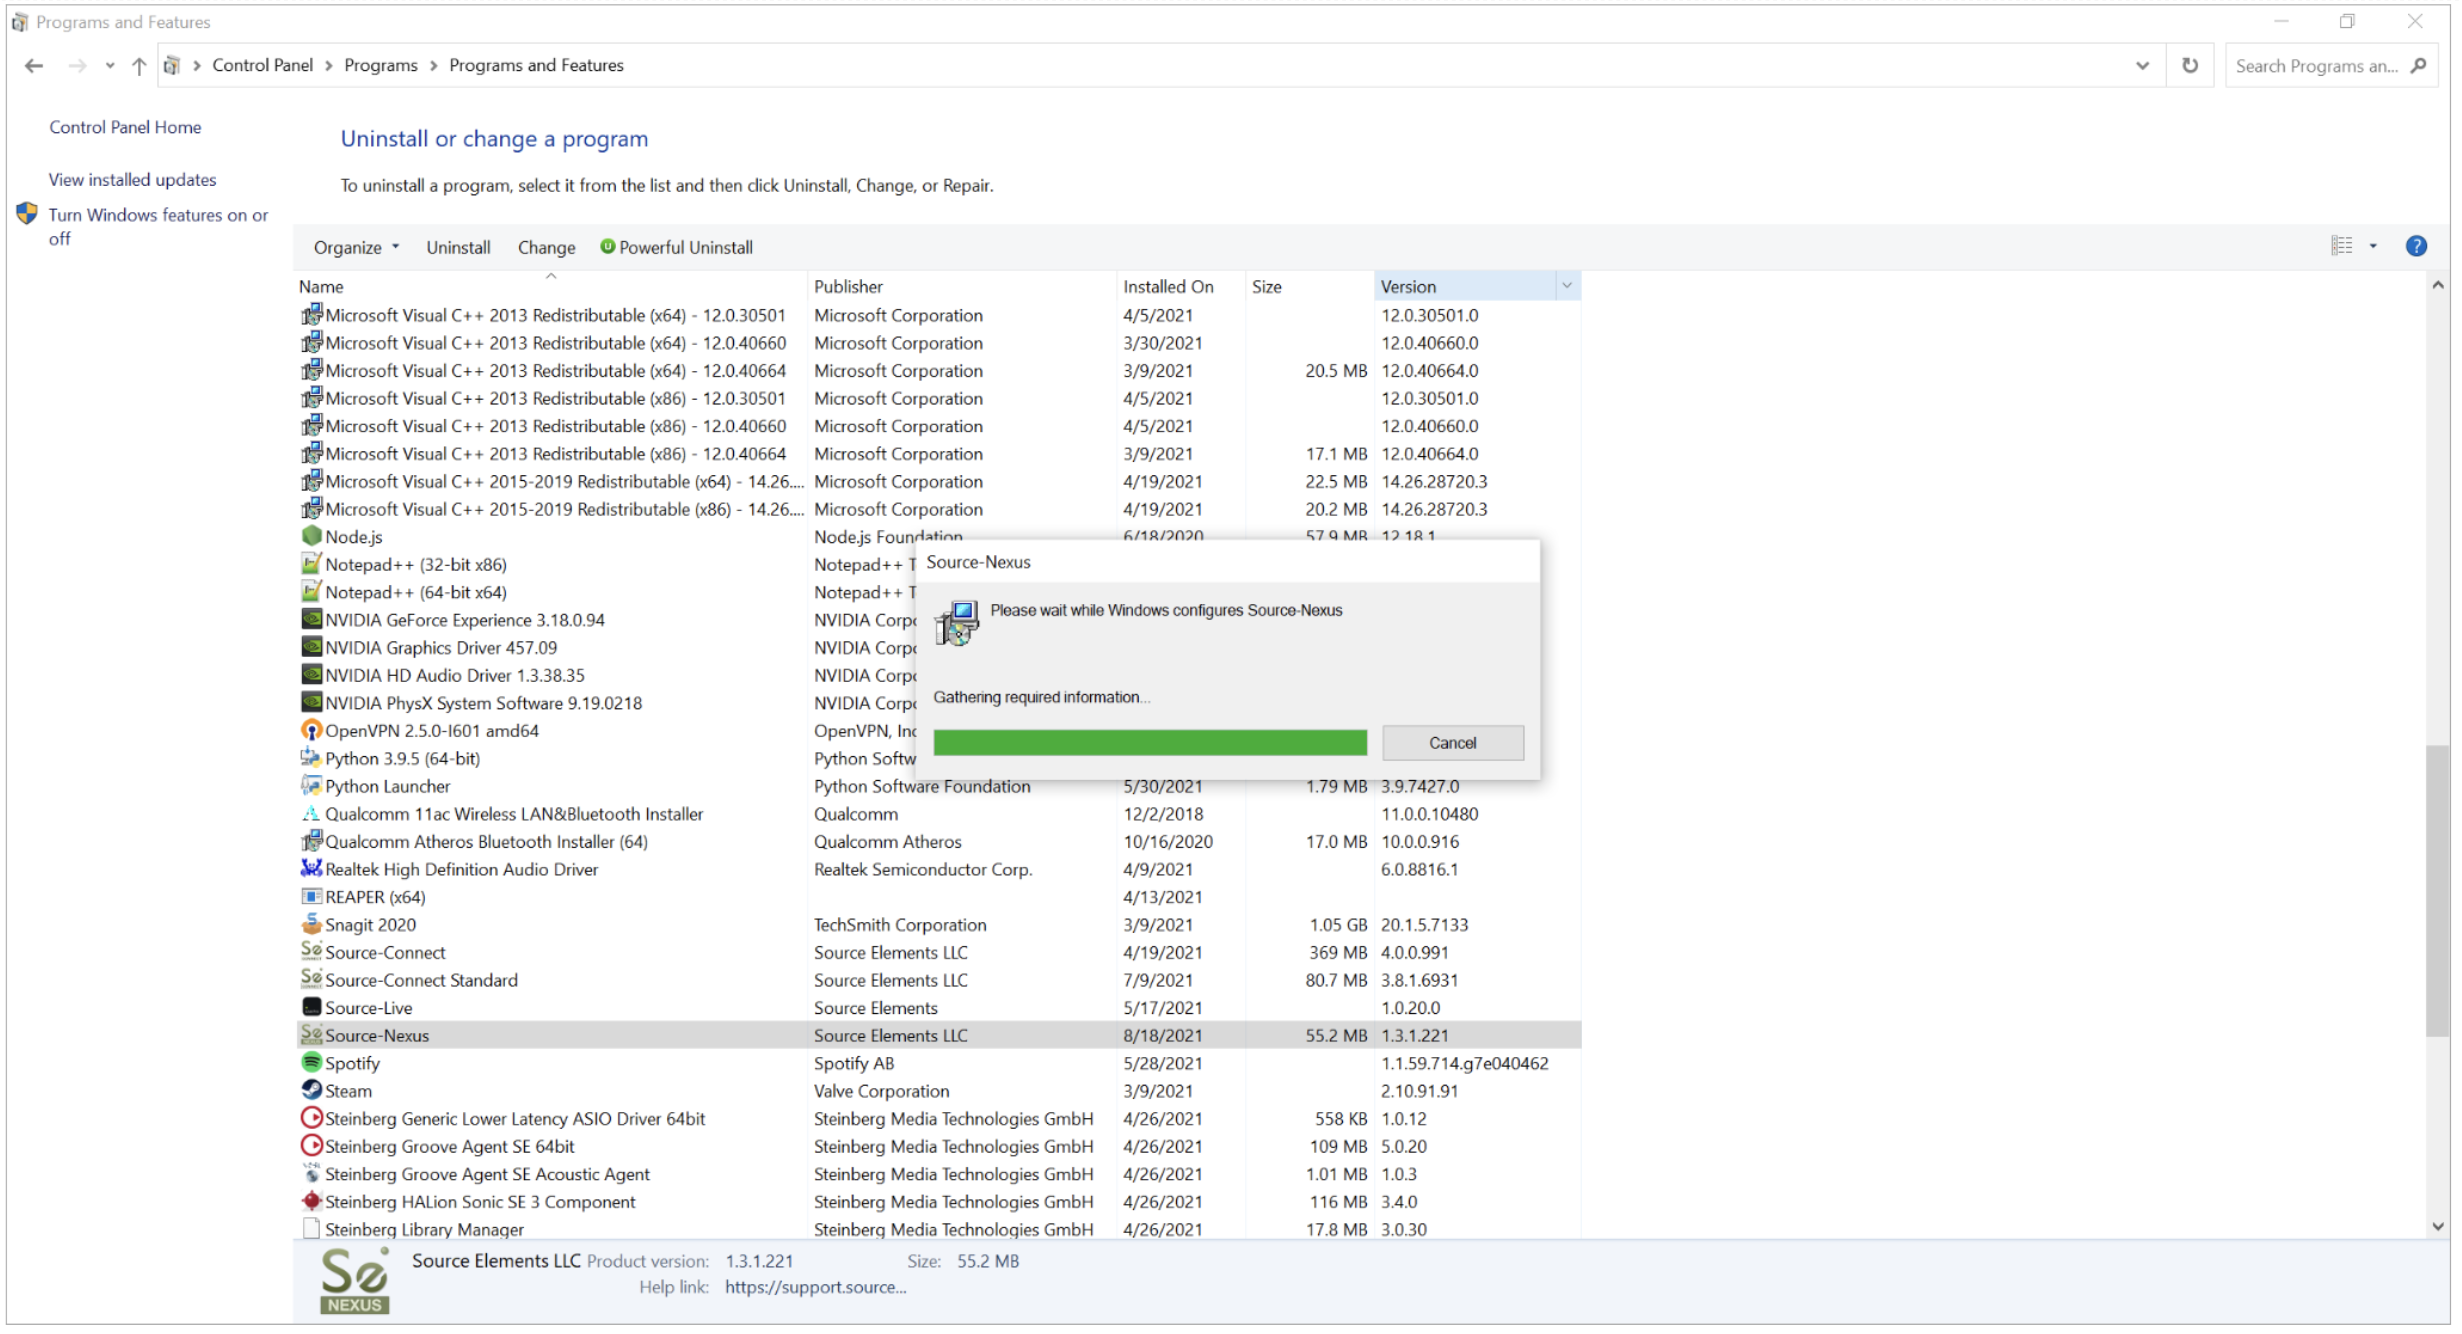
- Go to Programs > Uninstall a program
- Click Source-Nexus and then select "Uninstall/Change".

The application will be immediately uninstalled.
NOTE: If you run into any issues while uninstalling Source-Nexus I/O on Windows, download the Microsoft Troubleshooter available on this page.