How to set up Source-Live Pro LL with Source-Nexus I/O and Pro Tools
This article is part of the Source-Live Pro LL User GuideThe following steps will cover how to set up Source-Live Pro LL with Pro Tools using Source-Nexus I/O as an audio source. If you are looking for instructions on how to use Source-Nexus I/O with a DAW, or you simply want to understand routing with real-life examples, read through this article instead.
Required software to complete this tutorial
- Source-Nexus I/O, which can be downloaded here.
- Source-Live Pro LL, which can be downloaded here.
- Pro Tools, which can be downloaded through the Avid page.
Install Source-Nexus I/O
Once you've downloaded Source-Nexus I/O, double click the DMG file and drag-and-drop the file to the Applications folder on your Mac.
Set up Source-Nexus I/O in Pro Tools
- Open Pro Tools.
- Set up an auxiliary (AUX) track for the audio you want to send to Source-Live Pro LL. Send all of the relevant audio tracks to the AUX track in order to stream them.
- Add the Source-Nexus I/O plug-in to your auxiliary track where you will route the audio you want to send to Source-Live Pro LL.
- In the Source Nexus I/O plug-in, select Source-Nexus A as the SEND audio driver and Source-Nexus B as the RECV audio driver (the RECV driver will not be used, but it's better to make sure that the SEND and RECV drivers are different to avoid unwanted routing issues).
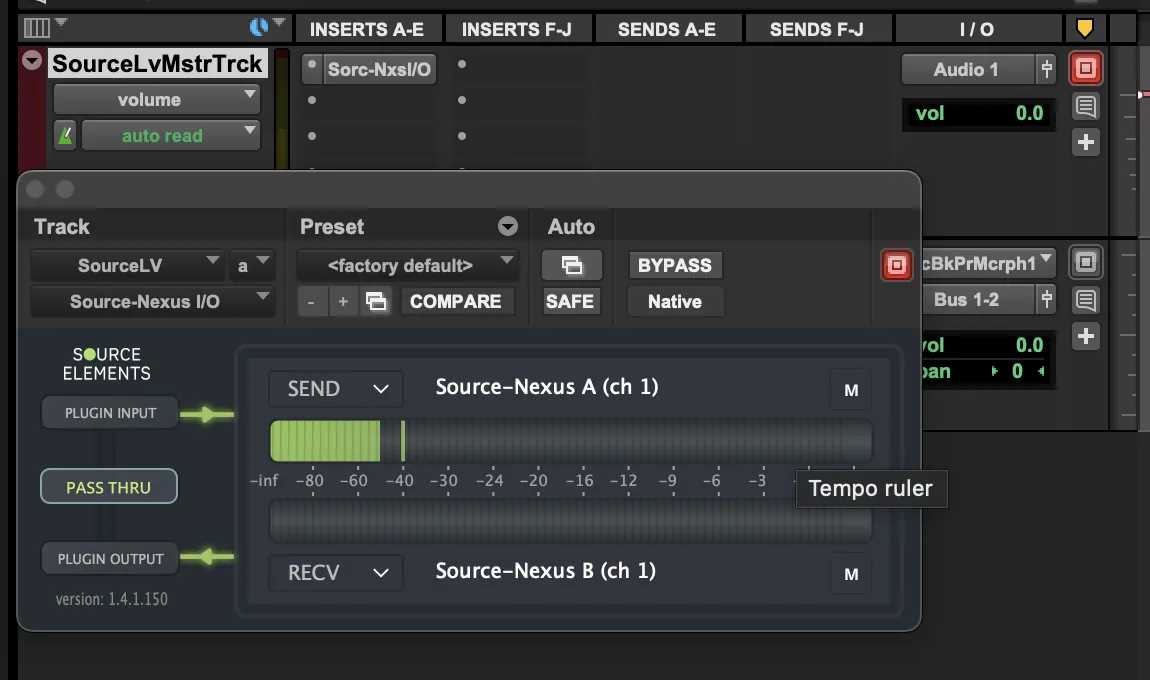
If you have routed your audio correctly in Pro Tools, you will see signal on both the Source Nexus I/O plug-in screen and on the Source Live main screen.
Set up Source-Live Pro LL with Pro Tools and Source-Nexus I/O
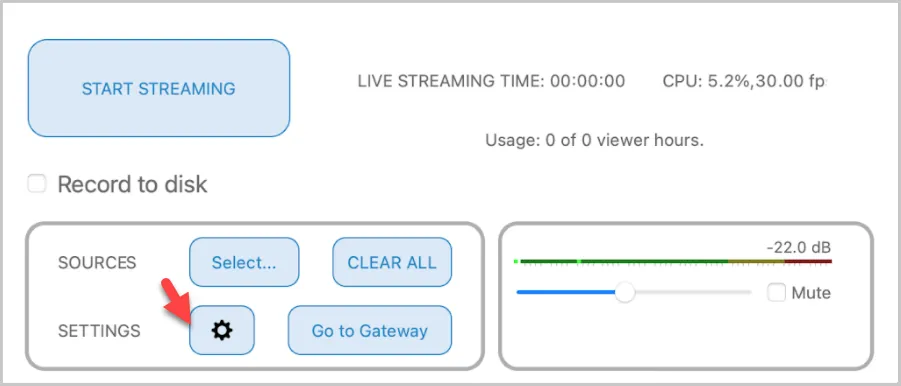
- In Source-Live Pro, click the Settings gears icon in the main page.
- Click the Audio dropdown. You will see both Source-Nexus I/O drivers
(Source-Nexus A and Source-Nexus B) in the dropdown.
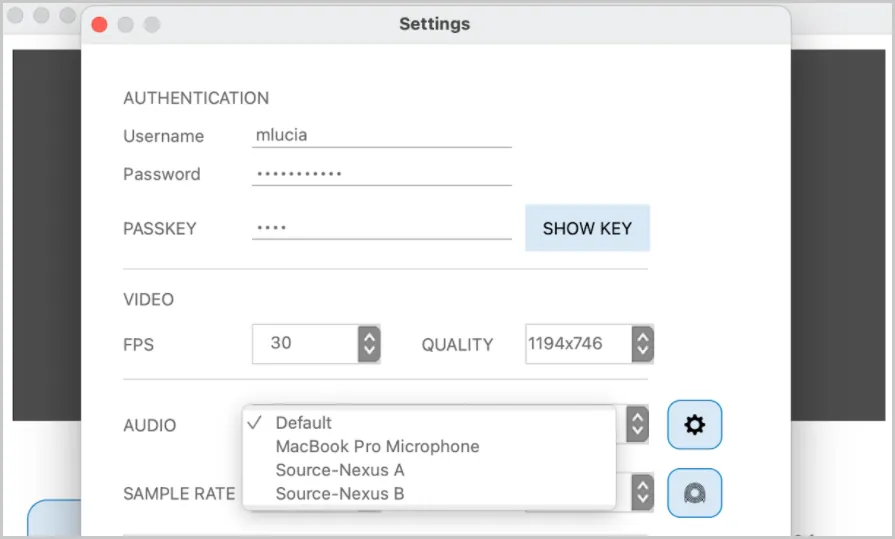
- Select Source-Nexus A.
Send your Session to your Client
Once you are ready to start streaming, click the "START STREAMING" button in the Source-Live Pro LL application. Then, click "Go to Gateway"
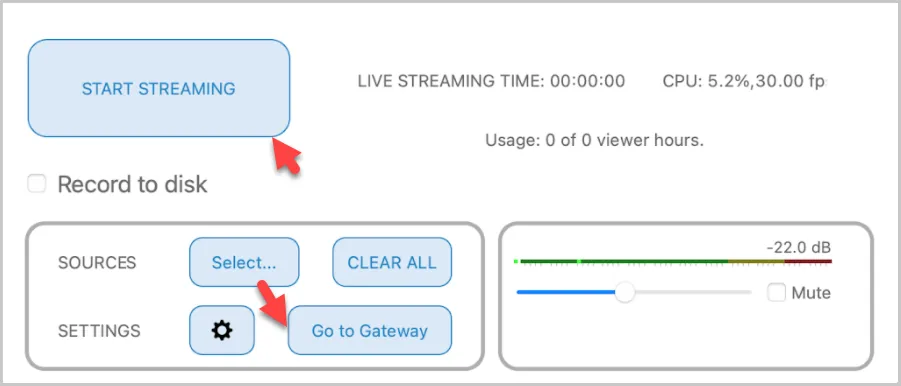
This will display the Source-Live Gateway web browser session.
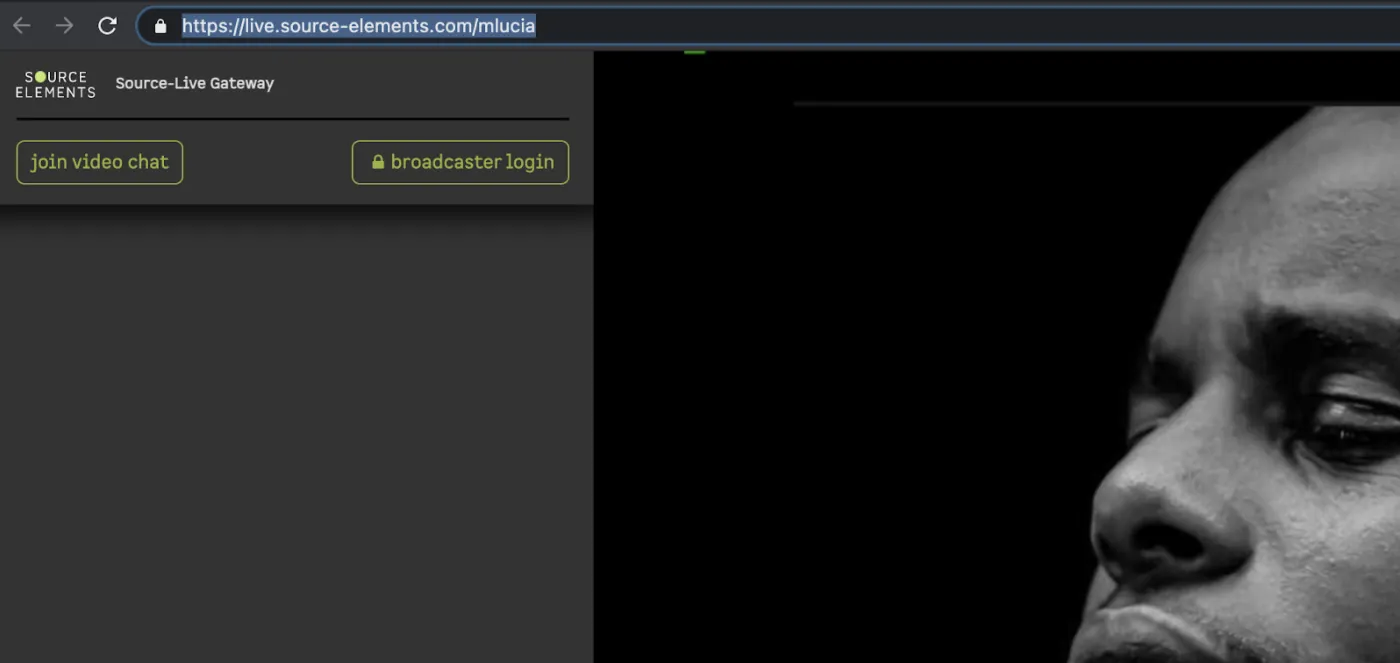
Copy the link above and send it to your client.
Note: if you have a security PASSKEY set up in your Settings (which can be up to 50 alphanumeric characters or symbols), make sure you send it to your client as well.
Turning on Video Chat as a Broadcaster
If you want to hear audio back from the people receiving your stream, you will all need to join video chat. You can do so by clicking "join video chat" in Source-Live Gateway.
This will bring up the Video Chat Settings screen.
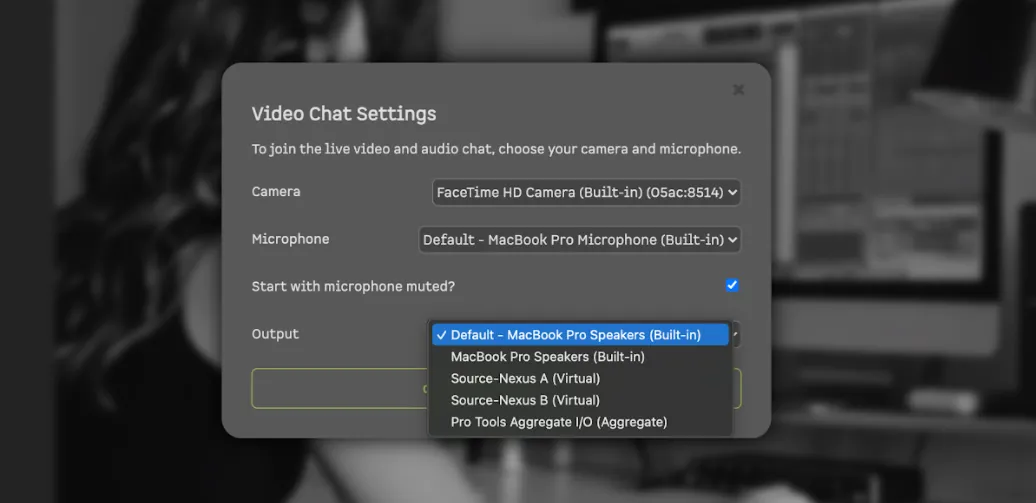
You have two ways in which you can configure your audio input:
- Use another input that is inactive and mute your own Video Chat, as your voice will come through in the stream. Then, use Source-Nexus B for the return to bring the chat back in Pro Tools.
- Use the Gateway separately to hear back without bringing the chat in Pro Tools.
Do not set up Source-Nexus A/Source-Nexus B as microphone and output respectively, since this can end up with your audio coming through twice from Source-Nexus A.
Then, click "connect to video chat".
Turning on Video Chat as a Client
In order for your client to connect to your broadcast:
- Send them the Gateway link, as mentioned above. If you set up a PASSKEY, send it to your client as well.
- Have the user enter their name and PASSKEY.
- Tell the user to click "join video chat"
Your client will need to configure their video chat settings as well depending on their set up.