Source-Connect 3.9 Pro/Pro X and VPN Mode
This article is part of the Source-Connect Pro and Pro X 3.9 User GuideSource-Connect operates as a peer-to-peer type application over the UDP protocol, and this can cause connectivity problems when attempting to establish a two-way data connection in an unconfigured or very strict network. Factors such as firewalls and multi-layer subnets will generally make it difficult to walk into a venue and be confident of establishing a two-way Source-Connect session. Additionally, certain environments have strict security policies, so allowing firewall and network configurations are not possible.
As a solution, Source-Connect Pro can operate in VPN mode. This solves three problems: connectivity confidence, security, and privacy.
VPN Mode and Connectivity Confidence
VPN connections operate over the TCP protocol and can function even within strict networks and proxy servers because it is possible to tunnel over HTTP. If a suitable VPN solution is implemented, all the enduser requires is a software client that they need to run when they wish to connect. Access can be strictly managed with unique, time-critical passwords. Cisco, for example, has such a VPN solution available where the client software is freely distributable and operates transparently. Or, solutions utilizing IPSEC may be suitable, which can be activated with built-in macOS software for example.
VPN Security and Privacy
Where security and privacy are concerns, the best solution is one where you have complete control over the security methods. When Source-Connect Pro is in VPN mode it is configured to disallow connections to external IP addresses, so you can be confident that your network is secure.
Unsupported VPN Clients
VPN clients such as NordVPN, ExpressVPN and Hamachi, generally used to mask your IP address, are not supported. Please check out the Zero Tier One section in this article to see an example of a supported service.
Activating VPN mode in Source-Connect Pro and Pro X
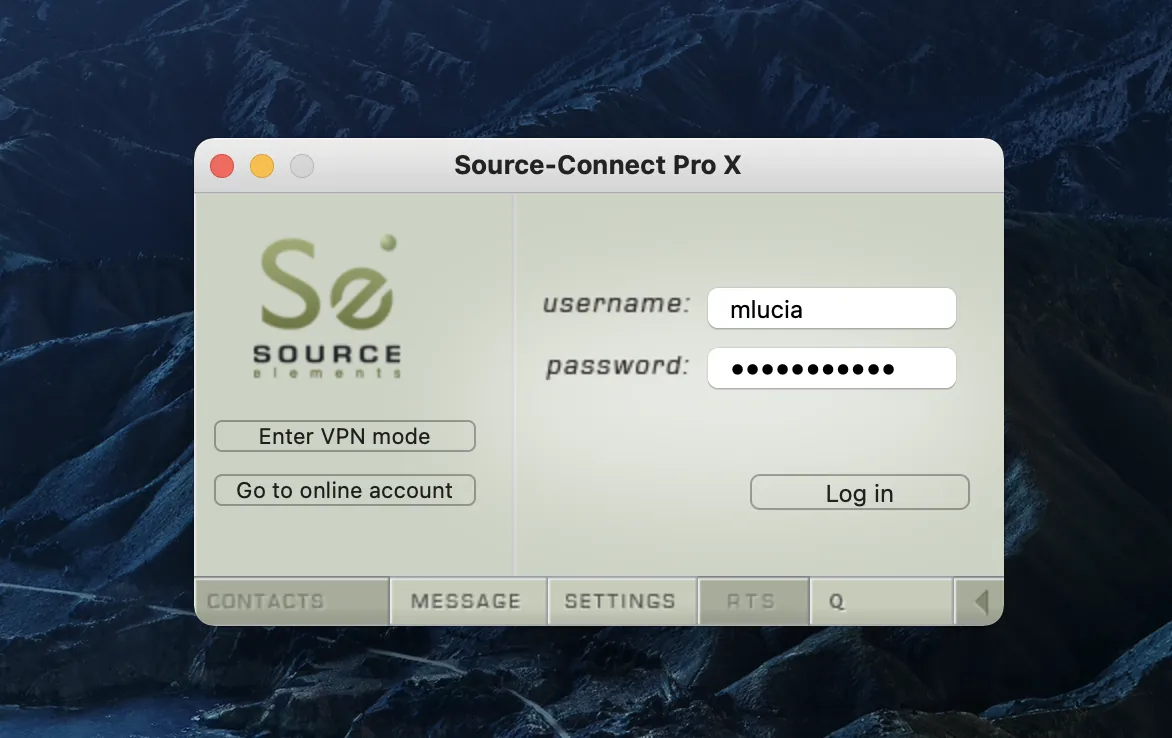
When launching Source-Connect, instead of logging in with your username and password, press the ‘VPN mode’ button on the left of the login panel. Source-Connect will now open in VPN mode.
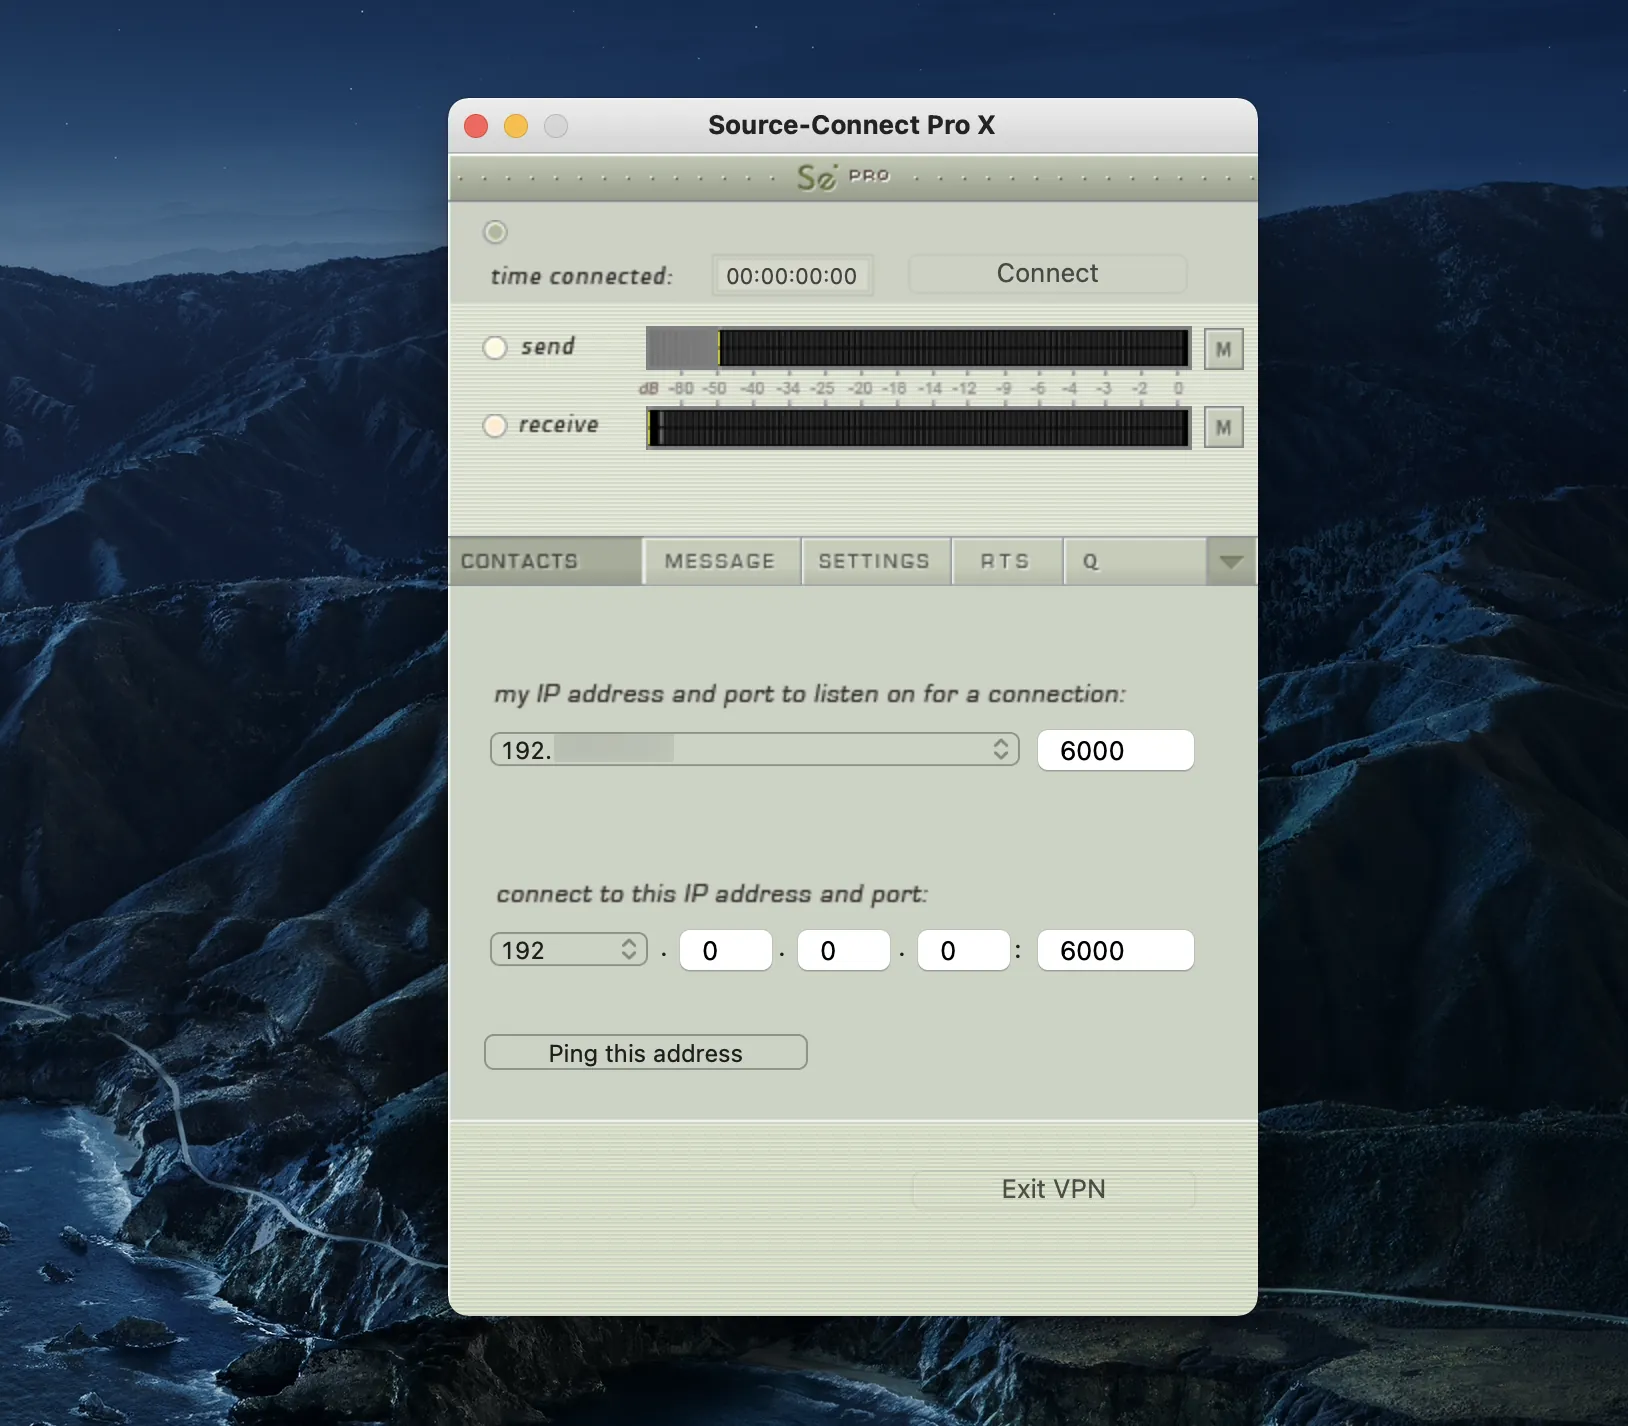
When VPN mode is activated, your own private IP address is available under the ‘this address’ menu. To connect to a user on your private network, simply enter their IP address and port in the ‘connect to’ section.
When your settings are correctly entered, simply connect as you would in Source-Connect. The remote user will be asked if they wish to connect. Upon accepting the request your session now begins.
Using VPN Mode and Managing Security
Source-Connect accepts VPN connections according to RFC1918 on the addresses of:
- 192.168.x.x
- 172.x.x.x
- 10.x.x.x
- 25.x.x.x
To switch to VPN mode in Source-Connect press 'Enter VPN mode' in the login window.
Your own private IP address is available under the 'this address' menu. You may have more than one private address so make sure to select the one you will use for the connection.
In the VPN mode Source-Connect uses IPs and port numbers specified on the 'Contacts' tab.
If the 'Contacts' tab specifies:as local address and:as the peer address,Source-Connect will do the following:
- Connect to:via TCP from any of the free local ports.Source-Connect will dynamically select the local port for the outgoing TCP connection to:. So outbound connection from all the TCP ports on should be allowed.
- Listen for incoming TCP connections on:and establish a connection if required. So this port needs to be opened inbound.
- Listen for UDP data on:and:(for RTP and RTCP). So these ports need to be opened inbound.
- Send UDP data to:and:(for RTP and RTCP). All outbound UDP traffic should be allowed. The 'bind outbound to ports:and:UDP (when port is 6000 this means 6002-3)' option, work in VPN mode as well, but it only applies to the UDP traffic.
- Send TCP data to:from an undetermined TCP port. The outbound port for TCP traffic is created dynamically and currently cannot be determined before a connection is created.
For technical support, you are welcome contact us. Please note, however, that when working with private networks we are unable to offer assistance directly on Source-Connect without being given access credentials to your VPN.
Step-by-Step Tutorial
In order to connect to other users using VPN mode, follow the steps below:
1. First, ensure that your VPN network is running (the VPN on the screenshot, Zero Tier One, is just shown as an example. For the list of accepted VPN connections, take a look at this article).

2. Log in using “VPN Mode” instead of logging in with your username.

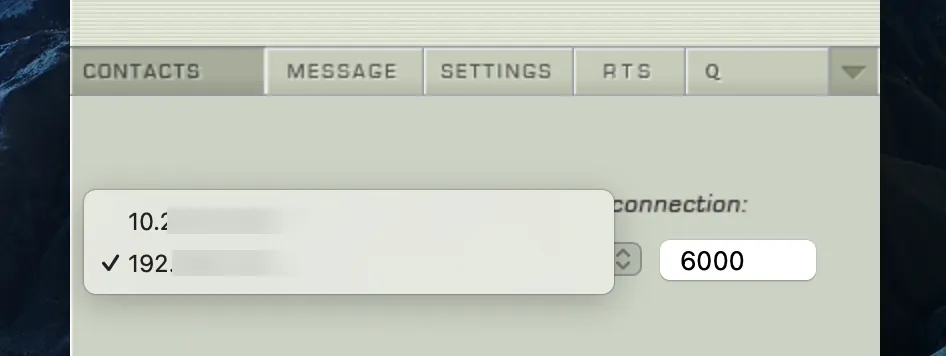
3. After logging in, you will see your IP address available via the dropdown menu in the “Contacts” panel.
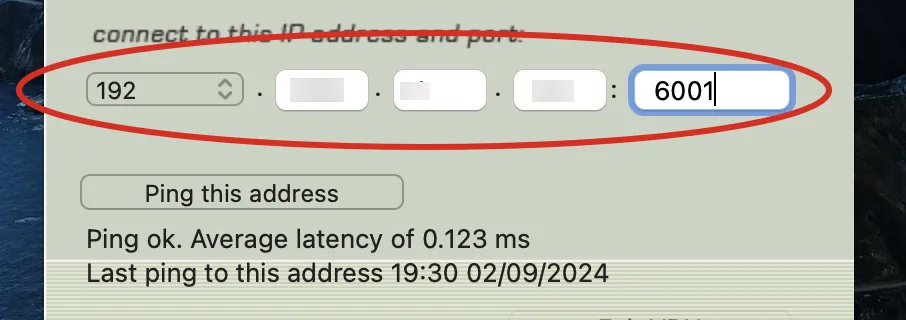
4. Generally, you can check that your VPN is active and your connection partner is available by entering the IP of the user you are connecting to and running the ‘ping’ test successfully.
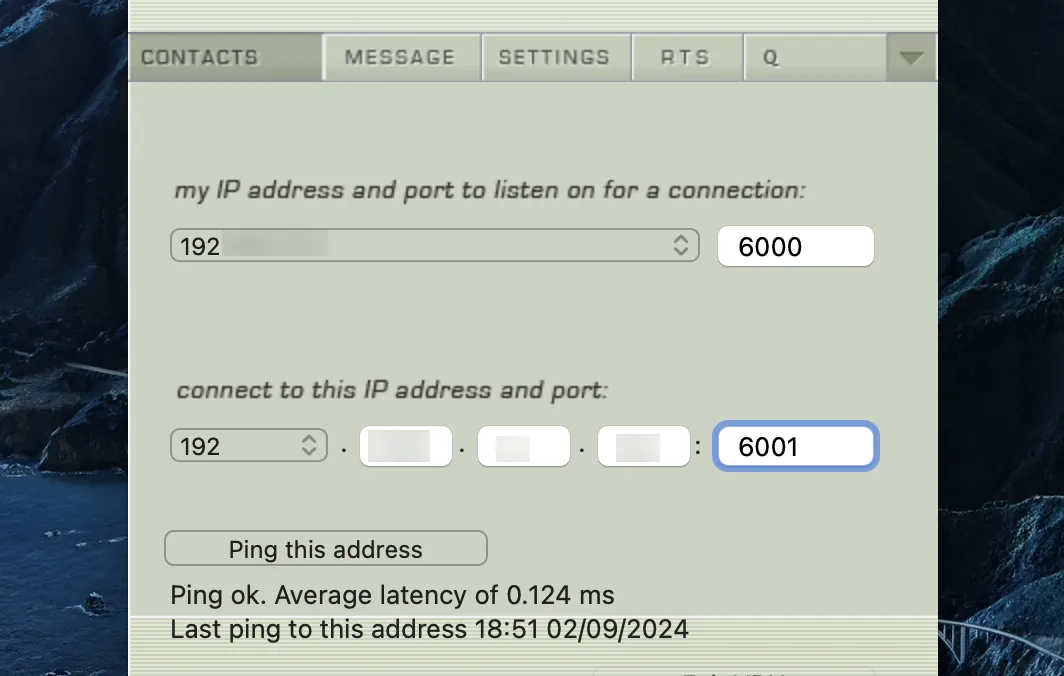
If you can’t ping that computer, you may not be able to connect via Source-Connect VPN. Some networks may not support the ‘Ping’ test so check with your IT administration where possible.
If VPN Mode cannot find a valid private IP address, you will receive a message informing you of this.

Please quit Source-Connect and check your internet connection if this occurs.
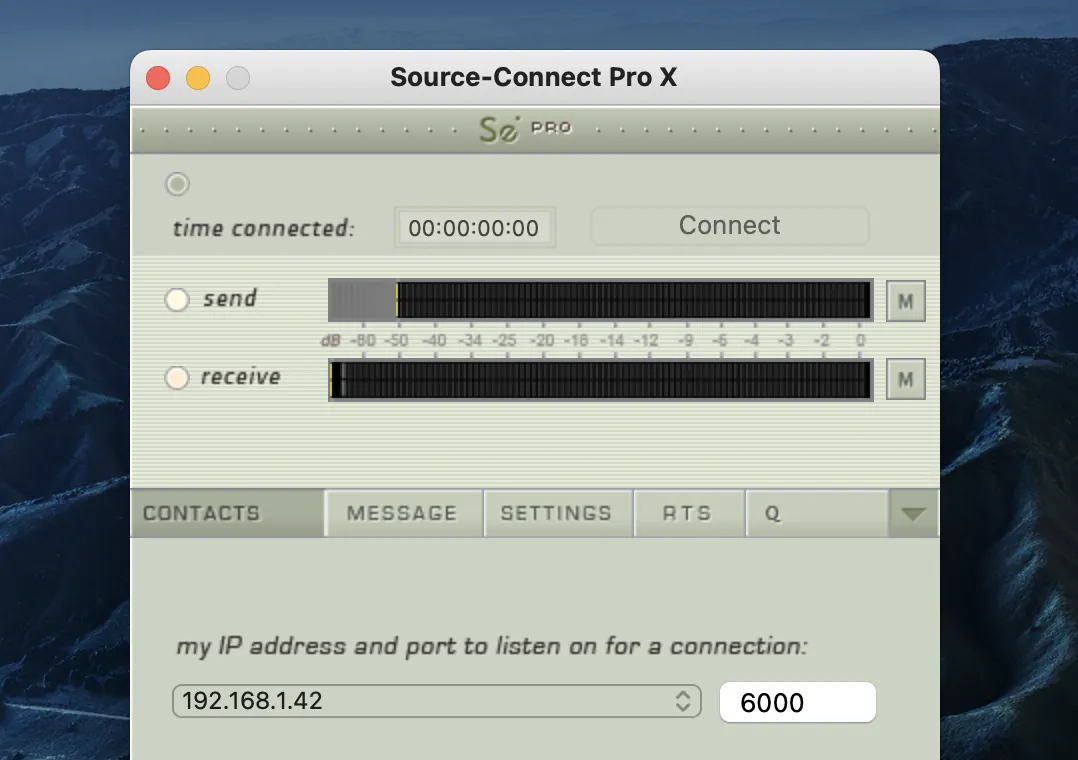
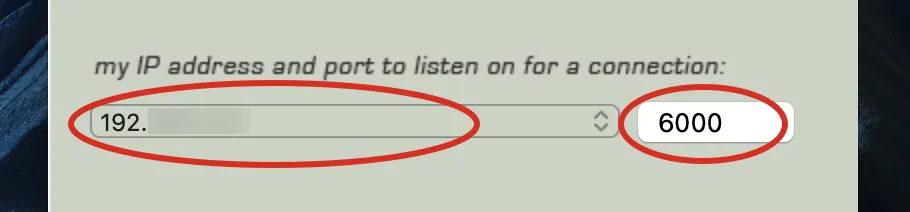
5. Once you are ready to connect, you will see your IP address listed in the “my IP address and port” menu. If you have more than one IP listed, select the IP address that corresponds to the network interface you intend to use.
6. At least one side of the connection needs to communicate their IP address to the other connecting computer. You should also let your connection partner know what base port you are using (if it is not the default 6000).
7. To connect to another user, simply type in their IP address in the “connect to” section. Note this can only be a private IP address. This is to ensure complete security on your part, so you are confident knowing VPN mode will never send traffic to an unauthorized network.
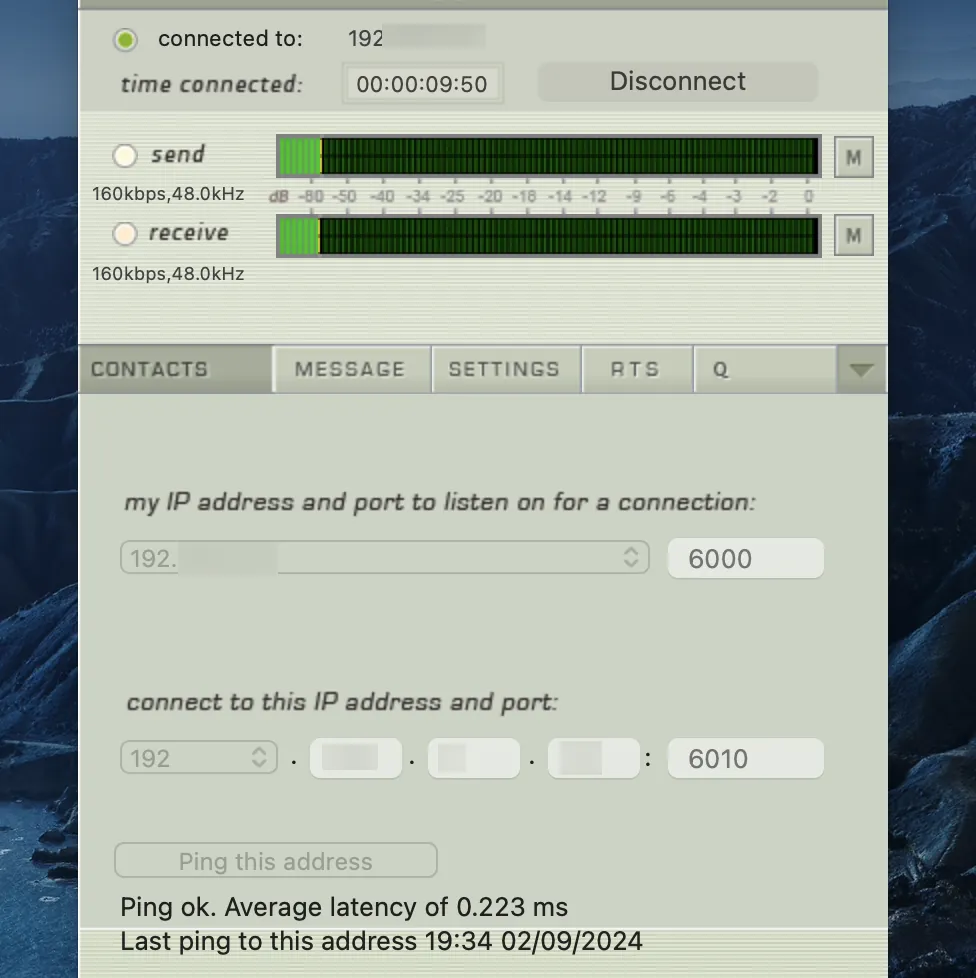
8. When you are ready to connect, press the “CONNECT” button in the Status panel at the top. If the network is properly configured, you will be immediately connected and your session will run like a normal Source-Connect session.
Using VPN Mode with Zero Tier One
Source-Connect Pro supports the Zero Tier One® VPN application. This allows you to make a secure connection over most firewalled networks without requiring any previous setup.
What is Zero Tier One?
Zero Tier One is an affordable subscription-based, easy-to-use VPN (Virtual Private Network). It runs on your computer in the background and it enables you to make a secure, private connection to any other Source-Connect Pro user. Zero Tier One is the perfect companion for traveling with your Source-Connect Pro setup to connect back to the studio or to an ISDN bridging service.
Install Zero Tier One
You will need to have Zero Tier installed, and have either a free user or a subscription license.
ZeroTier: download the application on this website. If you wish to purchase a license, access their Pricing website.
Keep in mind that using Zero Tier One might create a virtual adapter (in addition to your Ethernet and your WiFi adapters) on your Network settings. This adapter will have its own IPv4, among other things.
If you see this adapter on Windows or Mac, please disable it and continue with the configuration.
Using Zero Tier One and Source-Connect Pro
This guide is to show you how to use VPN Mode with Zero Tier One. You should already have Zero Tier installed and be ready to connect.
Requirements:
- Source-Connect Pro or Pro X (version 3.9)
- Zero Tier
Verify your Zero Tier One connection
First, you need to ensure that you have Zero Tier connected. Your window should look something like this:
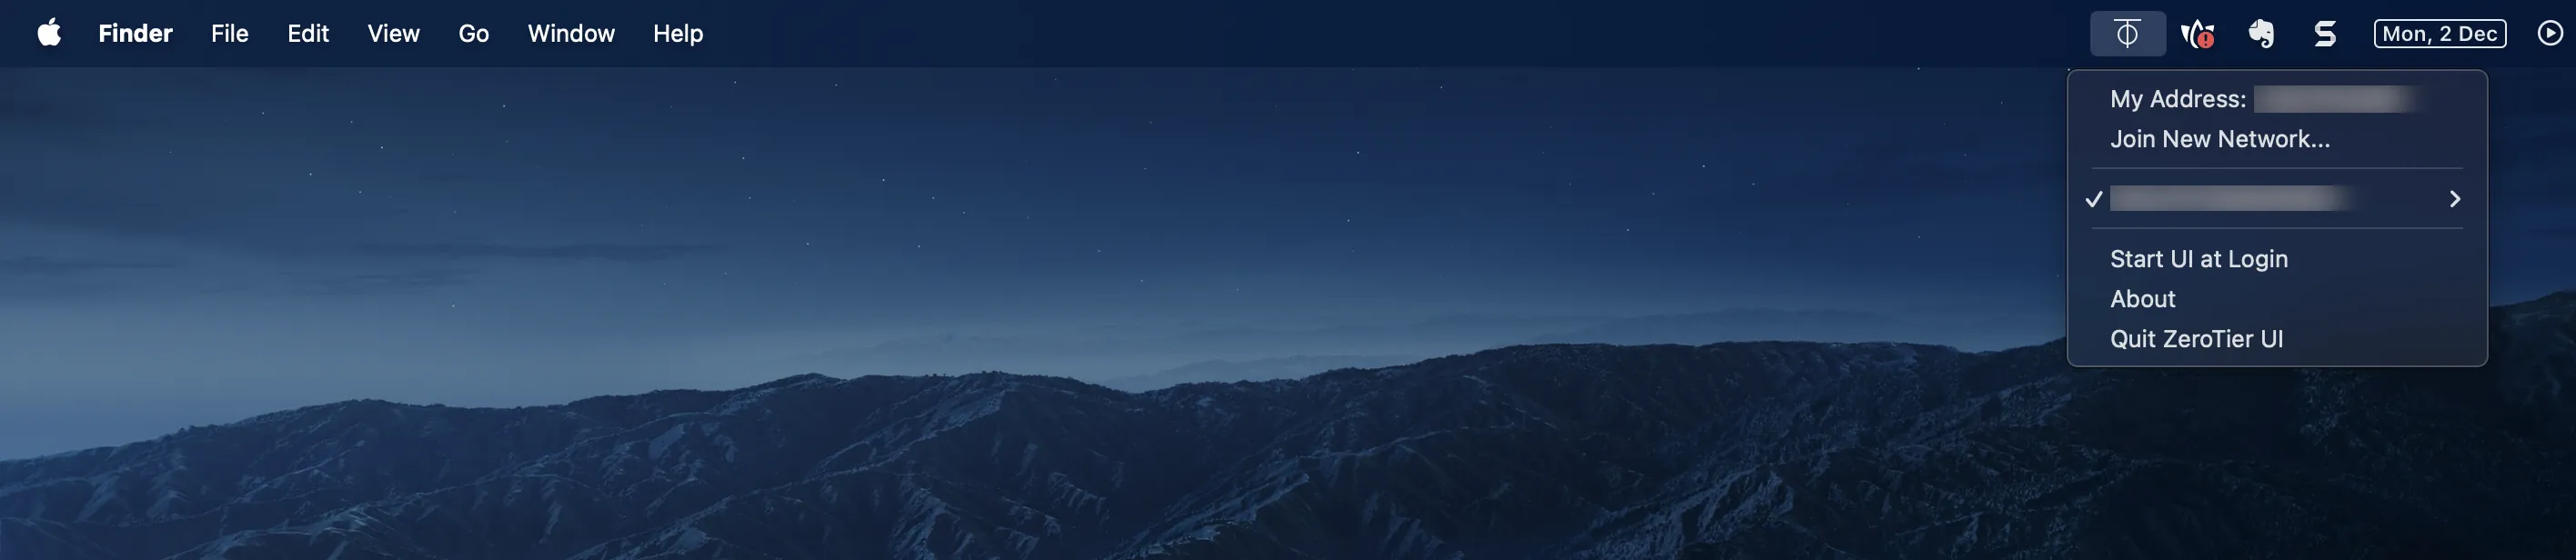
Verify the following:
- Verify that you have connected to a VPN network.
- Verify that you have added your connection partner to the list of VPN members.
Access the ZeroTier Knowledge Base if you need help setting up your VPN.
Connecting with Zero Tier One and Source-Connect Pro
- Close and re-open Source-Connect. If you already had Source-Connect open while configuring ZeroTier.
- Enter VPN mode Click on 'VPN mode'. It is not necessary to enter your login details.
- Select your ZeroTier address.
- Click on the Advanced > Local IP menu in Source-Connect and choose the ZeroTier IP address.
- Enter your contact's ZeroTier IP address in the "Contacts" section.
- Enter the port number for your connection partner.
- Ping your connection partner's address to verify that the configuration is working correctly.
- Click on the 'Connect' button at the top of the plug-in window. Your contact MUST have followed the above instructions 1-6.
- You are now connected via the ZeroTier VPN private network. You can conduct sessions as normal, including using Remote Transport Sync and Audio-Restore and Replace functionality.
Getting Help for VPN Mode
For technical support, you are welcome contact us. Please note, however, that when working with private networks we are unable to offer assistance directly on Source-Connect without being given access credentials to your VPN.