How to set up the Source-Connect VST plugin in Adobe Audition
This document will show you how to set up the Source-Connect Plug-In VST in Adobe Audition (Creative Cloud application edition).
Requirements to complete this tutorial
- Please make sure you have the Source-Connect VST Plug-in installed. It is located at C:\Program Files\Steinberg\VstPlugins for Windows and at /Library/Audio/Plug-Ins/VST for Mac.
- Verify that Audition knows about this location. You can do so by going to Effects > Audio Plug-In Manager. Add any directories that contain other VST Plug-ins to the list as well; Audition will scan these directories (and all-subdirectories) for new plug-ins.
Set up your Multitrack Session
- Create a new Multitrack session by going to File > New > Multitrack Session.
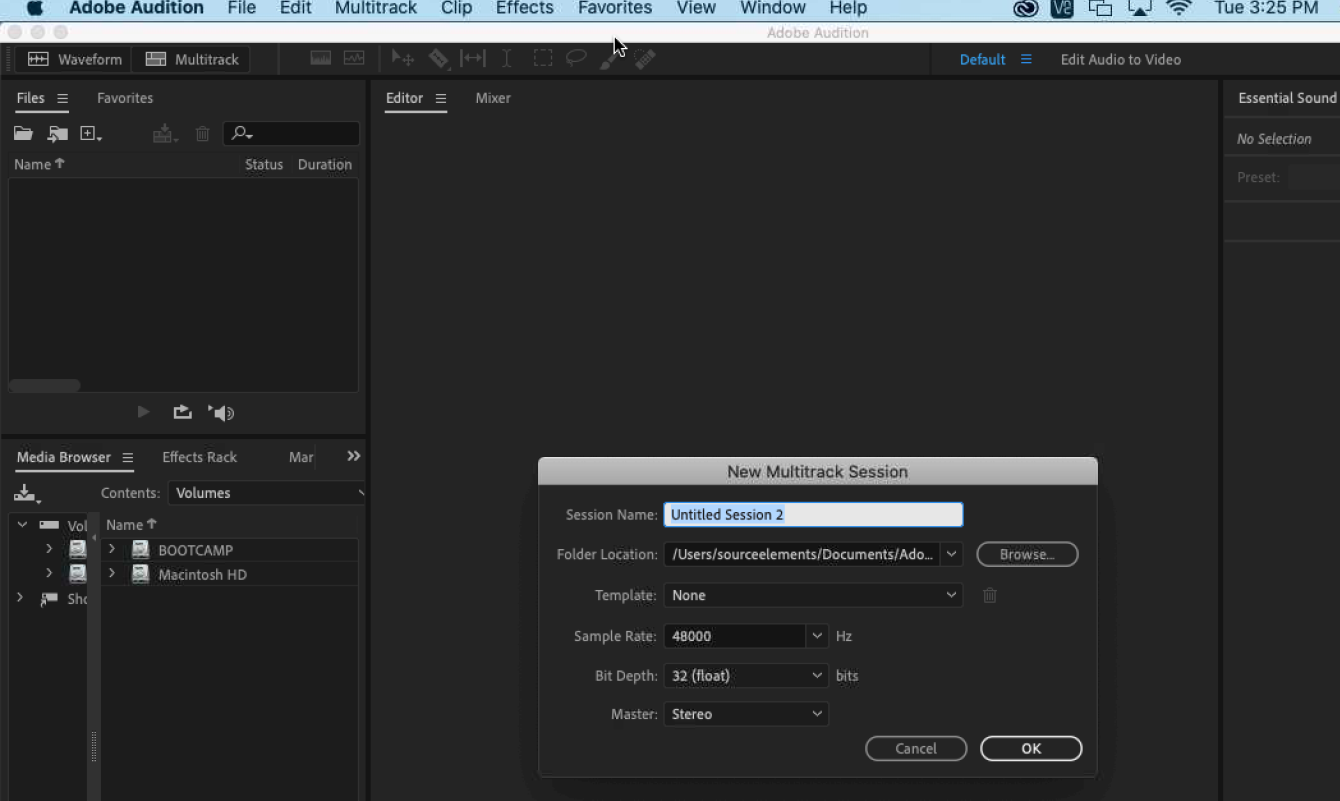
Your view should now look something like this: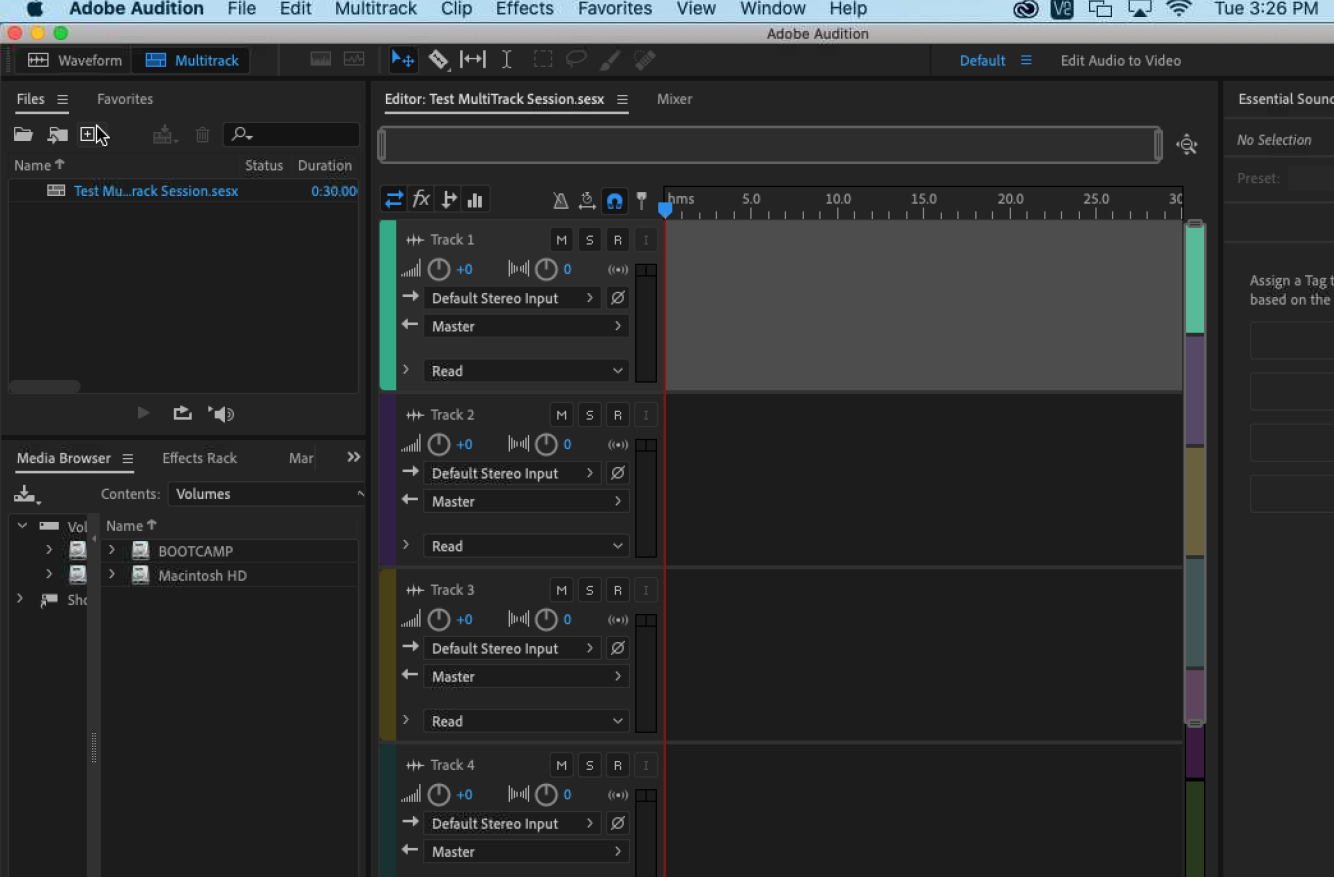
-
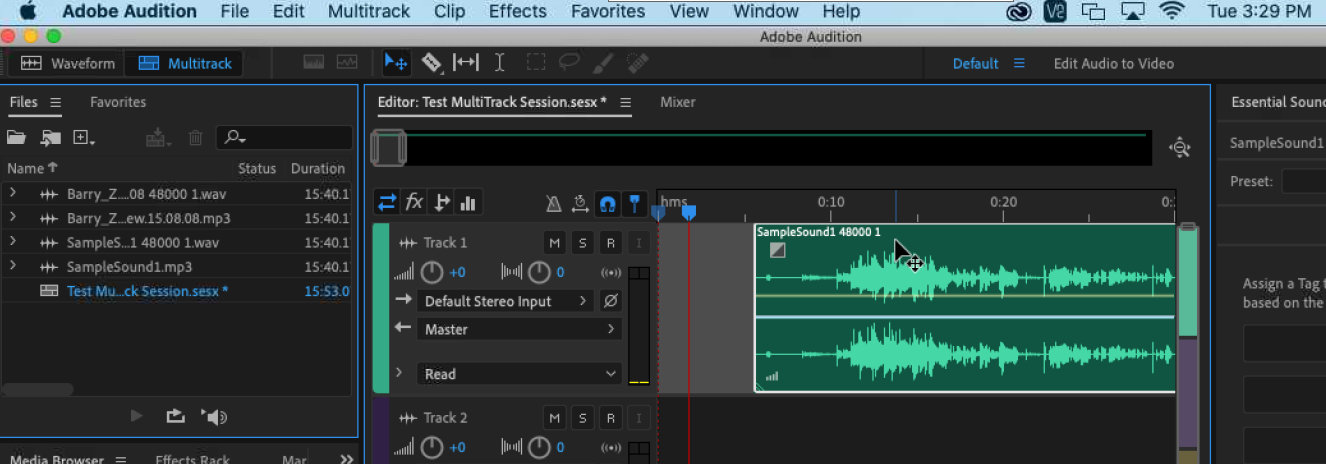
Drag an audio file onto Track 1. Press the spacebar to confirm that your audio plays, then press the spacebar again to stop the playback.
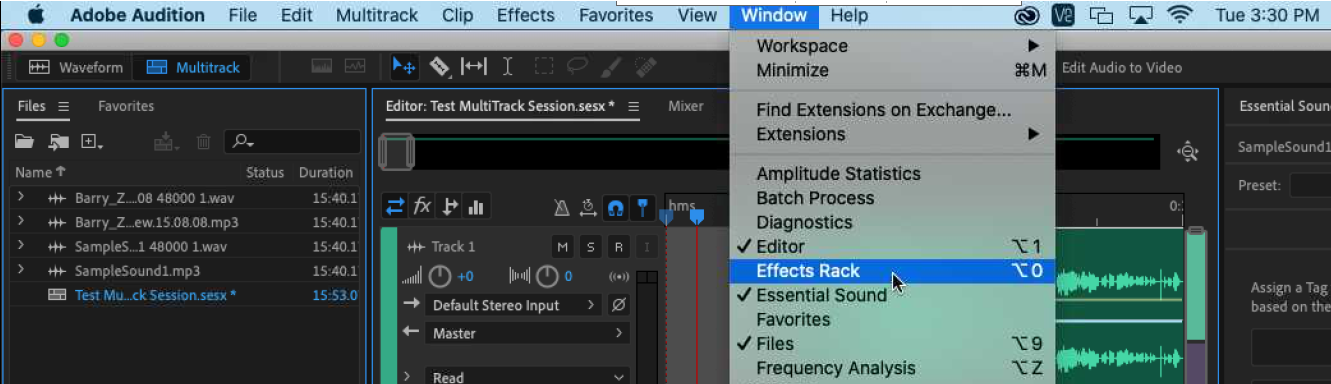
- Display the Effects Rack window by going to Windows > Effects Rack.
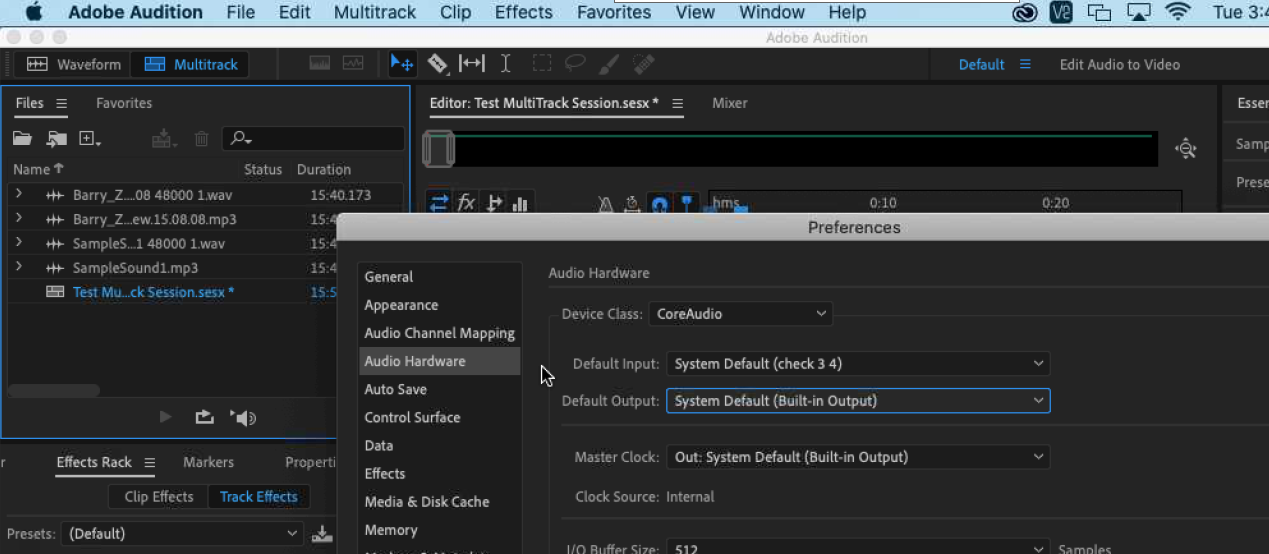
- If you would like to use a live input, such as a microphone, make sure you have the option selected in the Preferences section of Audition.
-
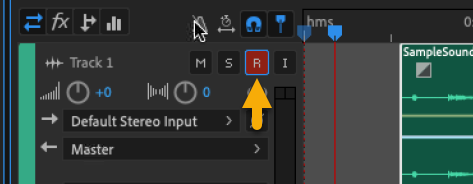
Record Arm Track 1 in order to always hear the incoming audio on that track. You can do so by clicking the “R” button in the track.
Instantiate the Source-Connect Plugin in Audition
- Click the arrow in the FX list to display a pop-up menu of the available effects for the Master Track.

- Select VST > Source Elements at the bottom.
The Source-Connect Link will appear in the list. Log in to your account and take a look at the Source-Connect plugin window that comes up.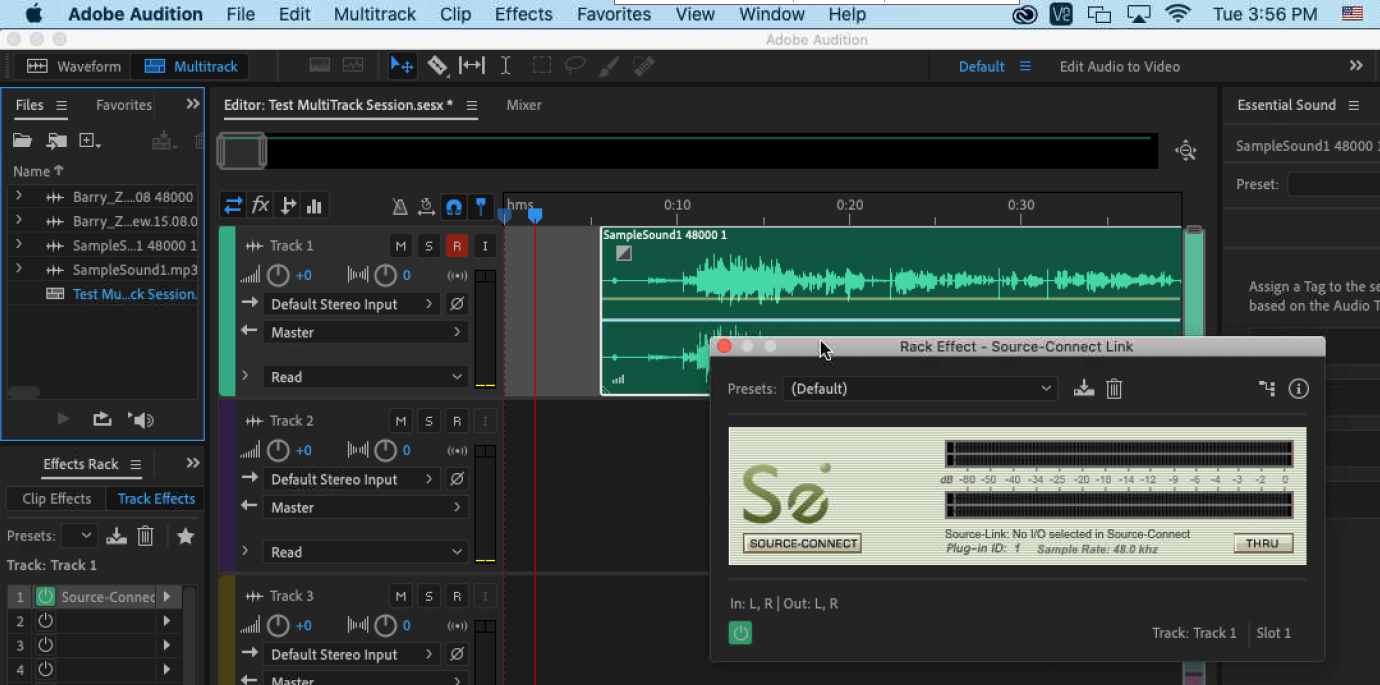
Configuring Source-Connect to work with Audition
- In the Settings panel of Source-Connect, change the input to Source-Connect Link. Audition only allows for send audio, so the output will still be set to your usual headphones or interface.
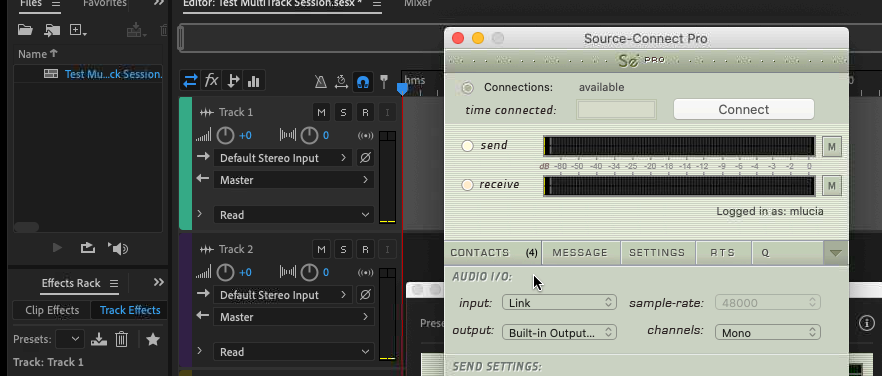
- Connect to the other studio by selecting their name from the list in the Contacts panel and pressing the “Connect” button.

The other party can either accept or deny your request for a connection.
Note: Currently it is not possible to record the incoming audio in Audition.
Troubleshooting
- If you see "port: not mapped" in the Source-Connect plugin in Audition, there is a good chance that a connection will go through, but this depends on your particular type of network.
- The message "port: failed" in the plugin indicates you will be unable to connect to an outside Contact, but it should work internally.
- If you see "port: UPnP/PMP" in the plugin and are also experiencing connection problems, you need to disable UPnP and properly configure your network.
Refer to the Network Guide for more information on port mapping.