Using Source-RTL Creator as an Engineer
Using Source-RTL Creator is very easy and straightforward. After opening up the application, you will see a quick guide to get started.
Before getting started, you will need to prepare the video you will import into Source-RTL. The supported video formats for RTL are the following:
- MP4
- MOV
- 3GP
Other video formats are not supported for now.
Importing the File into Source-RTL
Once the video is ready, drag and drop it into Source-RTL Creator. The file will appear under the “Video File” list, along with any others you have added to the application.
TIP: If you are adding more than one video into Source-RTL Creator, they must all have the same frame rate.
The video (or videos) you have added to the application will be displayed in the “Video File” section. You will be able to set the start time for each video (HH:MM:SS:FF) from the “Time” section.

Videos can also be removed using the “x” icon next to the timestamp.
Configuring Additional Settings before creating the Bundle
At the bottom of the Source-RTL application, you will see a footer section with two additional settings you can configure:

- Compensation (in milliseconds): serves as a possible delay offset between the input and output timecode in order to compensate for audio or network (or other) latency. It can be used to fine-tune the sync between Source-RTL and Source-Connect.
- FPS (frames per second): the frequency at which the still images from the videos will appear on the screen. By default, it will be set to 30.
Make sure these settings match your DAW session.
Creating the Bundle
Once ready, click the green “Create” button to create the Source-RTL Player Application. You will be able to set a title and download location for your player in the following dialog.

If File Encryption is enabled in the Options menu, you will also be prompted to set a password for the videos.
This will create a .ZIP file in the folder of your choice with the following files:

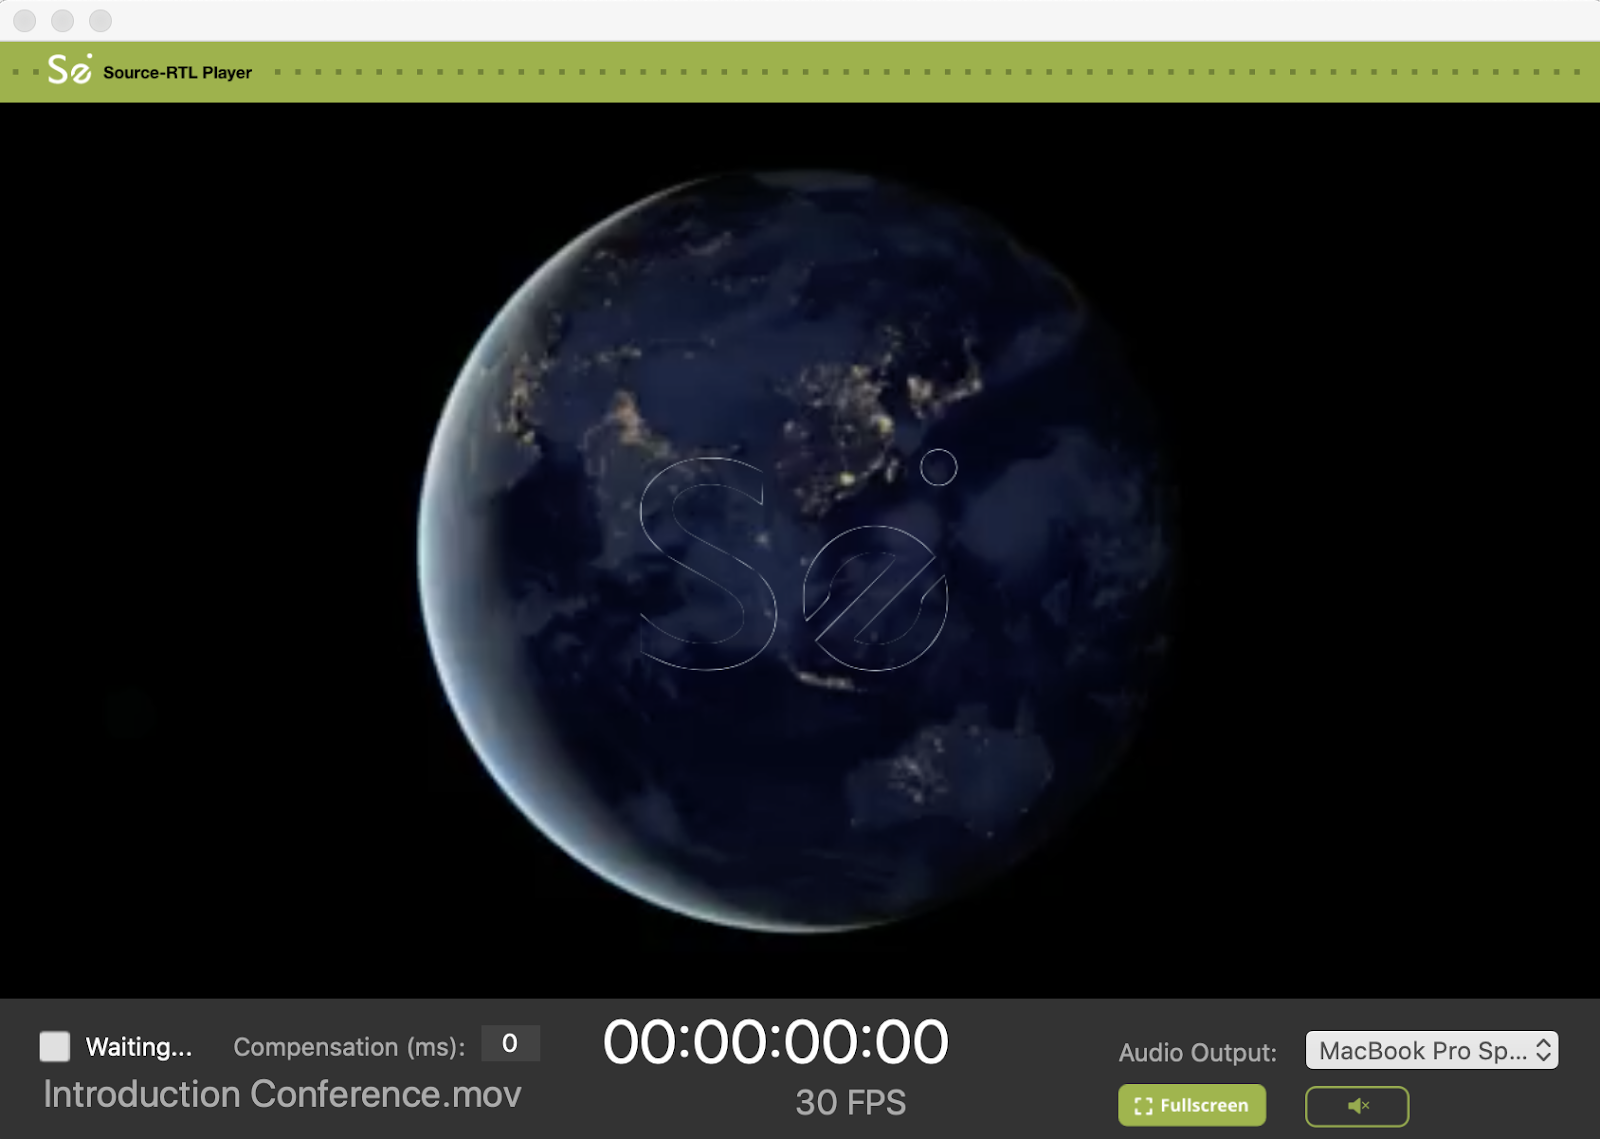
You will be able to verify how the video will play for your talent by double clicking Source-RTL Player:

The “Waiting” setting is controlled by the remote user. They can only be in “Waiting” status to receive and play the video and trigger RTS.
Sending the Bundle to your talent
Once you have verified that the player is correctly set up, and the timeline has been verified, transfer the Timeline.tml file to your talent using any file transfer service.
If you use Dropbox to transfer your file, make sure you add ?dl=1 when sending the Dropbox link or instruct your talent to download the file from the top right-hand side of the Dropbox window.