Onboarding with Source-Nexus I/O
Here's your quick start guide to getting started with Source-Nexus I/O, the most powerful collaboration tool for creative and talents all around the world. For macOS and Windows.- To access our YouTube playlist, click this link.
- If you are ready to start using the plugin, purchase Source-Nexus I/O.
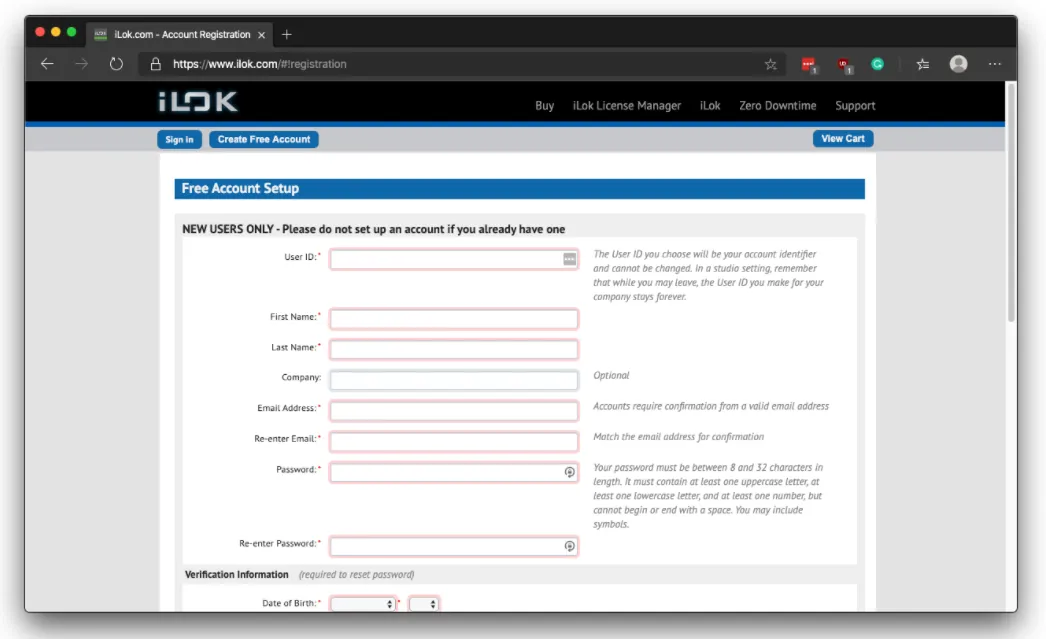
Step 1
Sign up for an iLok account //ilok.com/#!registration (no iLok USB dongle is required); if you already have an iLok account, continue to STEP 2.
Step 2
Sign up for your Source Elements account https://dashboard.source-elements.com/. For detailed instructions on how to create an account, read this article.
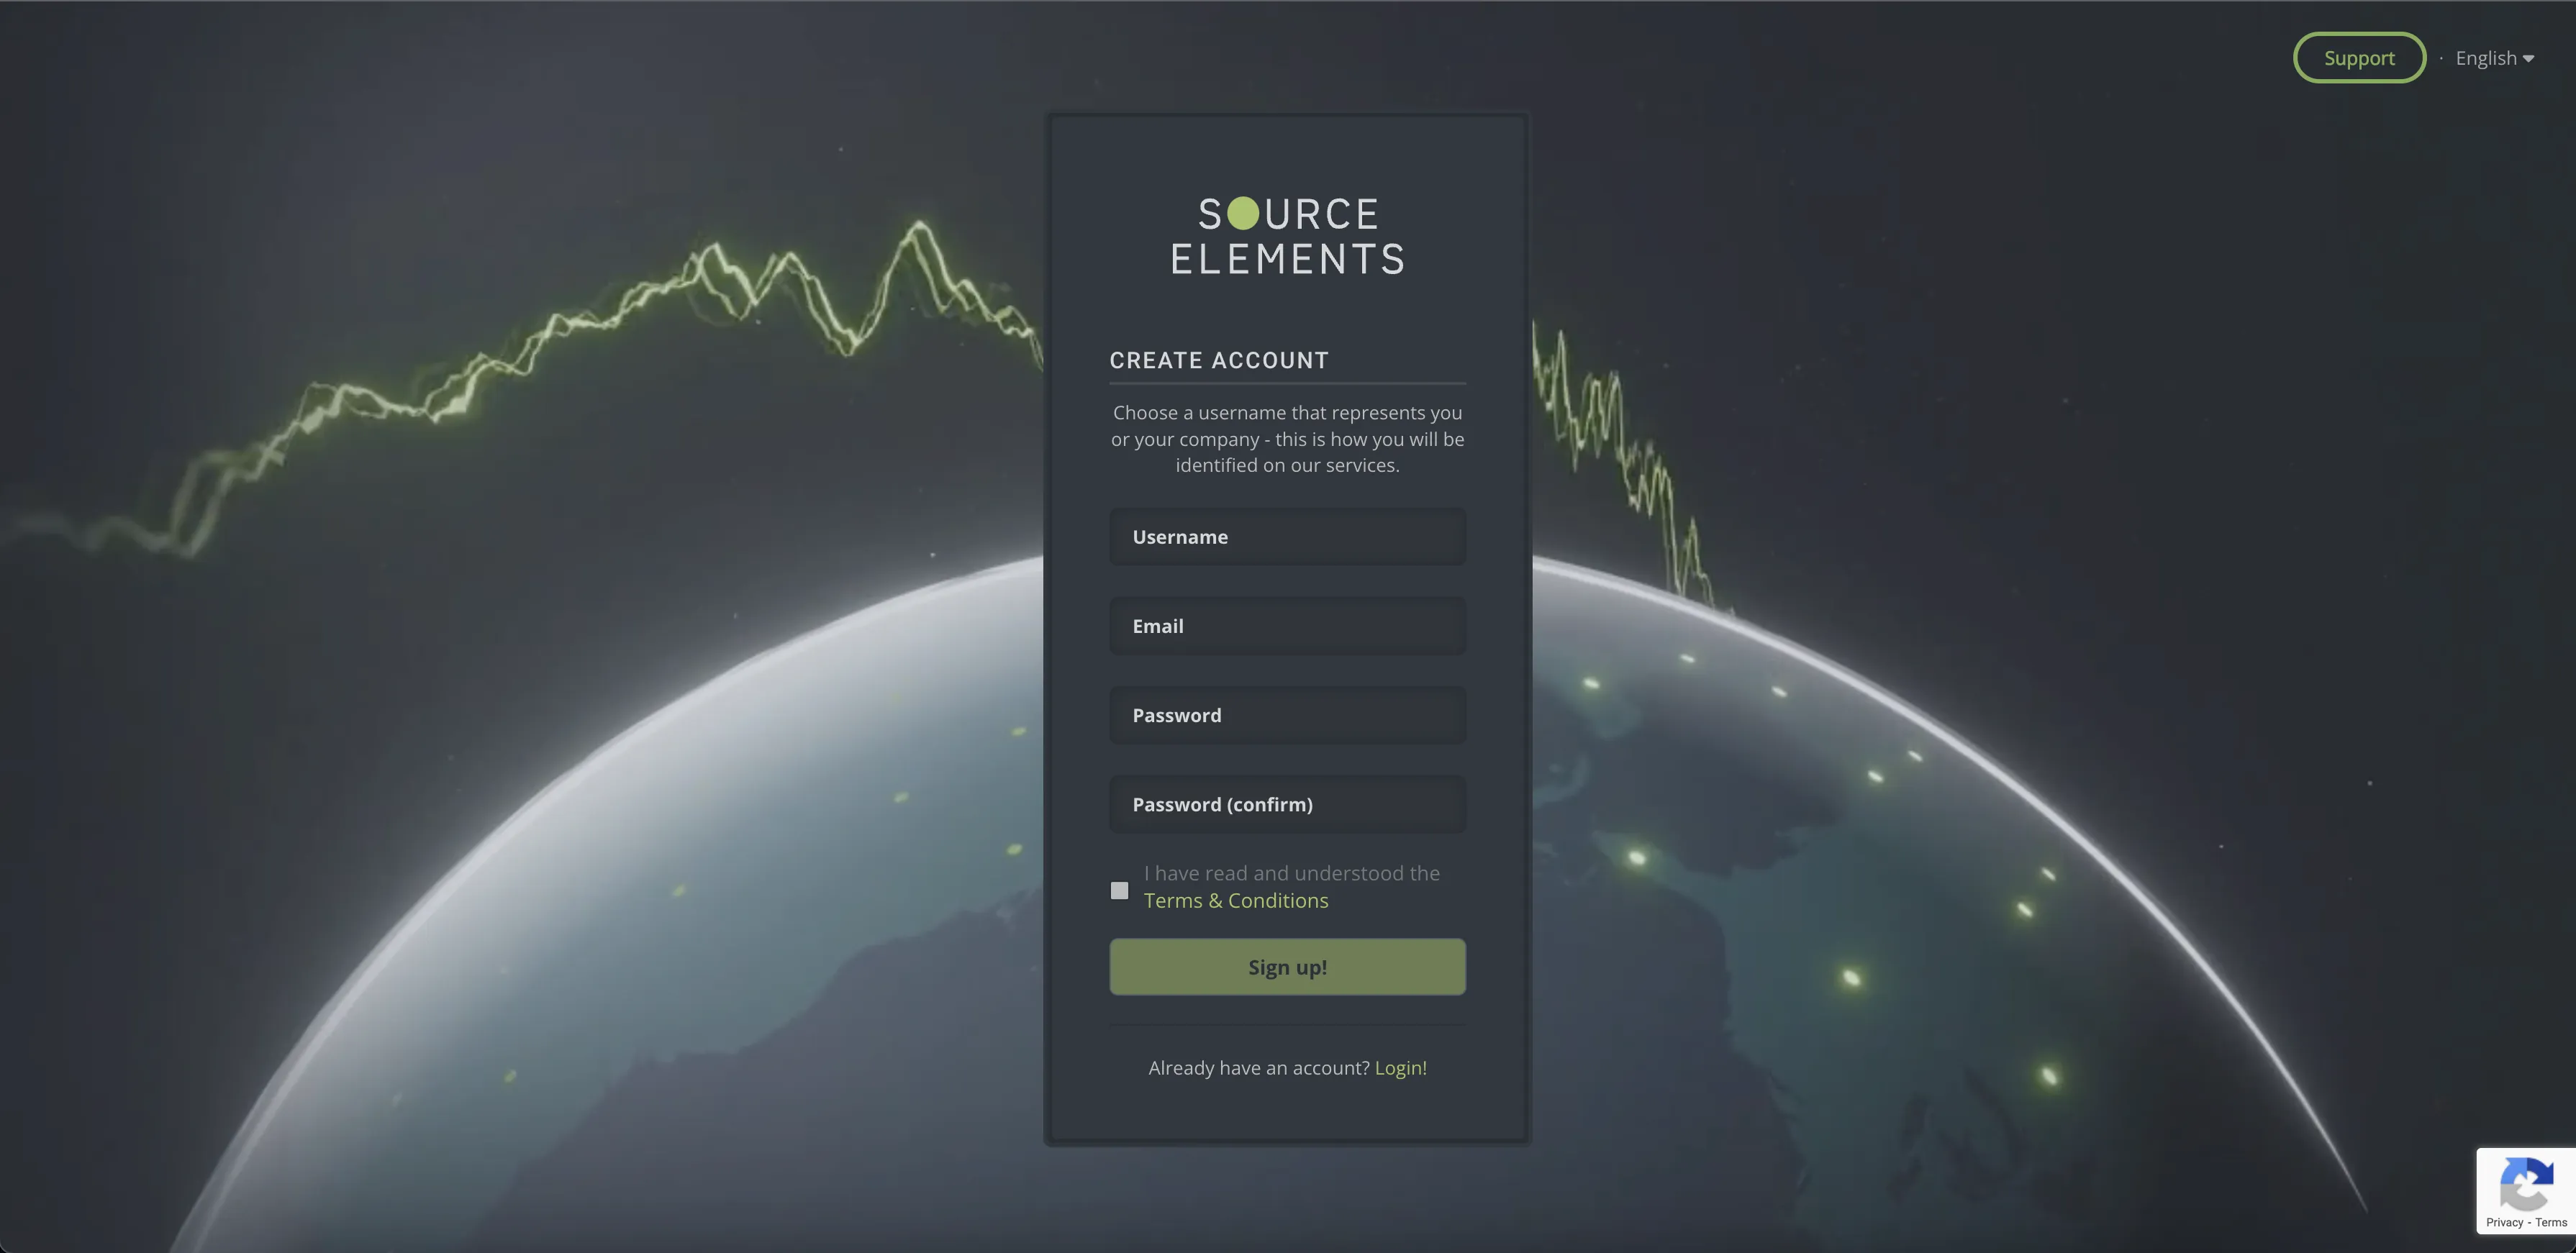
If you already have a Source Elements account, continue to STEP 3.
Step 3
Go to https://store.source-elements.com/customer/account/login/
Click NEXT>> to sign in with your Source Elements account.
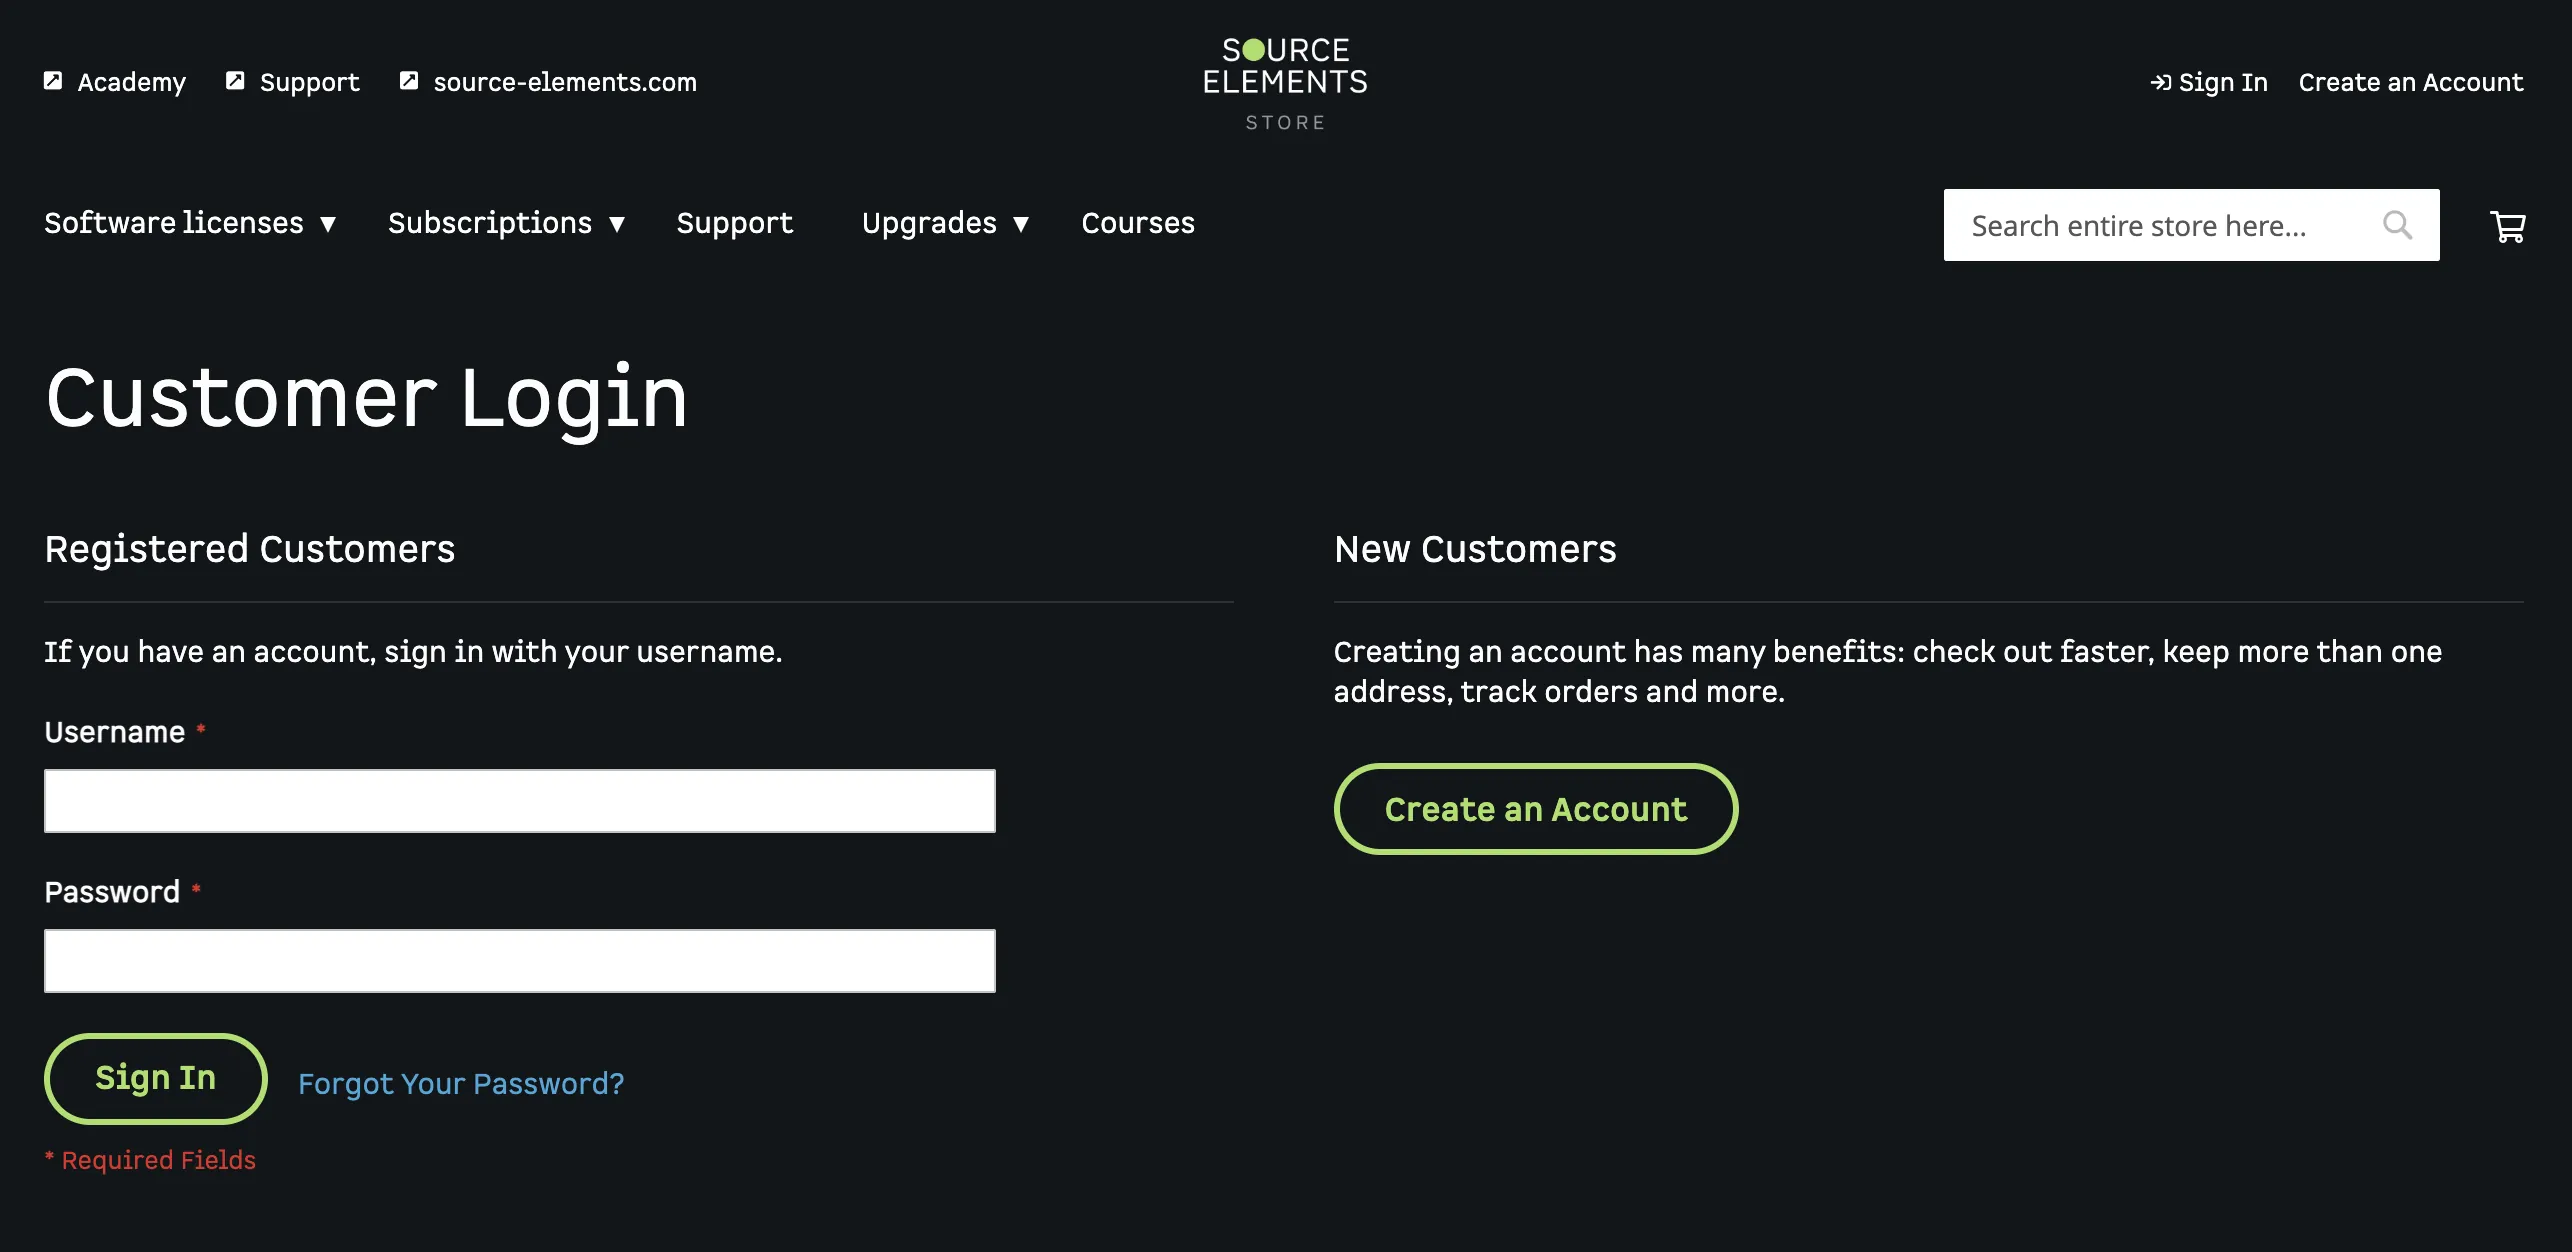 Sign in with your Source
Elements account.
Sign in with your Source
Elements account.
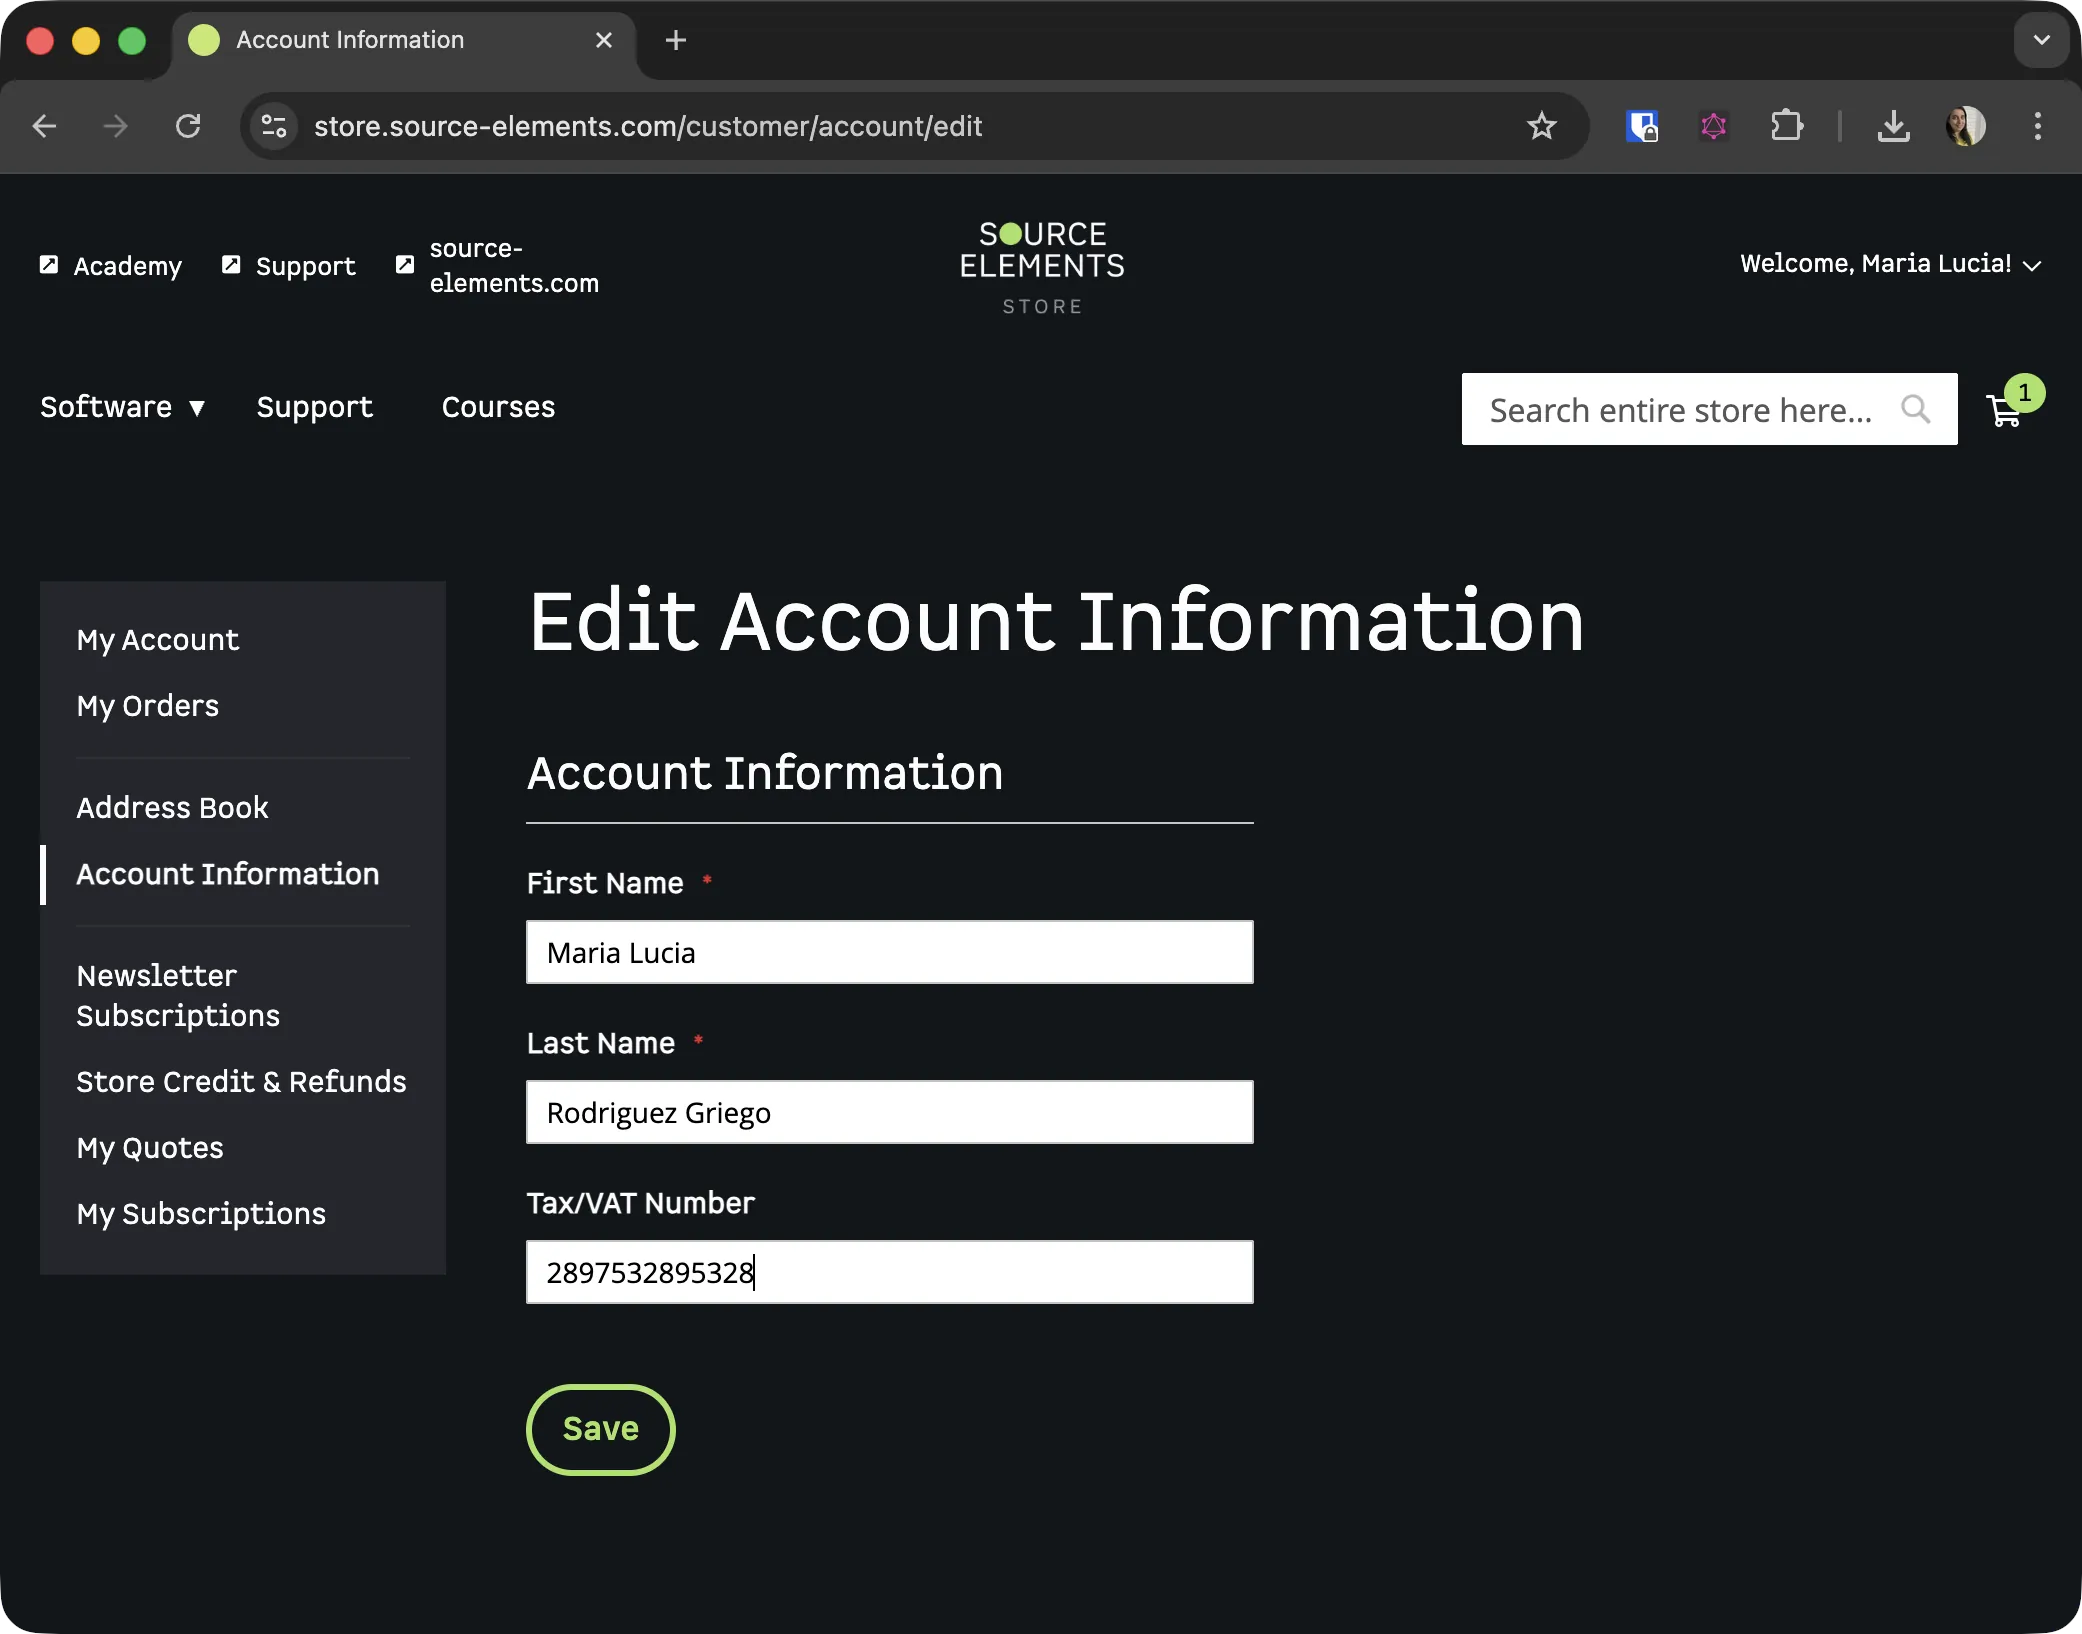
Step 4
Edit your account information to make sure it's accurate https://store.source-elements.com/customer/account/edit/
Click SAVE to continue.
Step 5
Edit your address to make sure it has all the required information. To do so, go to https://store.source-elements.com/customer/address/ and click "Change Billing Address"
Check the "Use as my default billing address" box.
Check the "Use as my default shipping address" box.
Click "Save Address" to continue.
Step 6
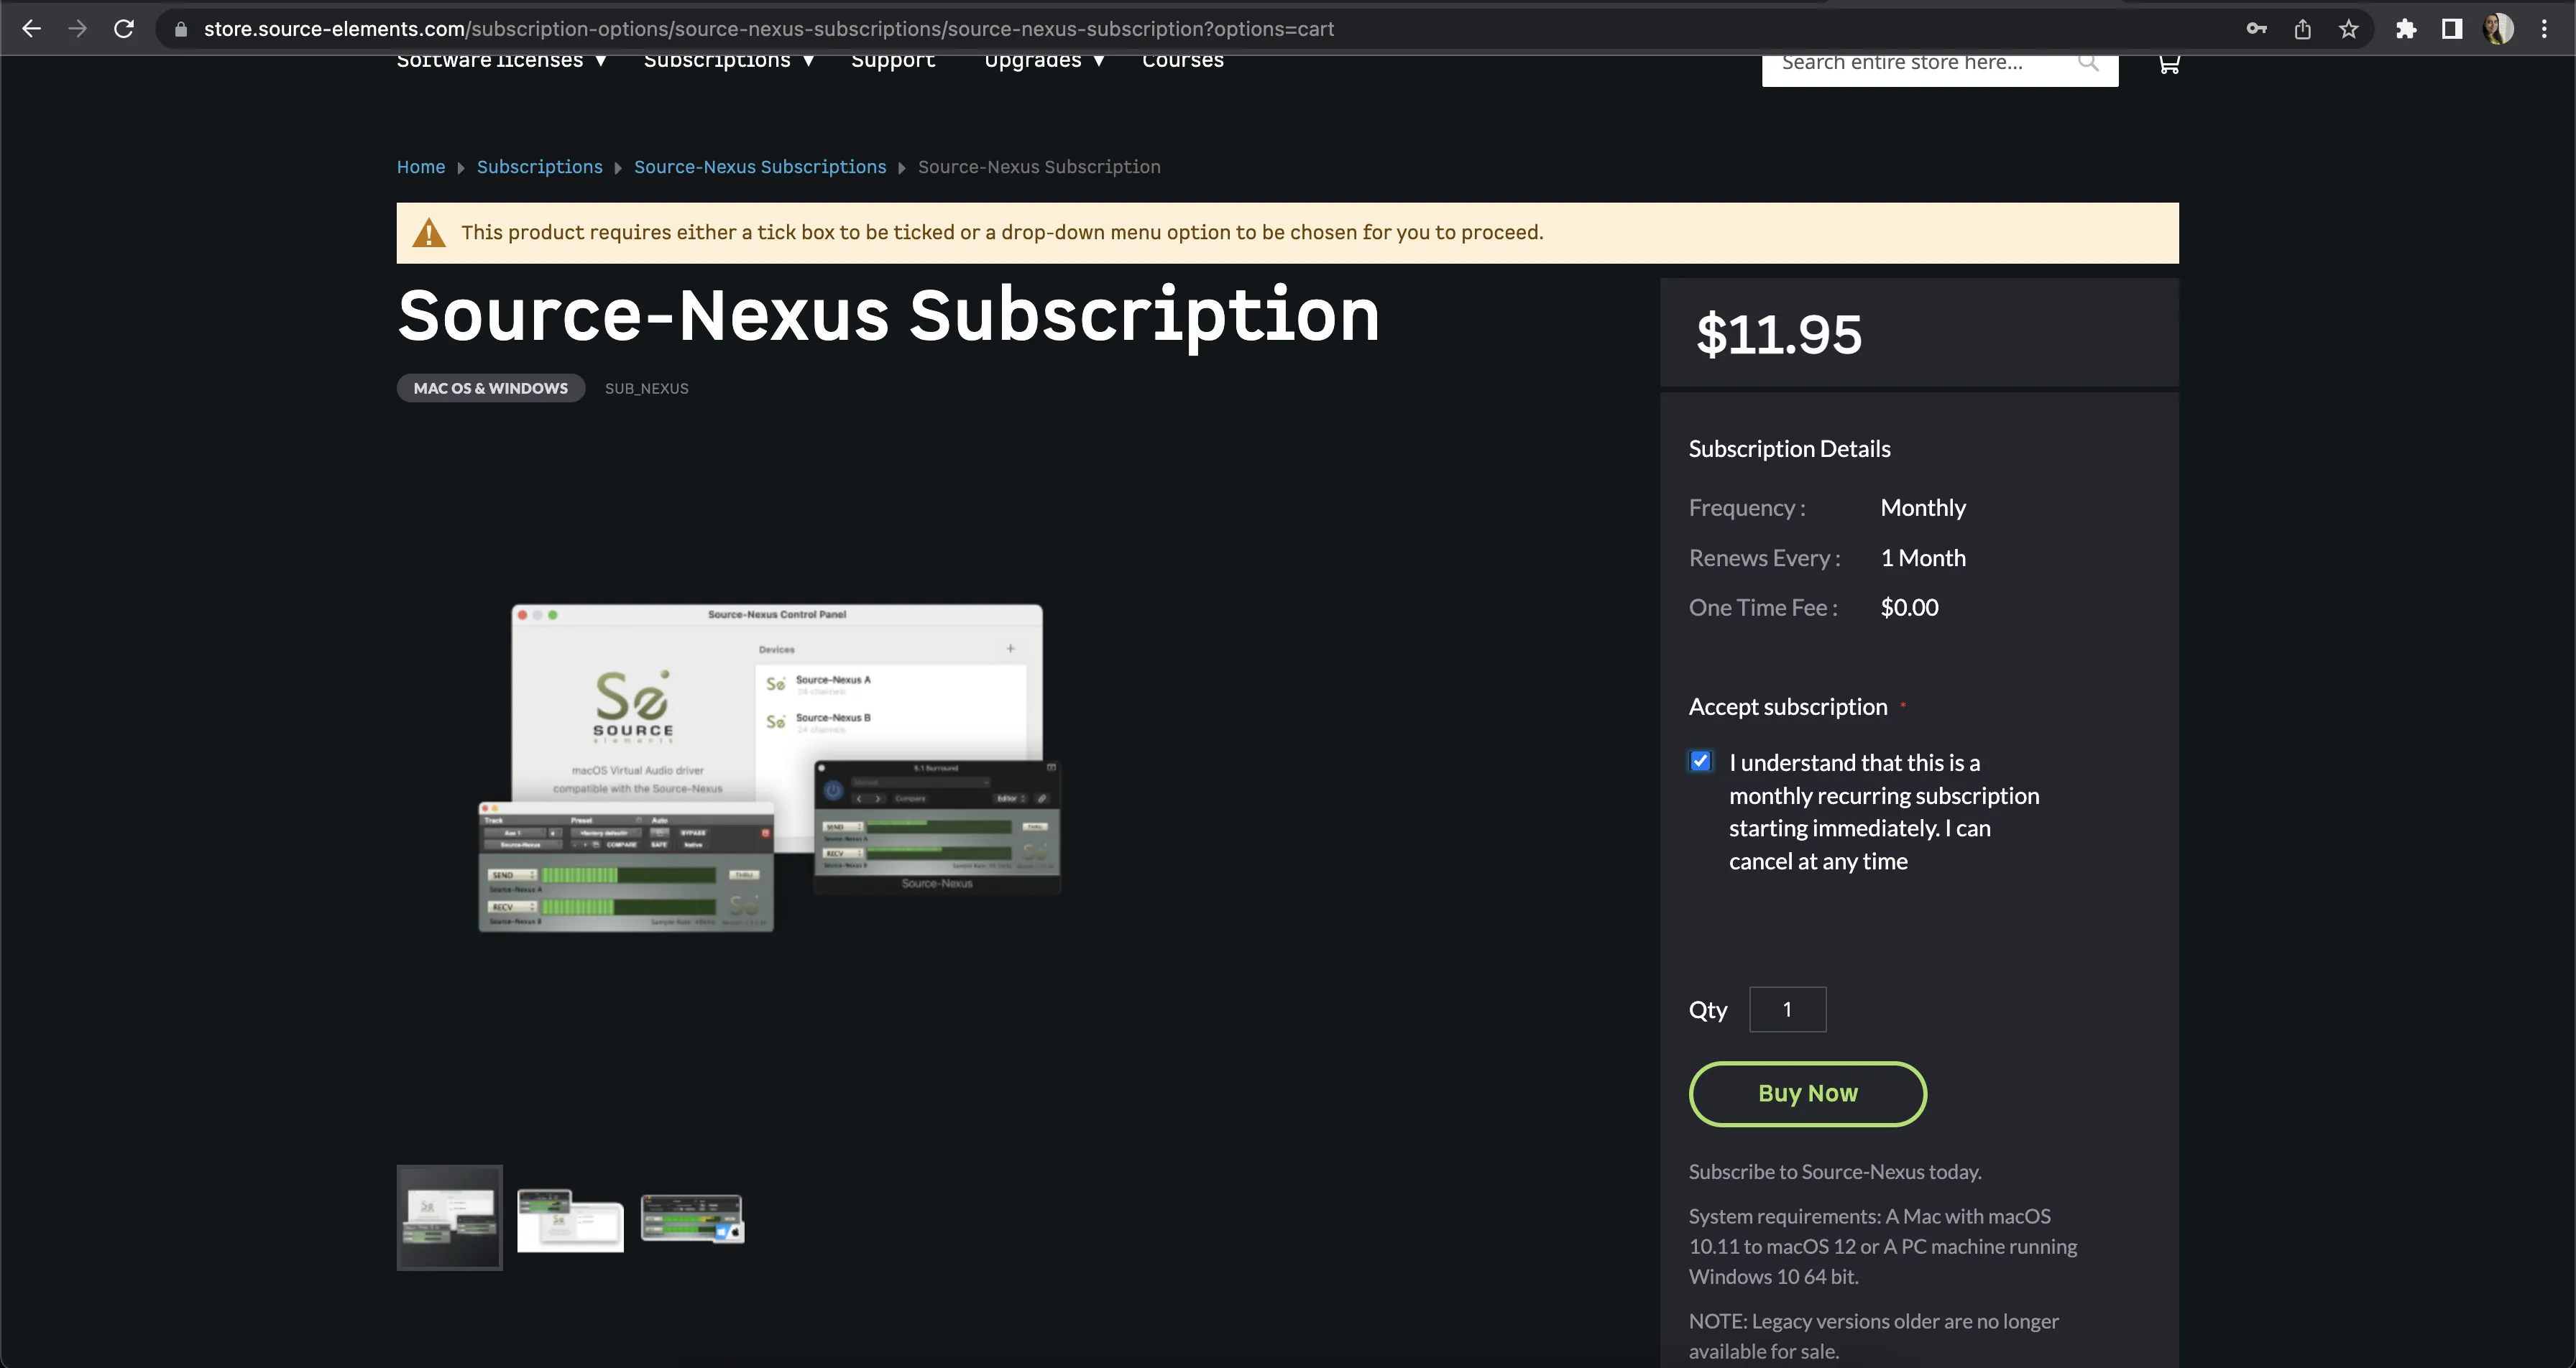
If you want to purchase a subscription, go to https://store.source-elements.com/software-products/source-nexus
Check the "Monthly recurring subscription. Cancel at any time." box.
Click BUY NOW to continue.
Step 7
You will be re-directed to the Shopping Cart. If not, go to https://store.source-elements.com/checkout/cart/
Click PROCEED TO CHECKOUT to continue.
Step 8
In the ORDER REVIEW step, make sure all information is correct and click PLACE ORDER.
Step 9
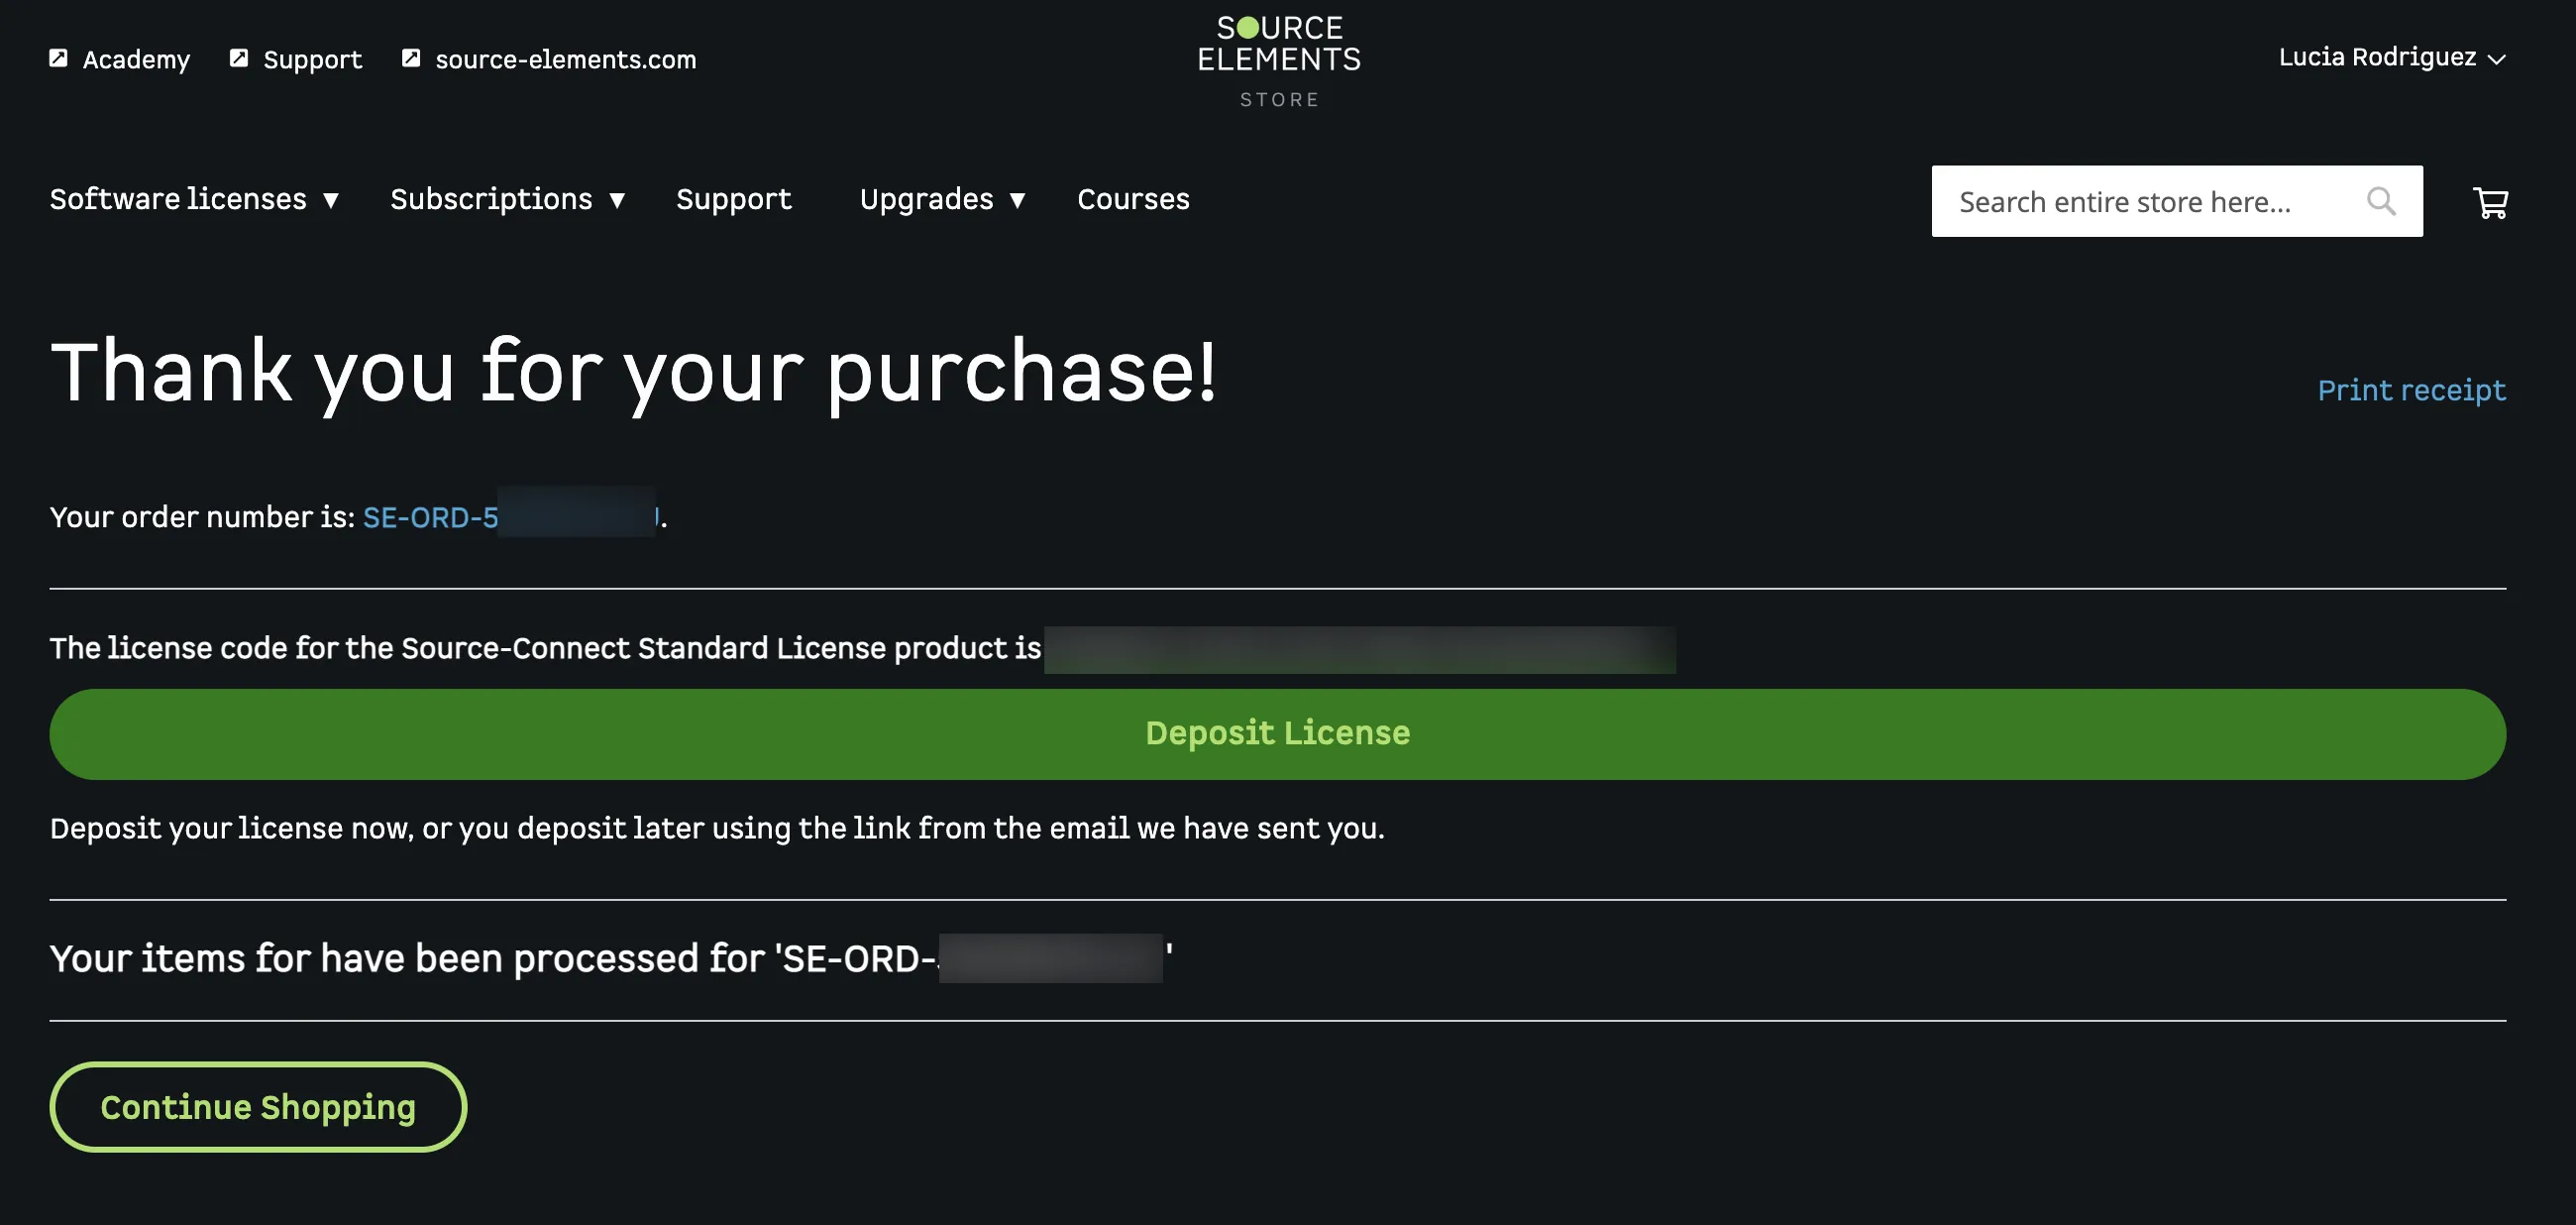
An email with instructions on how to deposit your newly purchased license in your iLok will arrive to your email inbox. If nothing arrives, check your SPAM folder.
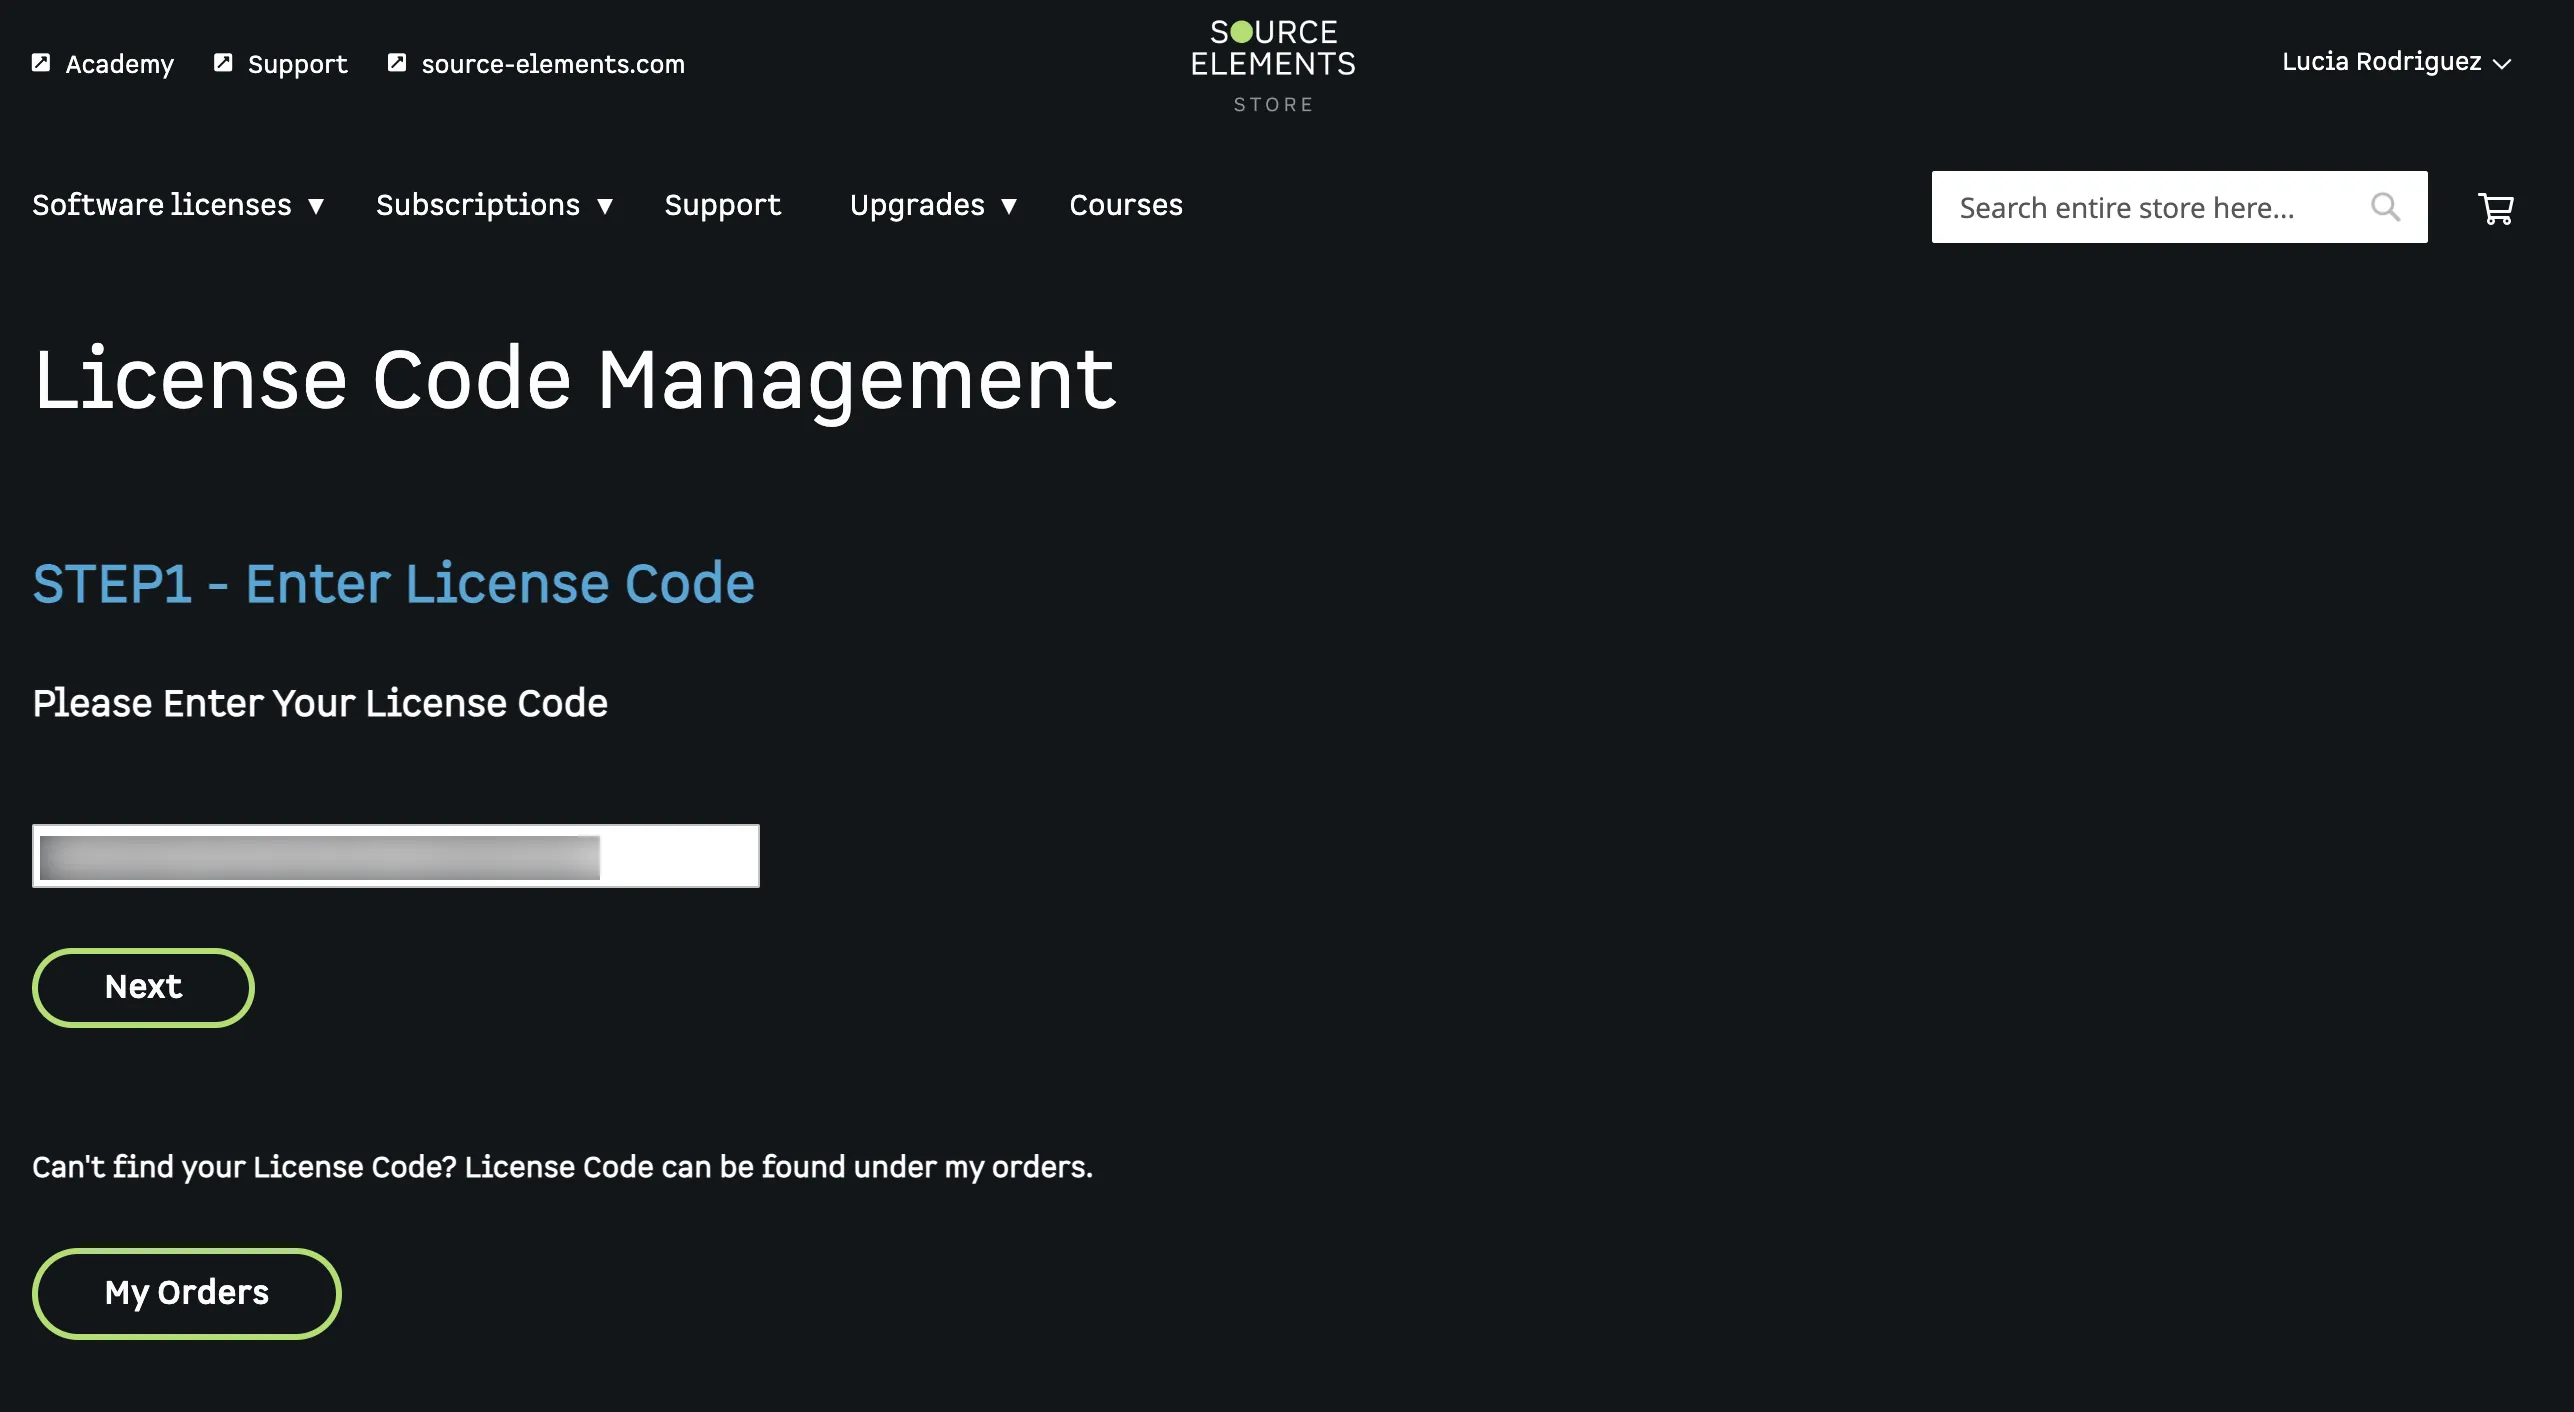
Open the email and copy the license code to your clipboard (select the code and press [⌘]+C on a Mac or [Ctrl]+C on a Windows PC).
The code you're looking for has this format: XXXXXXXX-XXXX-XXXX-XXXX-XXXXXXXXXXXX
Step 10
Click the "Deposit License" button:
In the first step, click the "Next" button to continue with the license activation process.
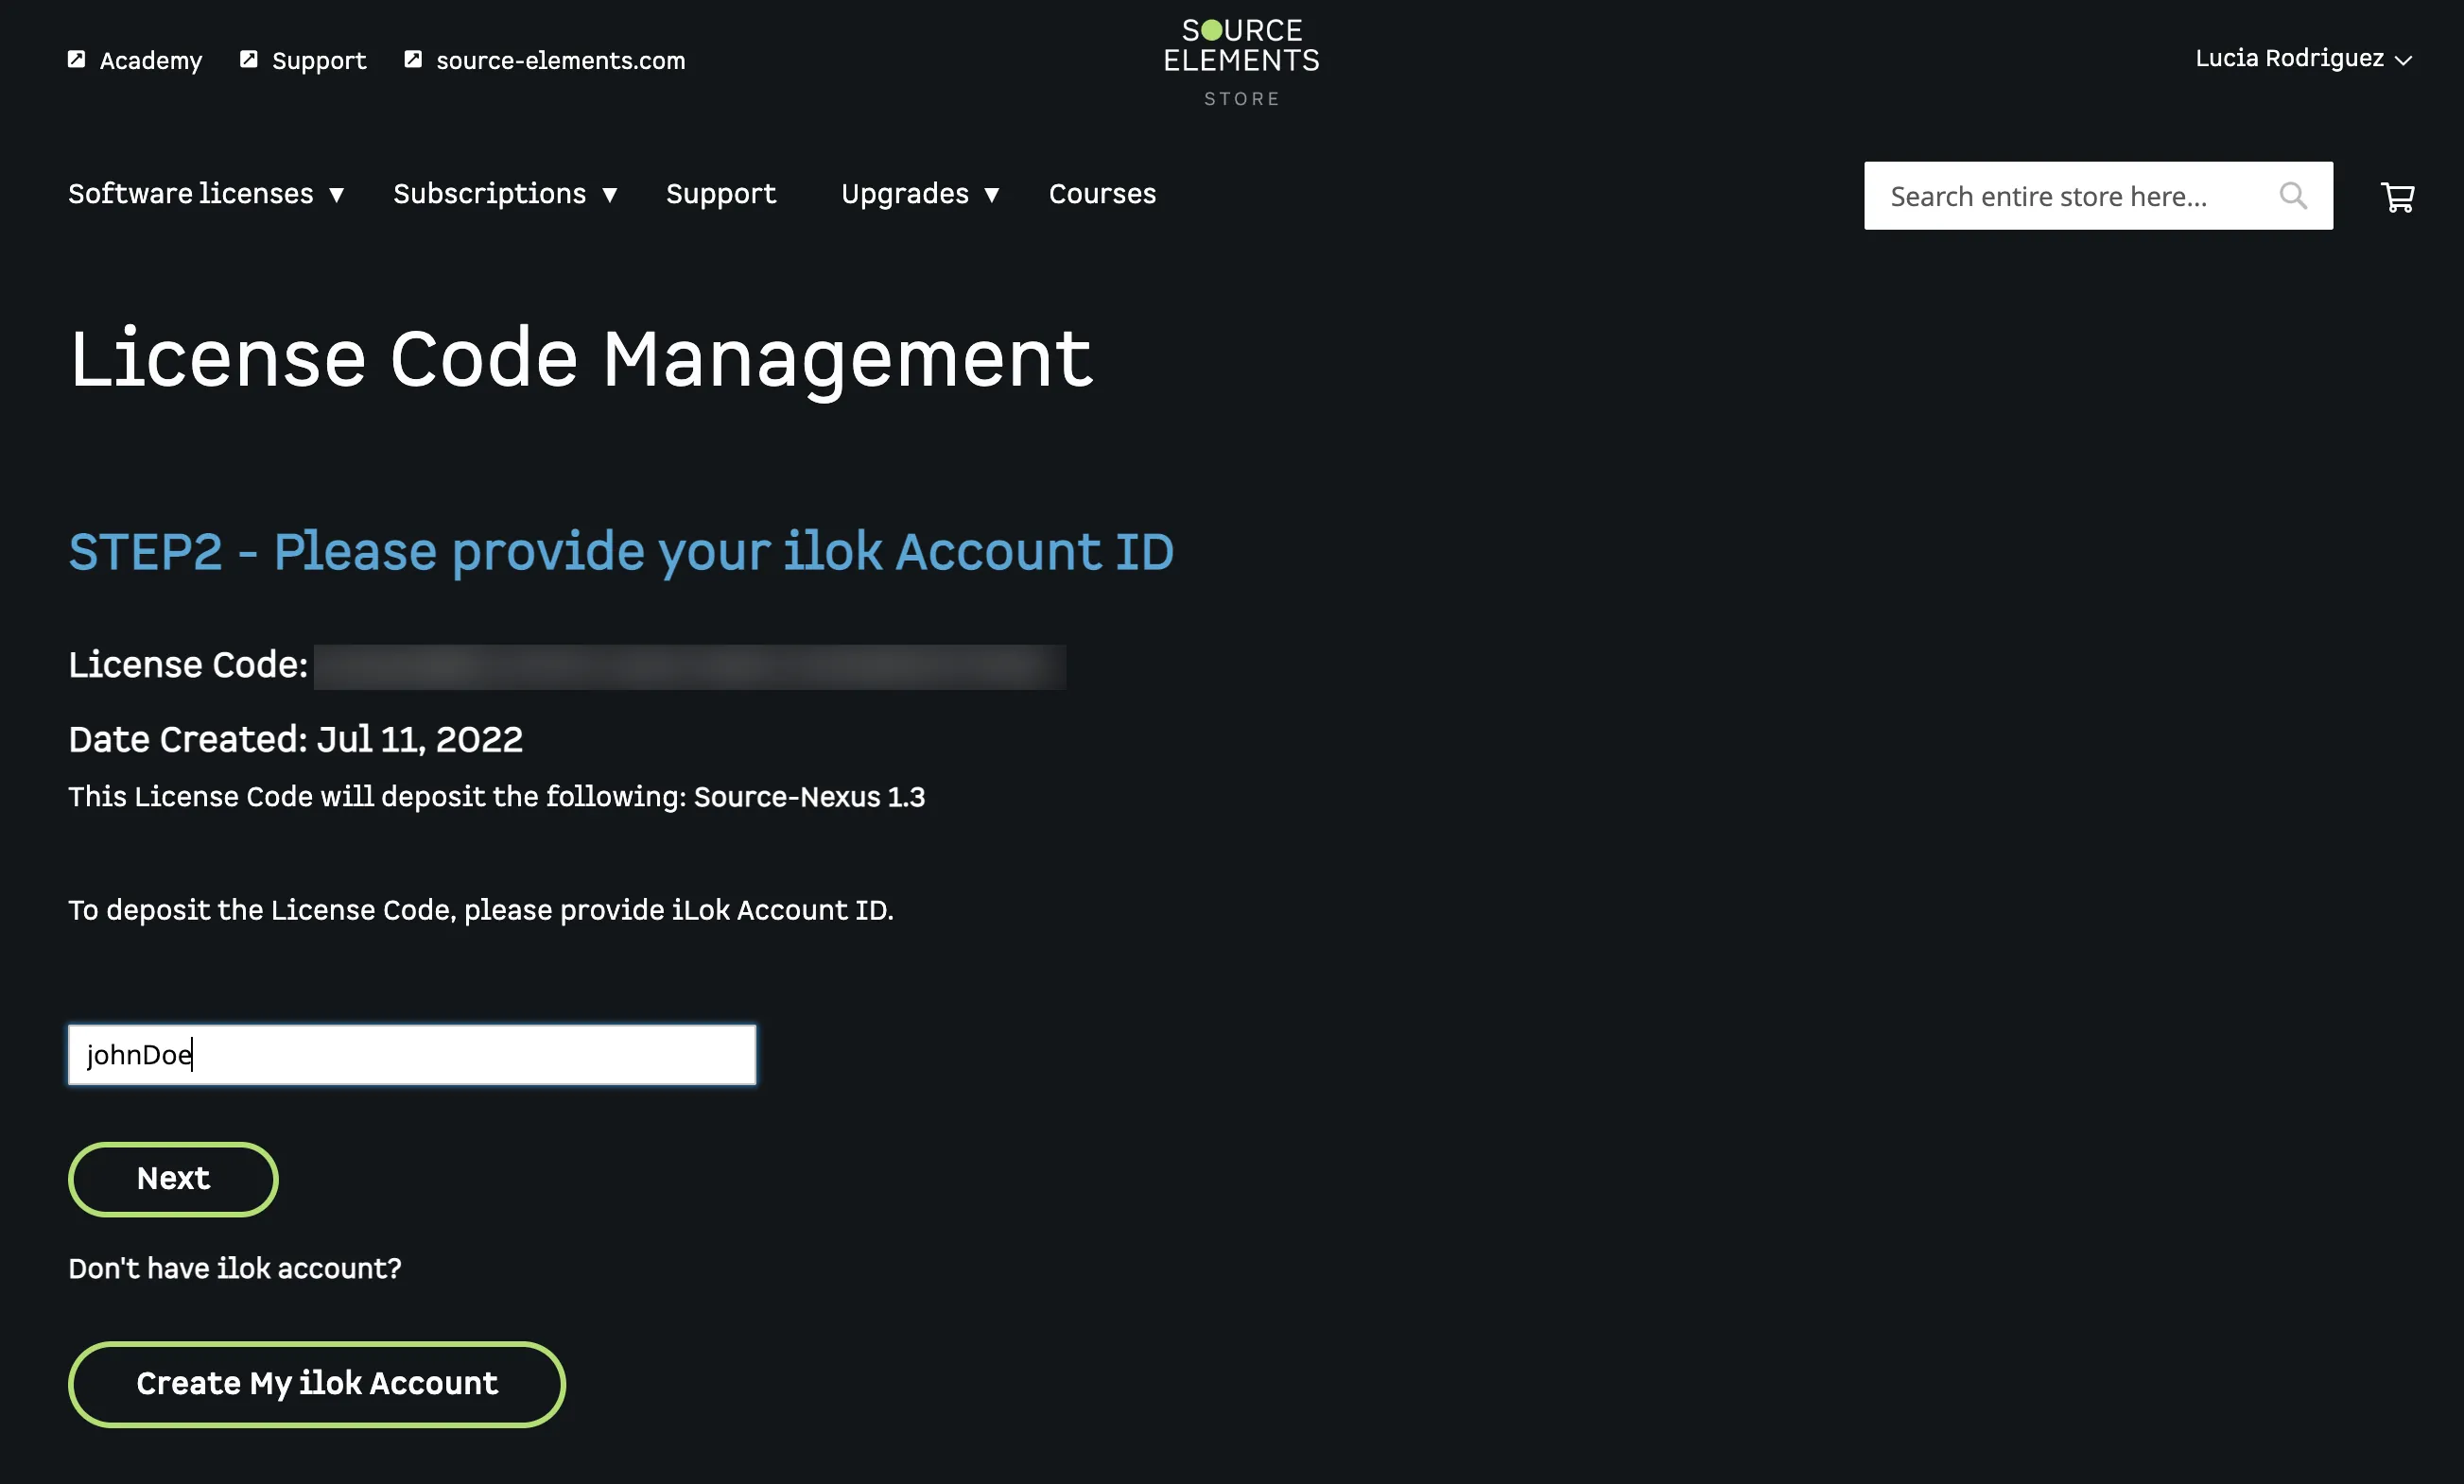
In the second step, type in your iLok user name and click "Next" to continue. This is the same iLok account you created on STEP 1.
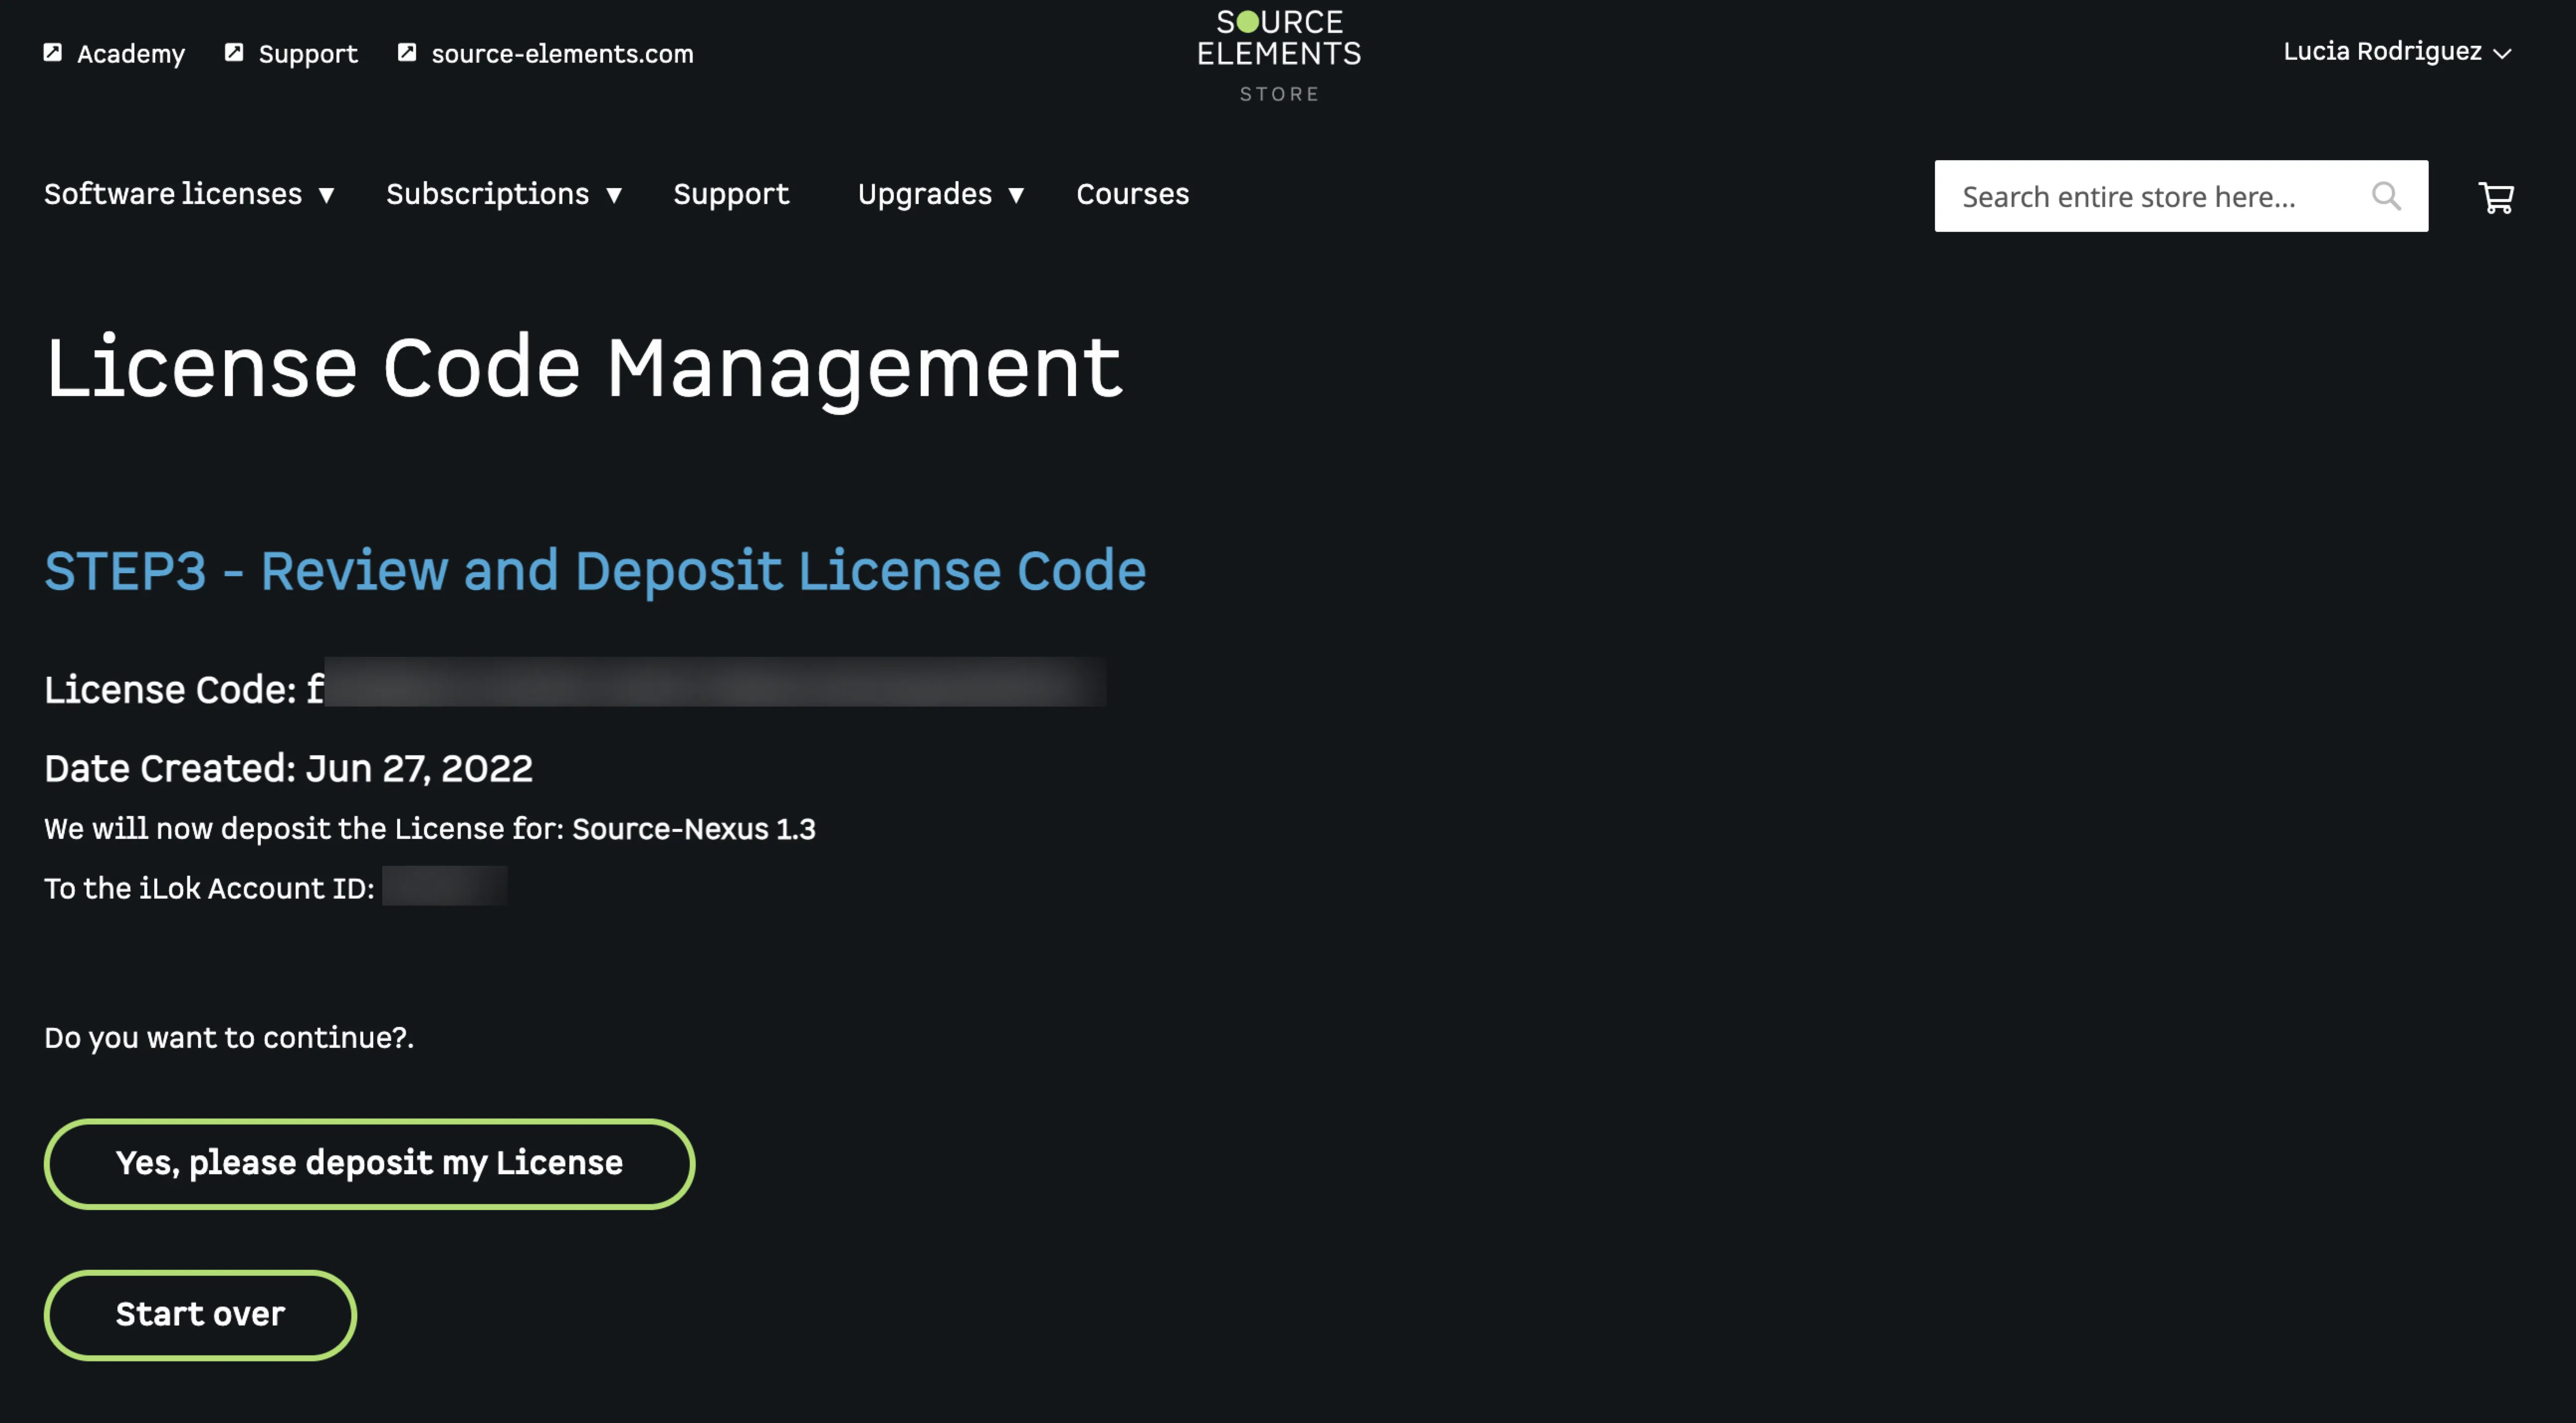
In the third step, click "Yes, please deposit my License" to complete the activation process.
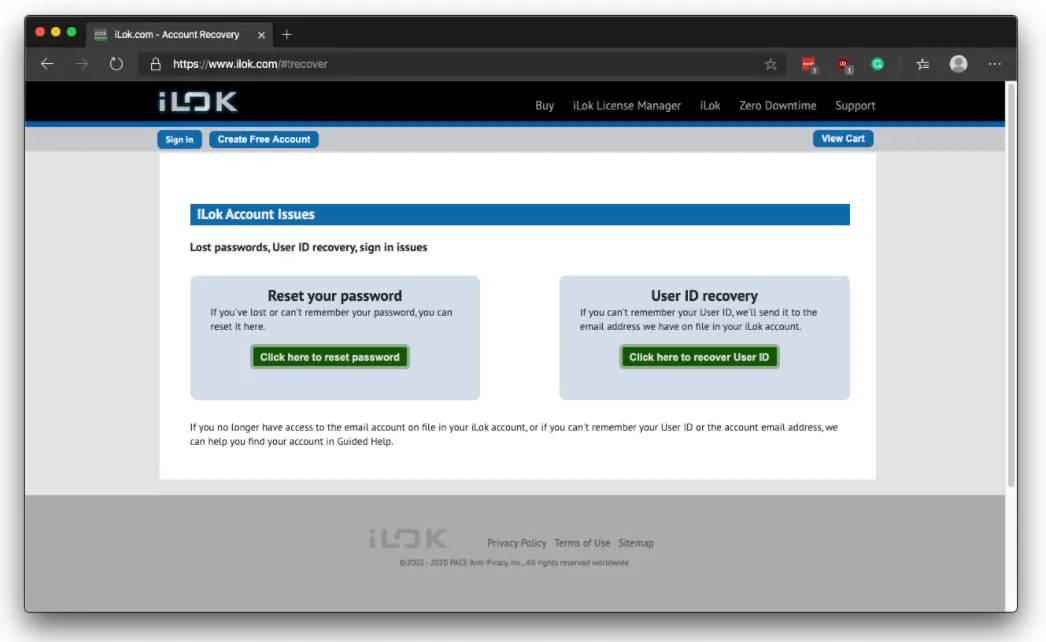
If you don’t remember your iLok user name, you can recover your account here https://www.ilok.com/#!recover
Step 11
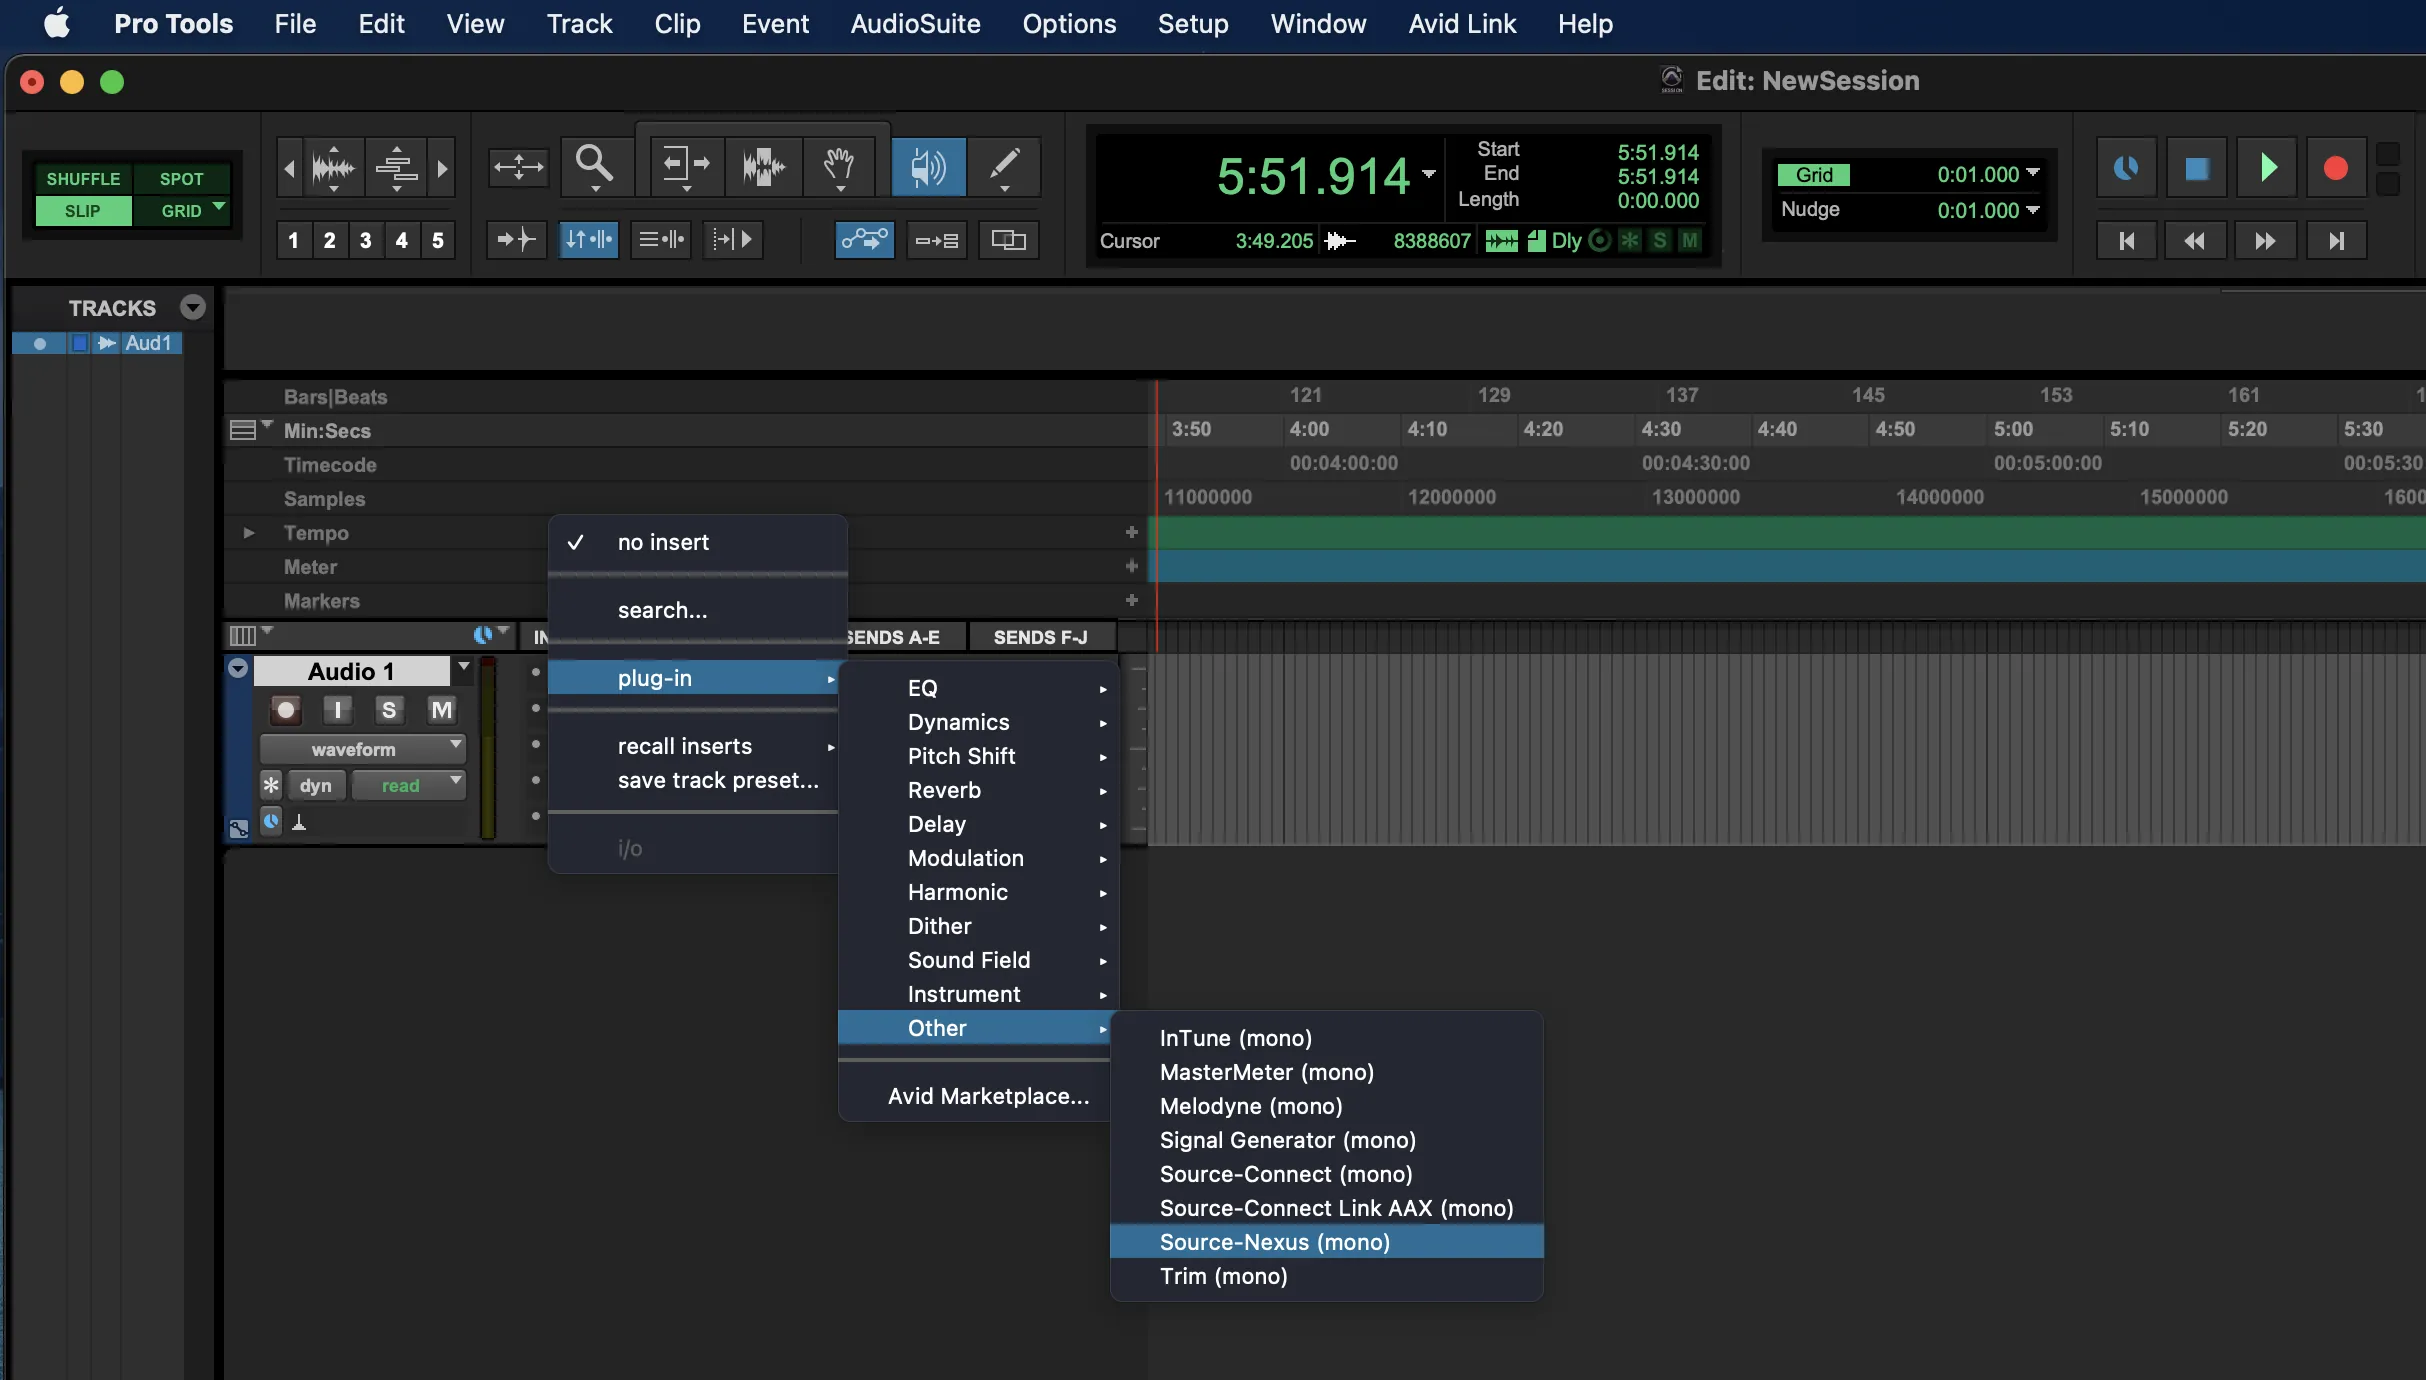
Launch your preferred DAW and add a new track. In the "Inserts" section of your track, add a new instance of Source-Nexus I/O:
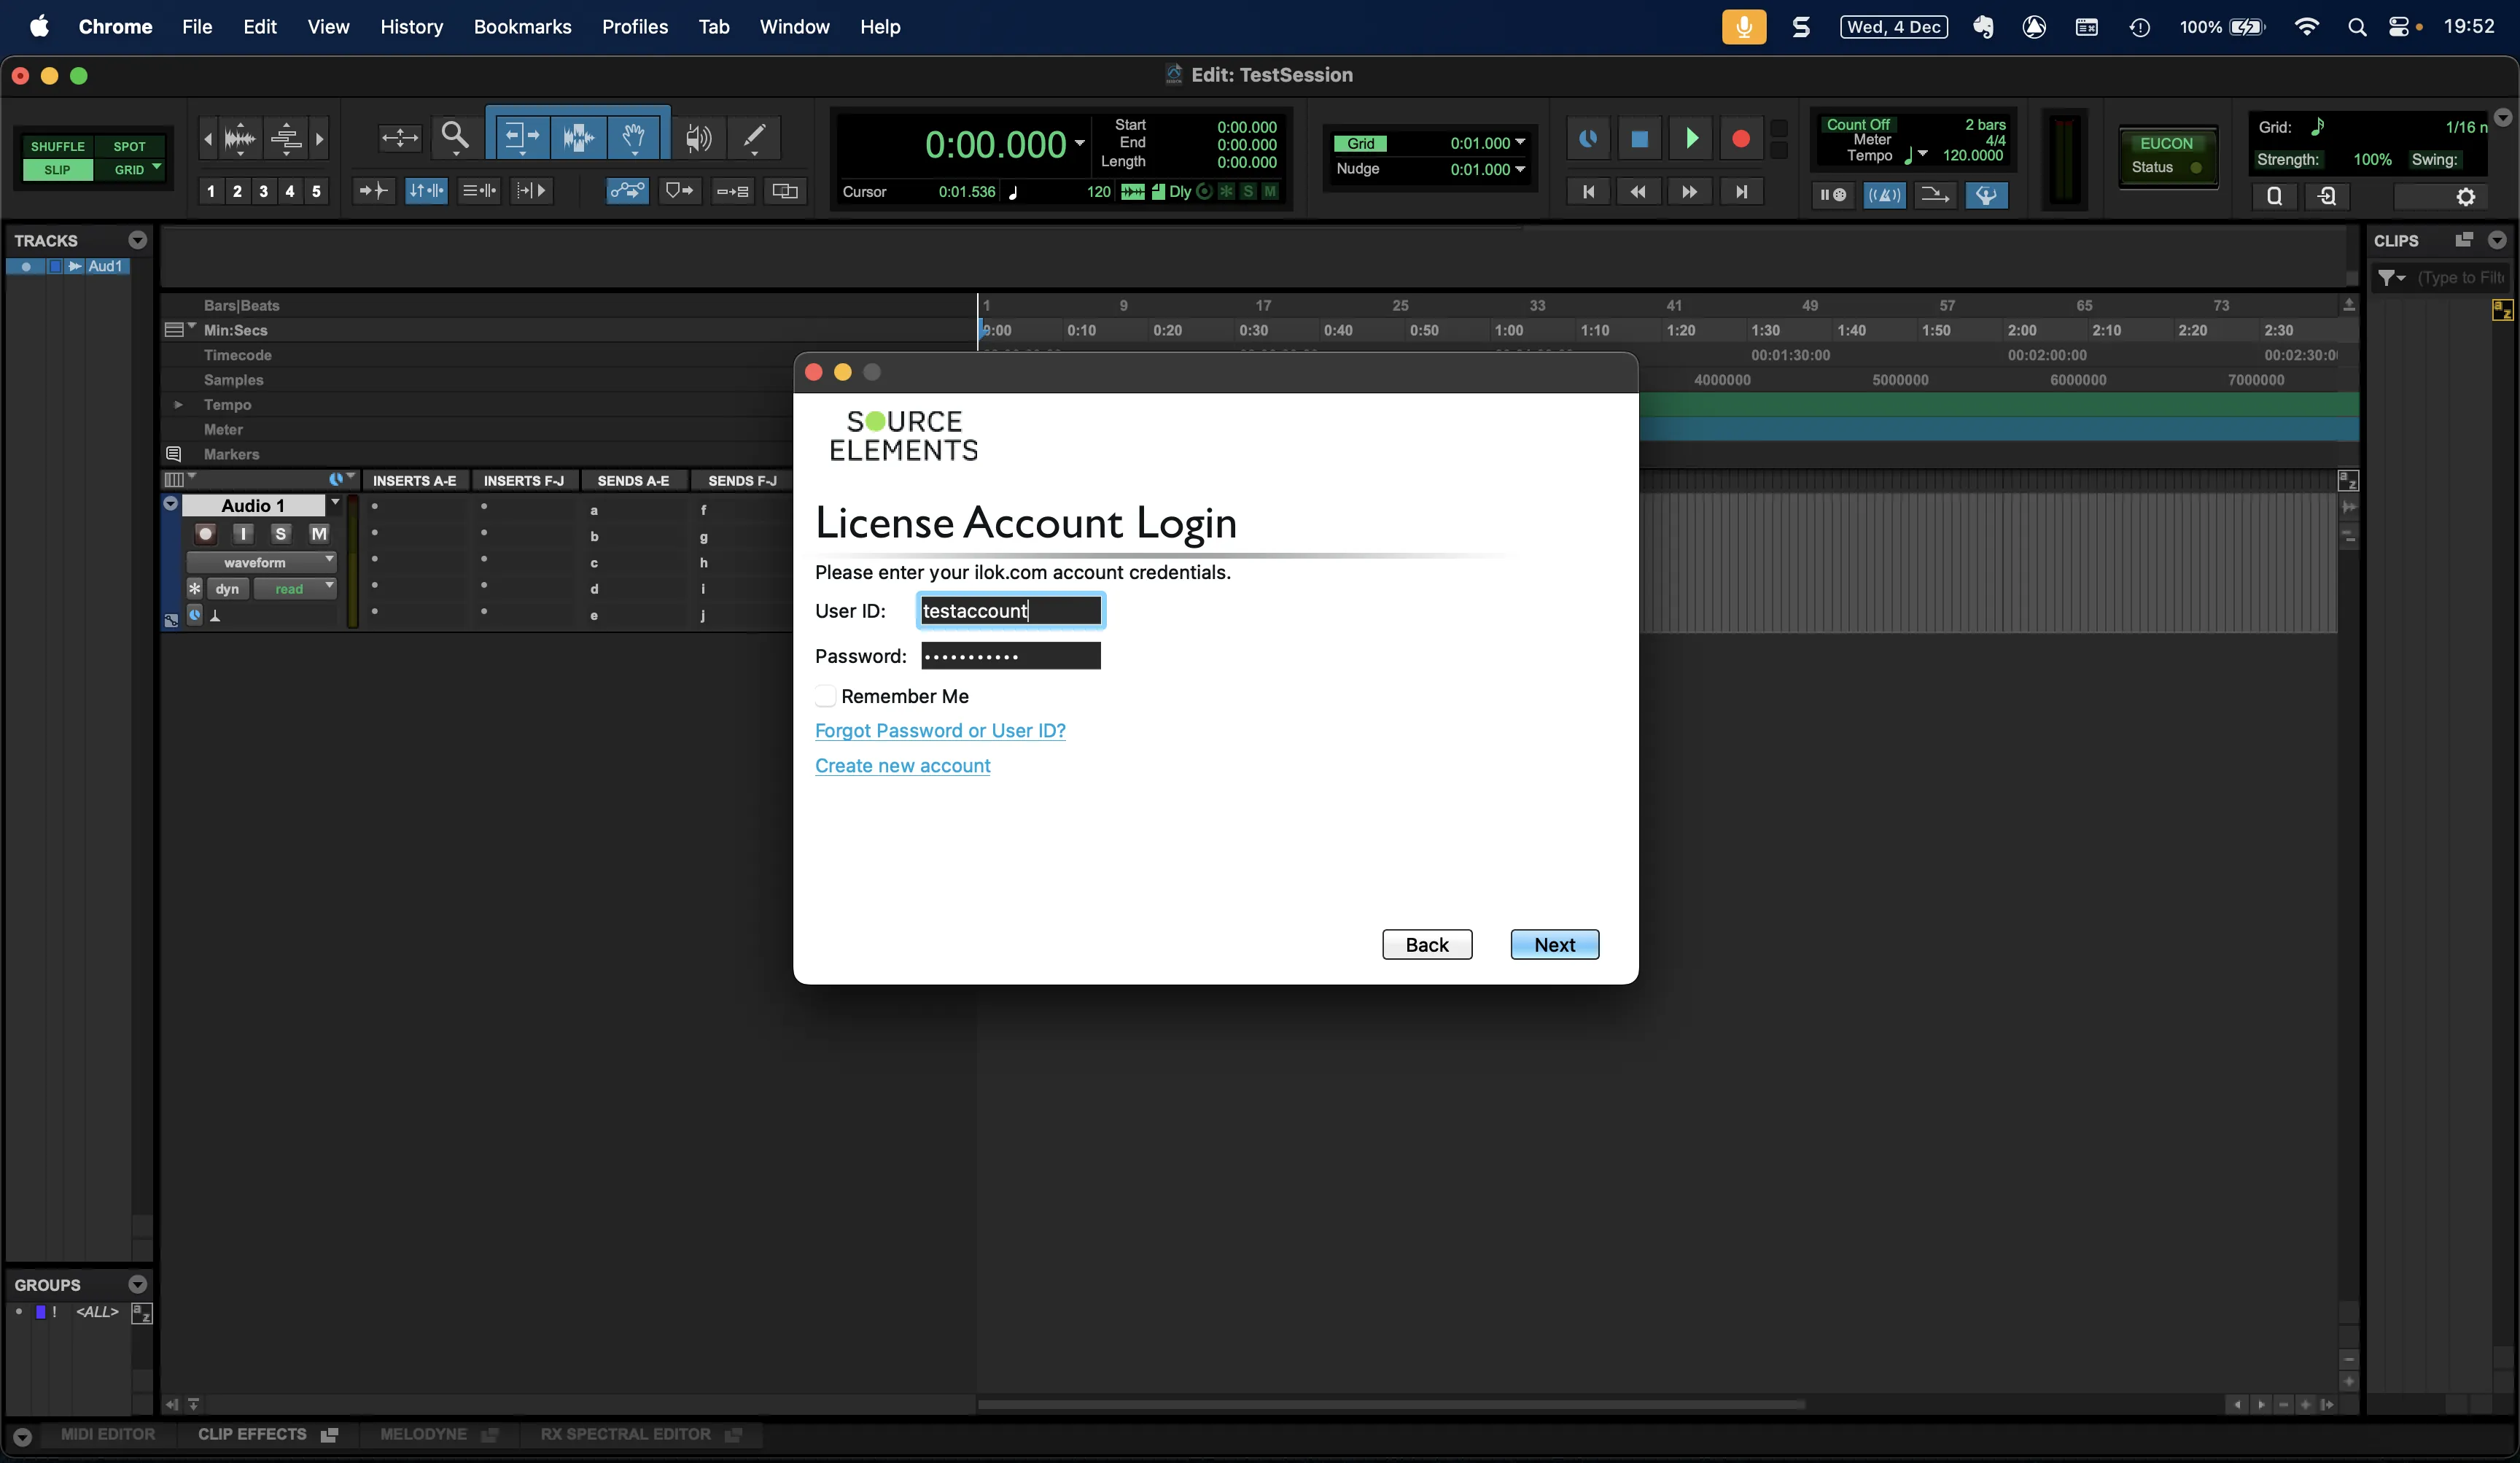
If there is no iLok activated to your computer (or iLok dongle) the first time you launch Source-Nexus I/O on your DAW, the application will display “Activation is required”.
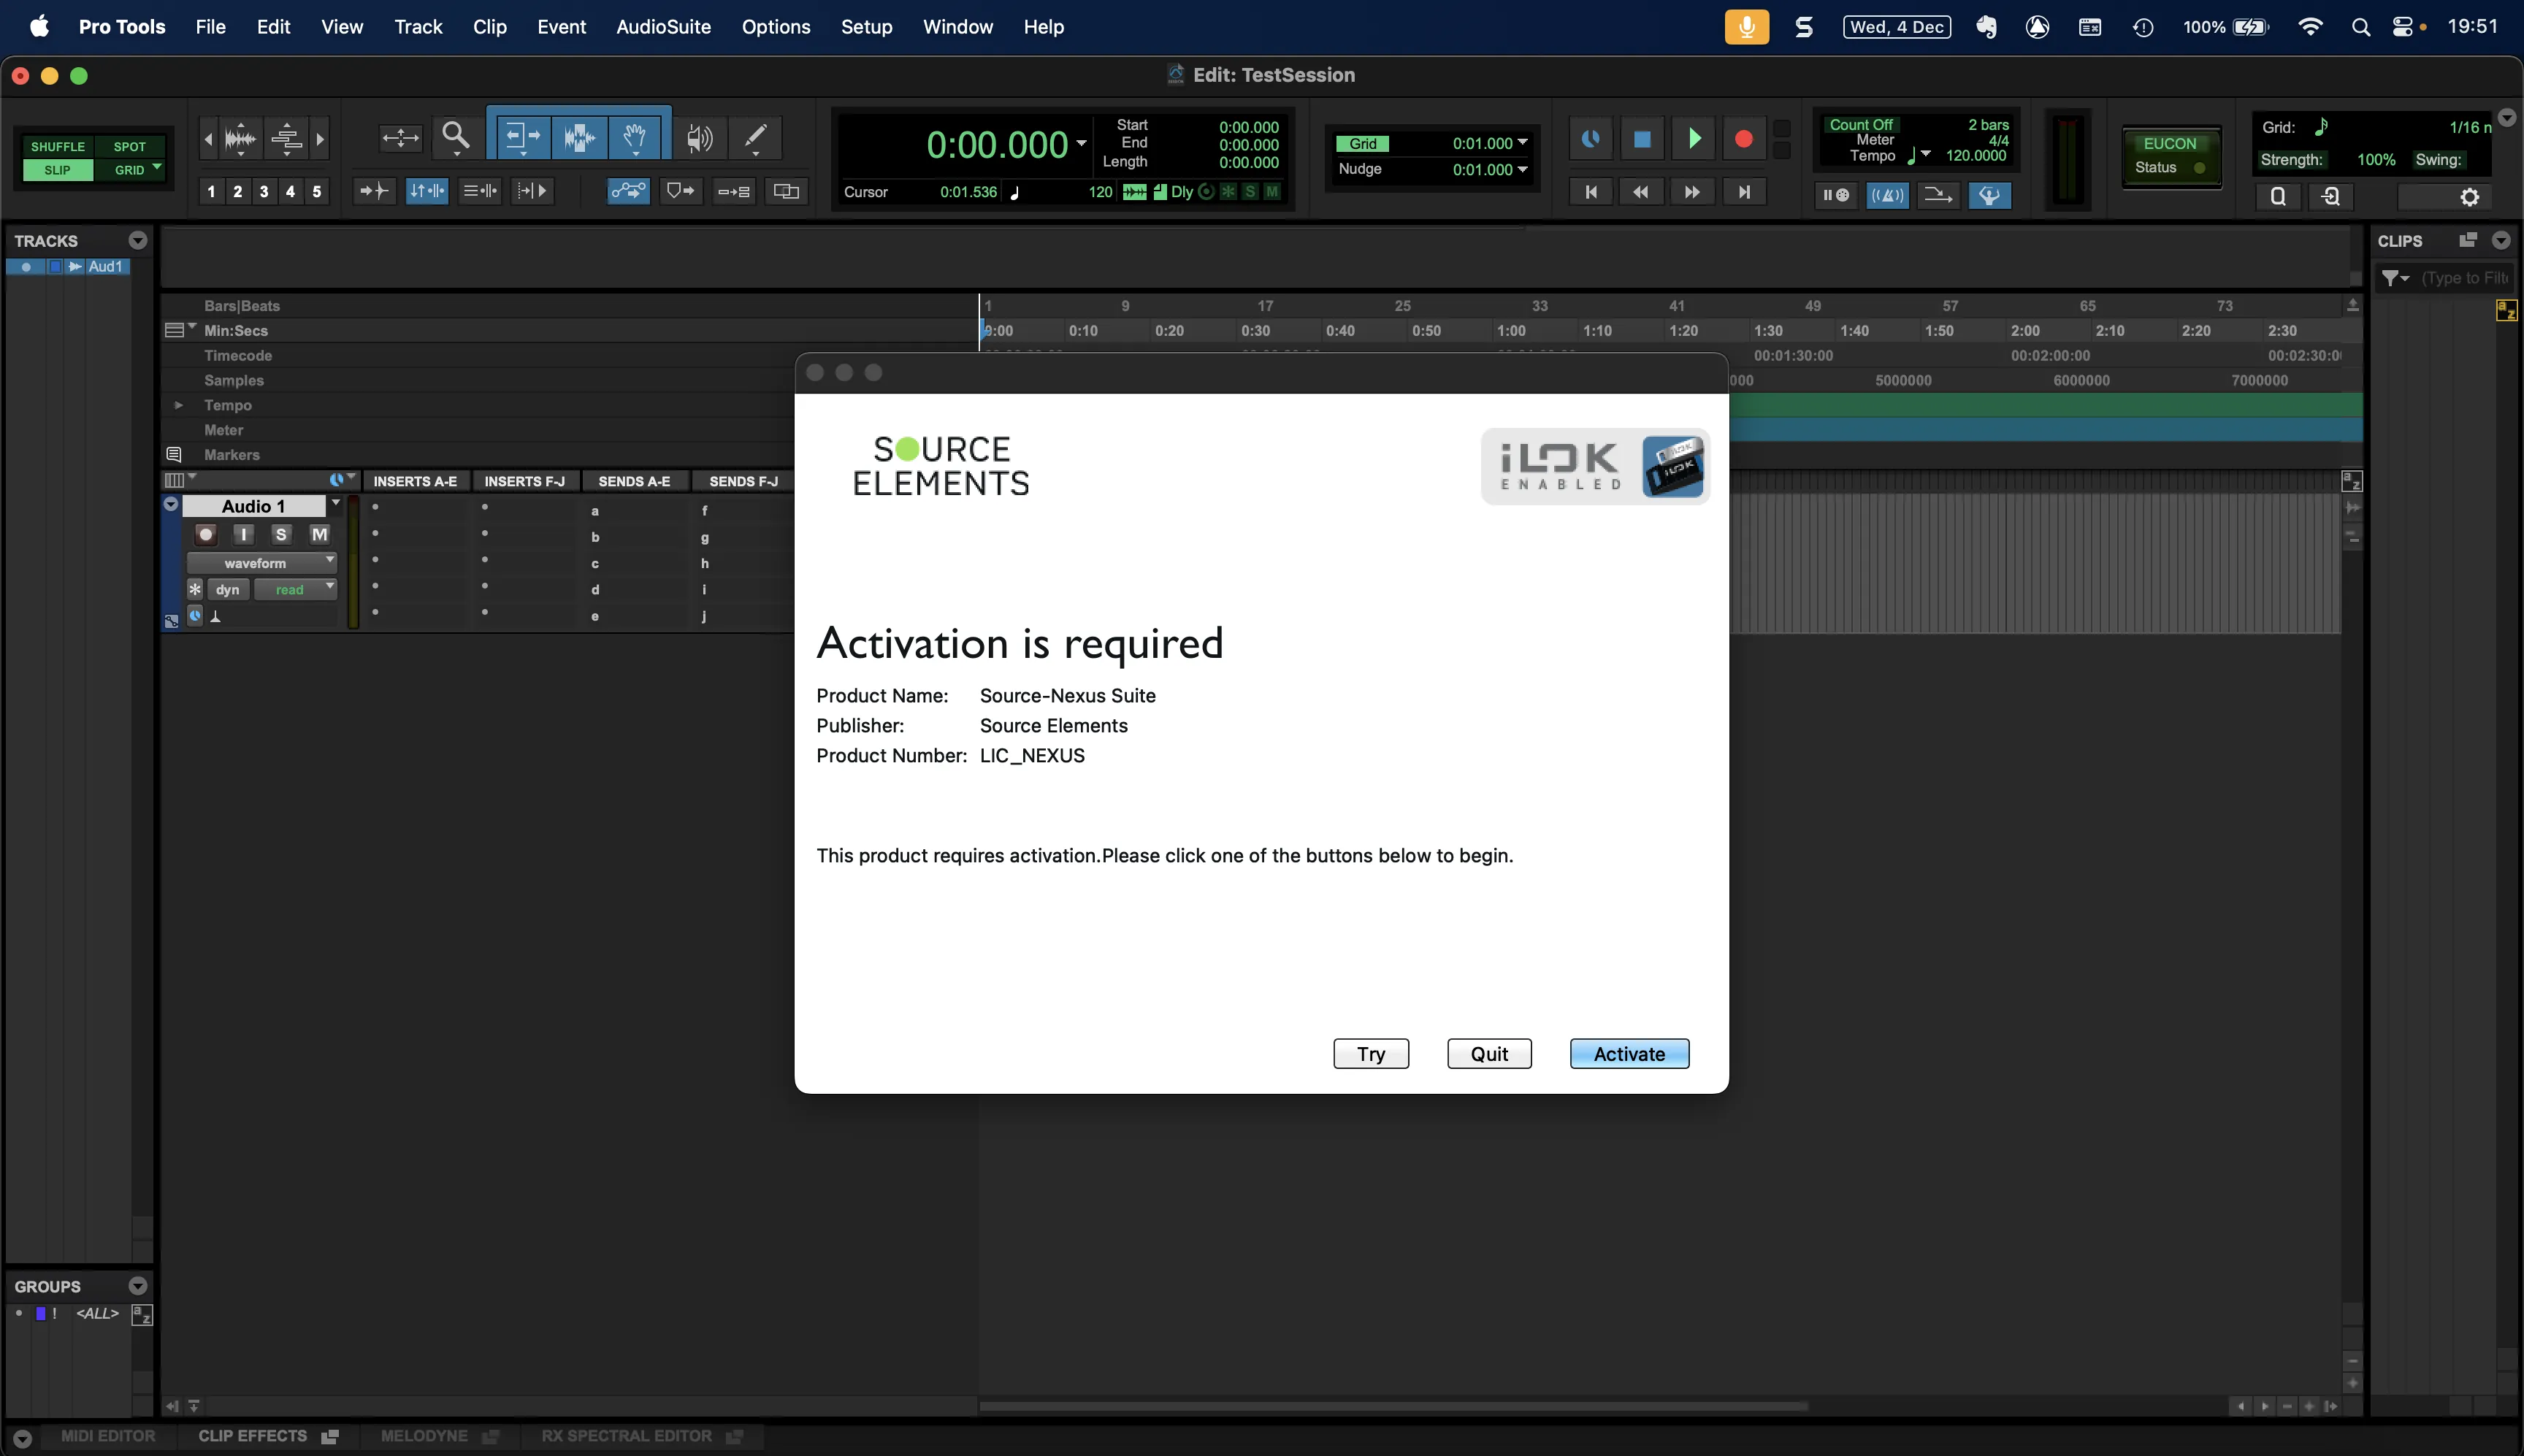
Click Activate and Source-Nexus I/O will prompt you to enter your iLok username and password.
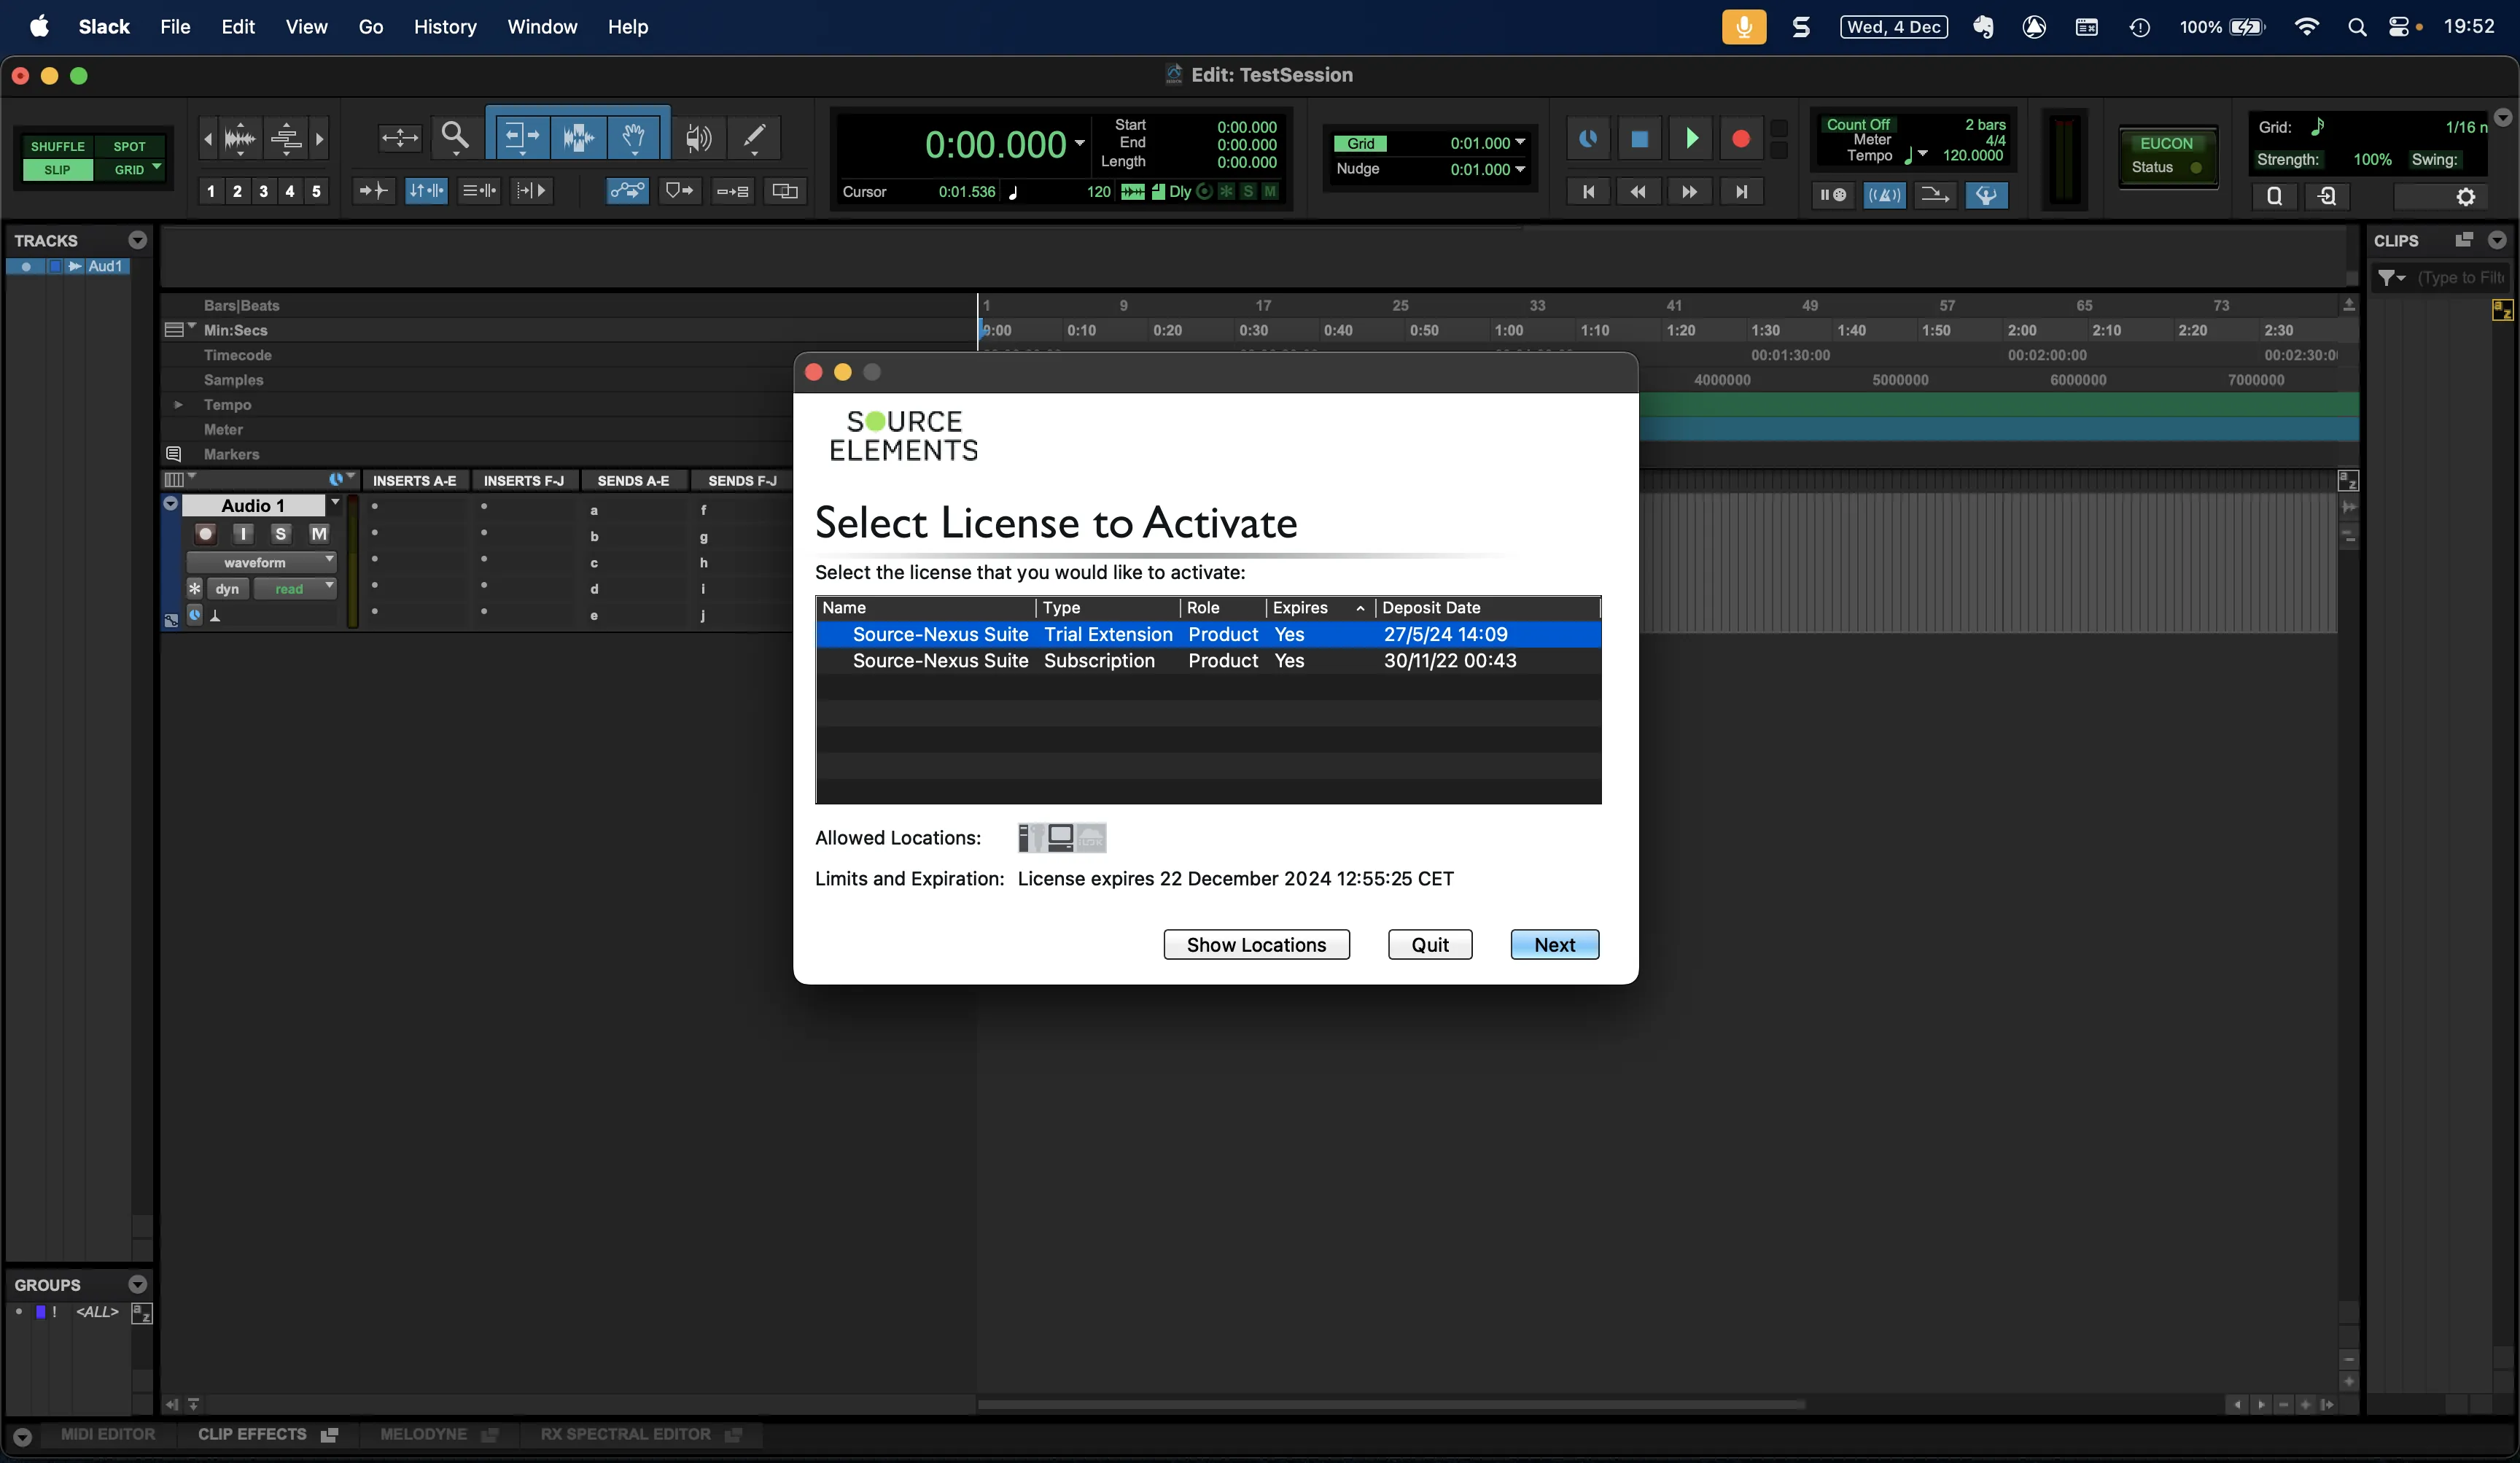
Source-Nexus I/O will check your iLok account for a license, and, if one is found, you will be prompted to activate the license to your computer (or iLok dongle).
Once your license has been activated to your device you will see a Successful Activation notification.
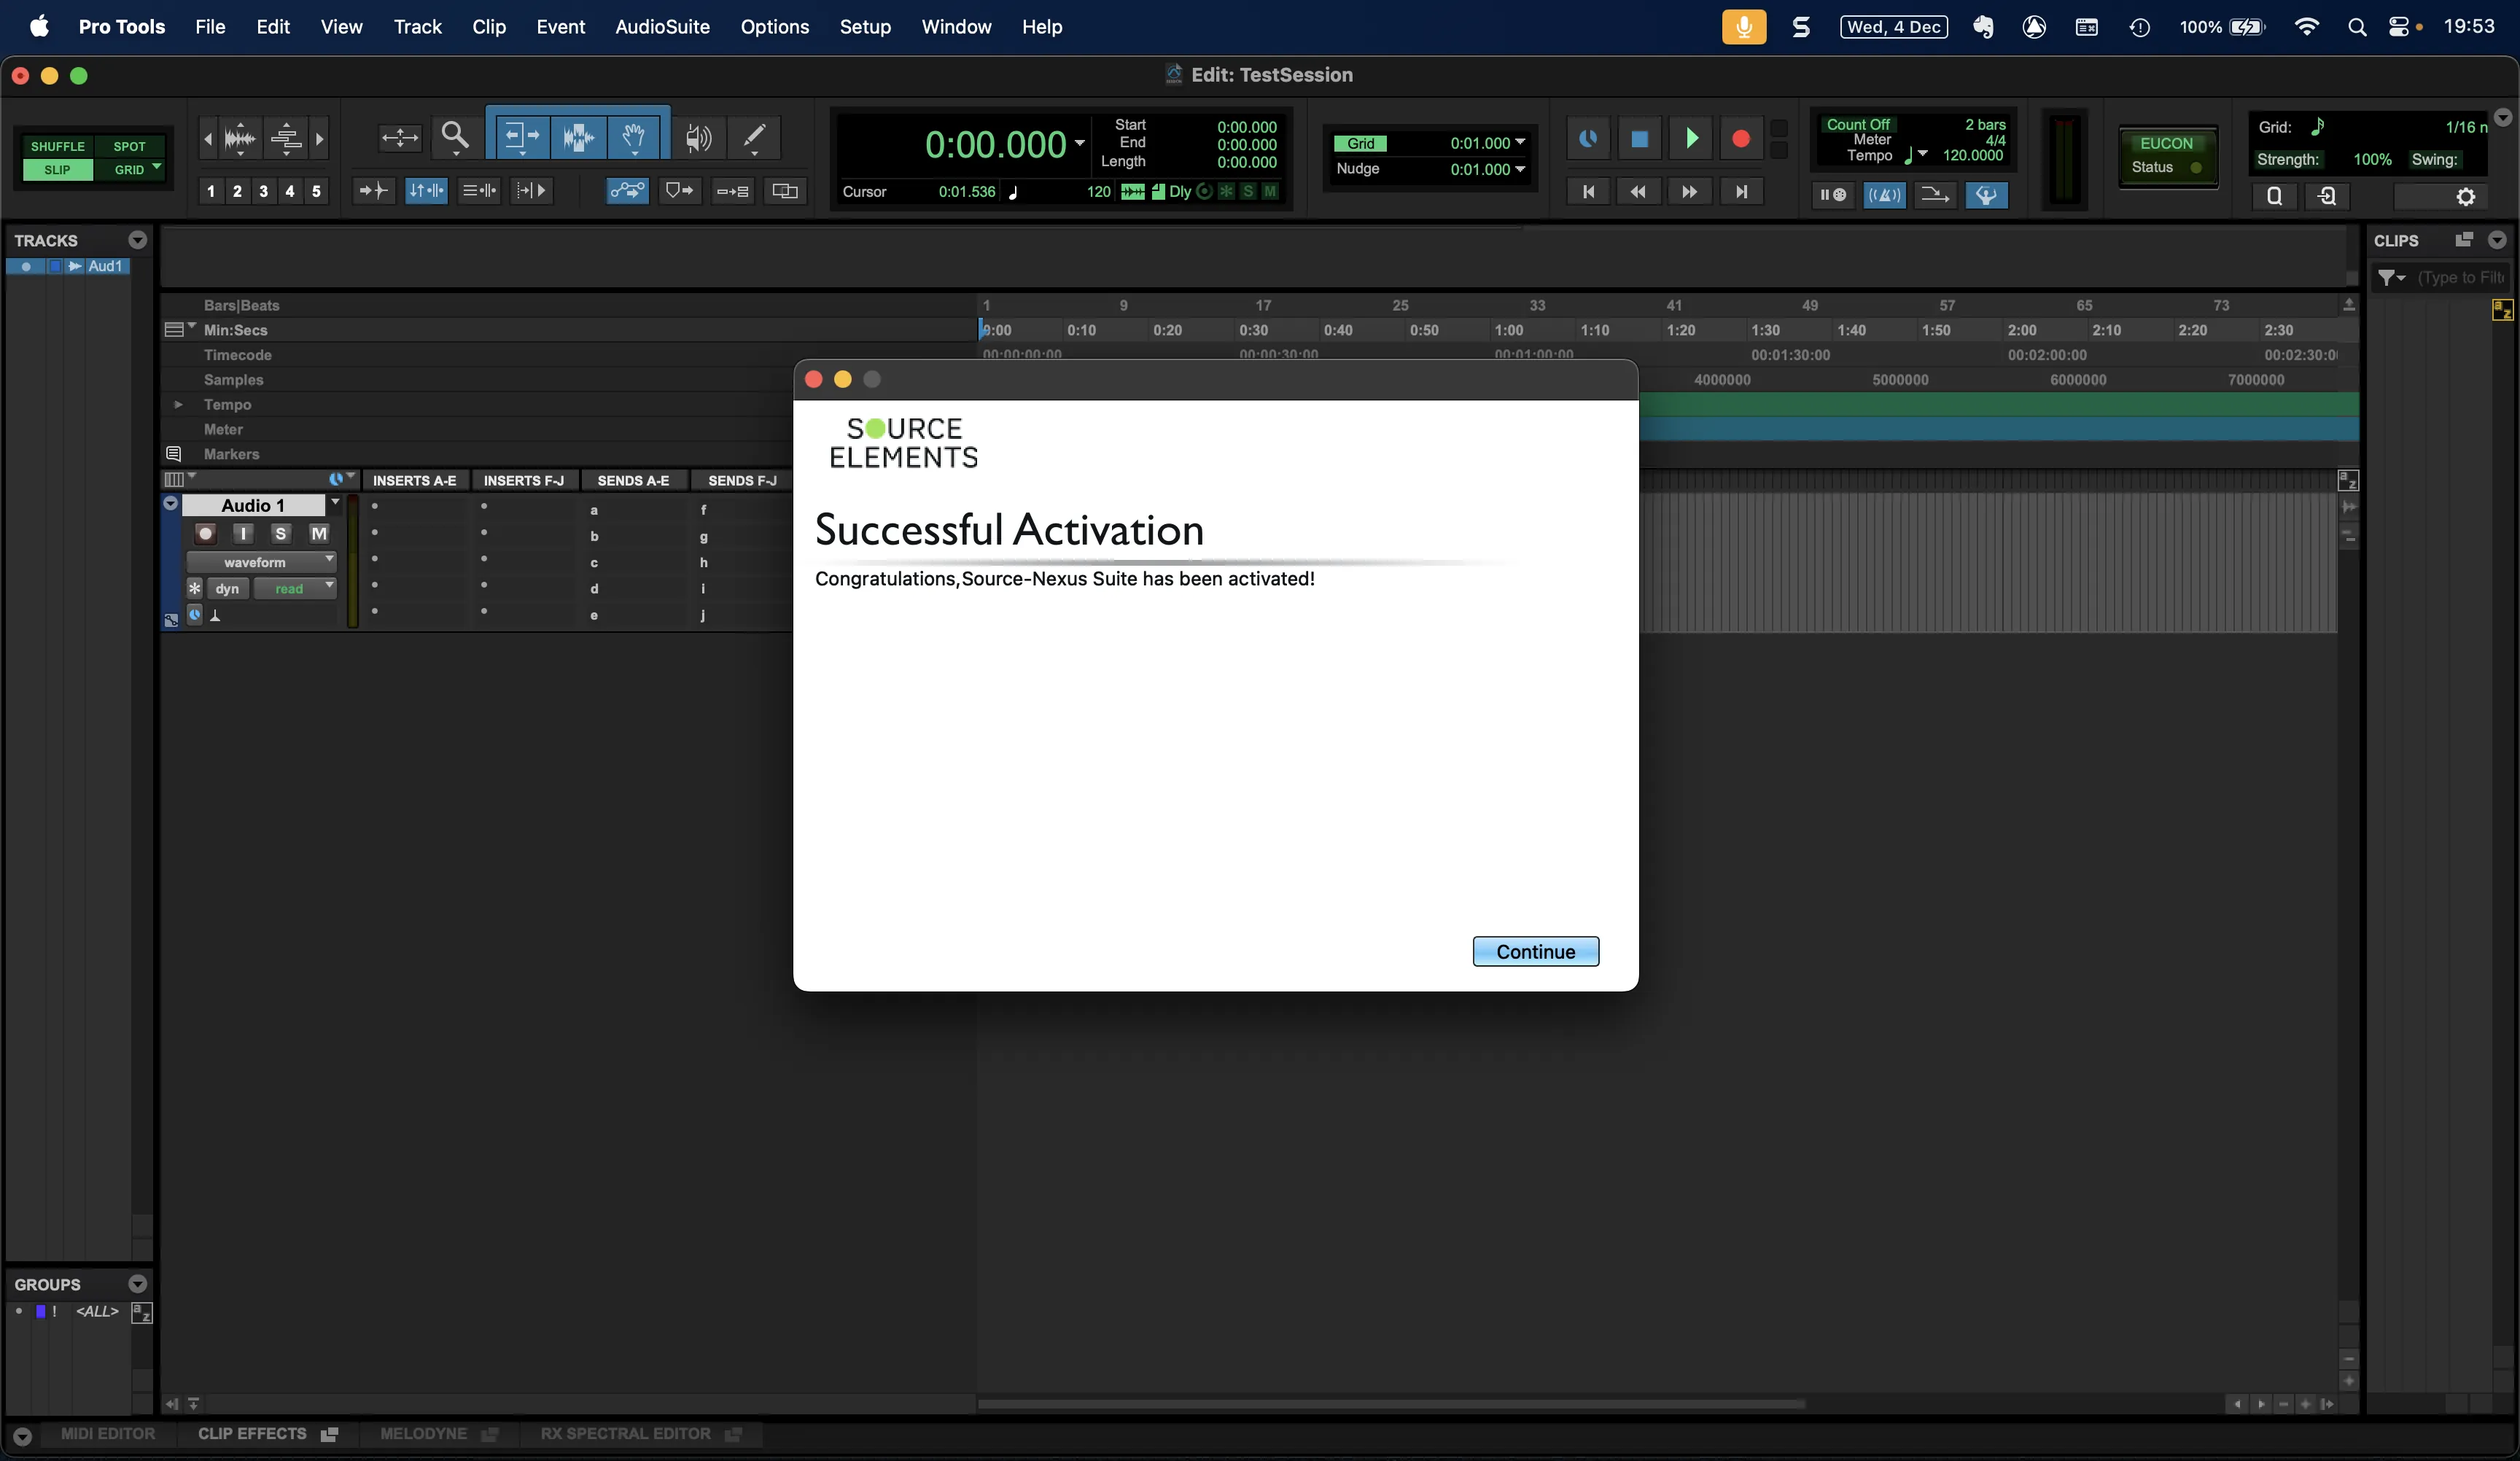
Once the license is activated, Source-Nexus I/O will be launched.
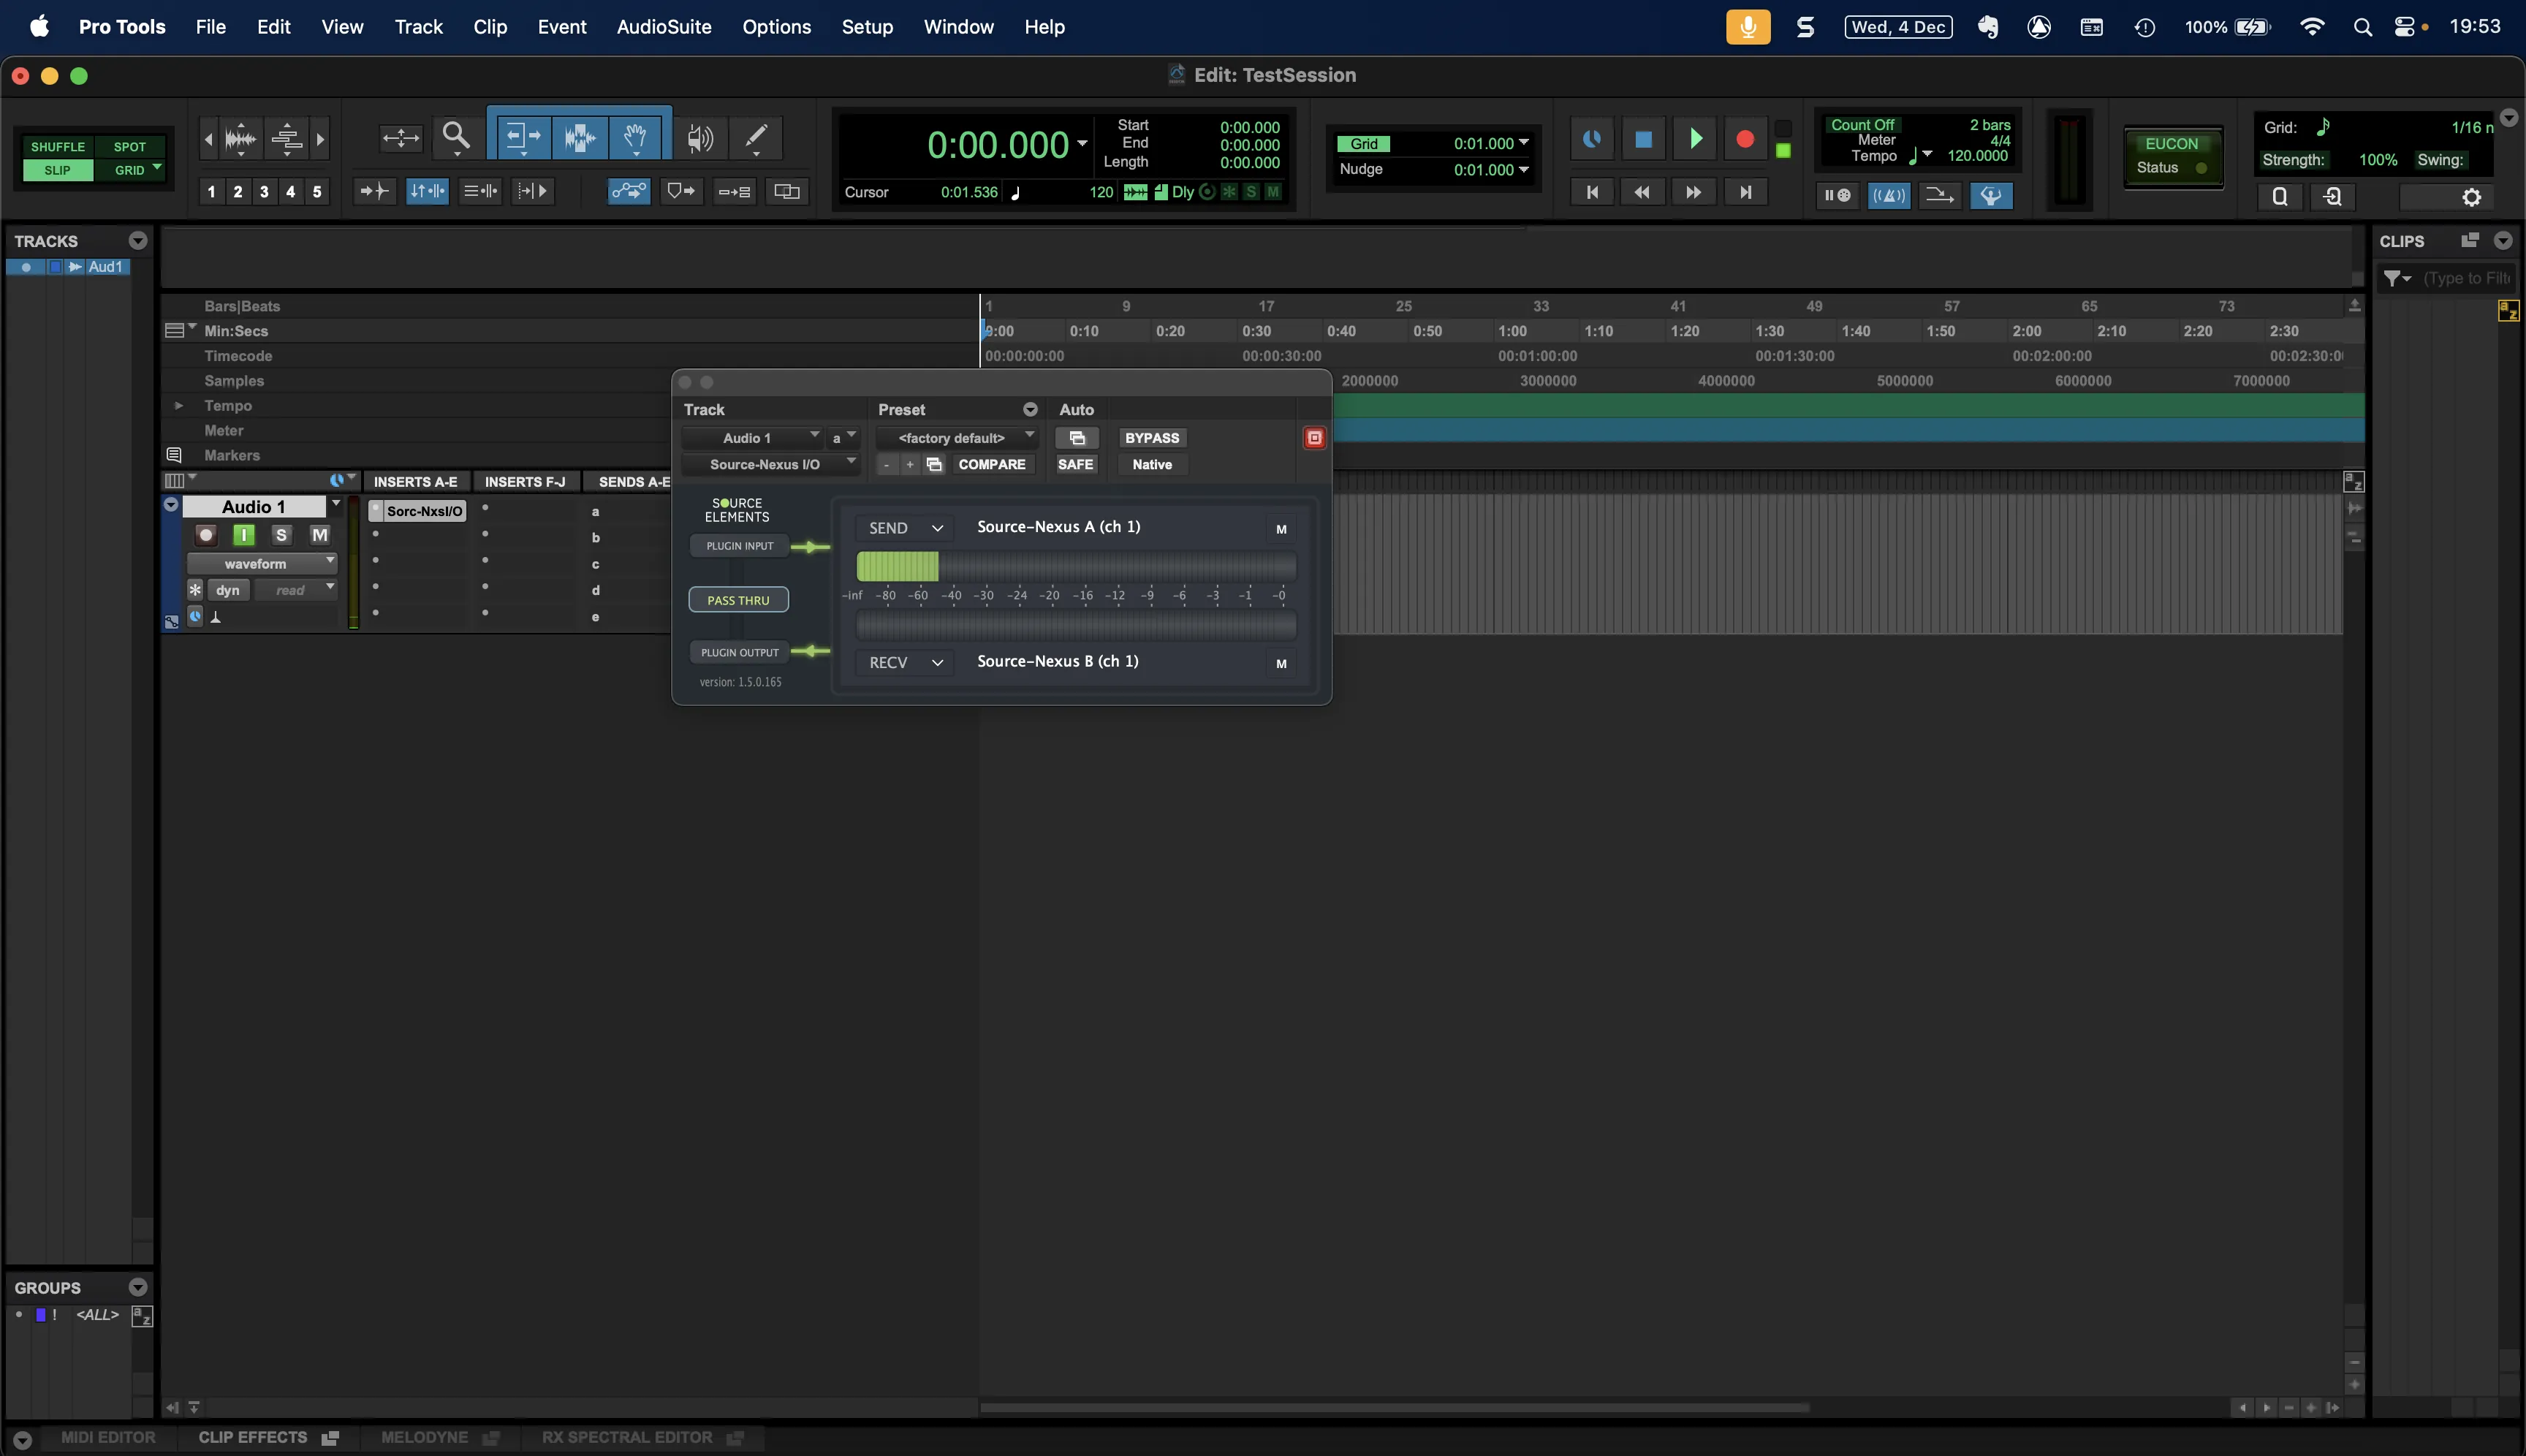
Step 12
Configure Source-Nexus I/O on the track, start your session, and you're done!
If this is the first time that you're using Source-Nexus I/O, this article will be extra helpful to get acquainted with the interface and the Source-Nexus I/O functionalities.
More Info
If you get stuck, first please to ask for help by emailing us at [email protected].
If needed, you can also book a support session with one of our expert support team members to test or cover the above steps: https://source-elements.com/book