Source-Connect VST with Steinberg Nuendo
This article contains information about Nuendo and Source-Connect LinkThis tutorial demonstrates how to use the Source-Connect VST Plug-In within Steinberg Nuendo. Before we get started, pleasemake sure you have the Source-Connect VST Plug-In installed properly and that Nuendo knows where to find it.
For macOS users, the normal location for the Plug-In System folder is HD/Library/Audio/Plug-Ins/VST or User/Library/Audio/Plug-Ins/VST For XP users, this location is C:\Program Files\Steinberg\VSTPlugins.
If you used the installer to install the Source-Connect VST, it should already be in the correct location mentioned above. Of course, Nuendo allows you to keep your plugins in a custom folder of your choosing (called the Shared VST Folder). You can access this feature by selecting Devices --> Plug-in Information from the Menu. The window that appears lists all your Plug-Ins, and gives you the option to configure the Shared VST Folder at the top if necessary.
Let's build a project session to host Source-Connect. Open a New Project by using the Menu to select File --> New Project. 
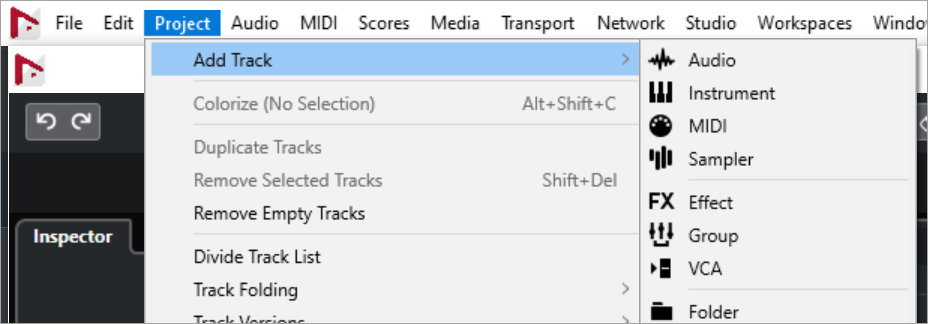
Create a Mono Channel by selecting Project --> Add Track --> Audio 
You will be asked to choose Mono or Stereo. Choose Mono, this will be our Record Track. Click the channel's label to rename it "Record".
Also, arm the Monitor and Record-Enable buttons. 
Set this audio channel's input to be the Right Channel. 
Now add a second mono Audio Track and label this one Talkback. Add a third mono channel, this time make it a Group Channel, and label it Source-Connect. The input to the Talkback should be set to the Left Input, and plug your microphone into the left input of your interface. The Output should be set to Source-Connect. Click the Monitor button in the Talkback channel, this will allow audio to flow from the Input channel to the Talkback channel and out to Source-Connect.
Next we'll instantiate the Source-Connect Plug-In. Make sure the Source-Connect channel is highlighted (click on it), then click the rectangle to the left (labeled Inserts) to show your Insert slots: 
Click on the first slot and select the Source-Connect Link plug-In from the list that appears: 
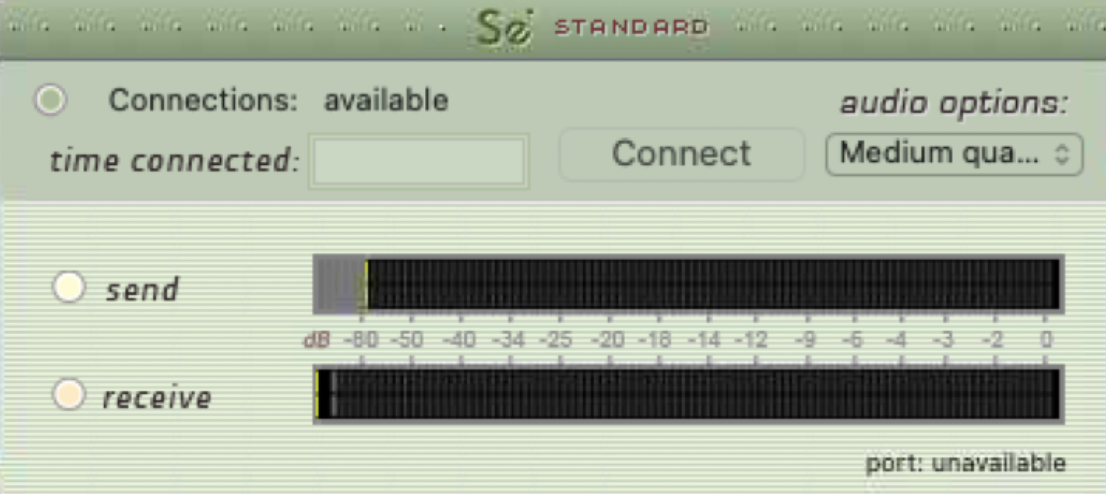
The Source-Connect Link plug-In window should appear. At this point you should also instantiate the Source-Connect Link plug-In on the Input Channel. The plug-in cuts off and replaces the interface Input with the audio received from Source-Connect, allowing you to record to disk the audio you are receiving. If you have separate Left and Right Inputs on your Input Channel, place Source-Connect Link on the Right input. If you have a single Stereo Input Channel, place Source-Connect Link on this channel and click the Thru button for the Left Channel in the Source-Connect Link Plug-In window: 
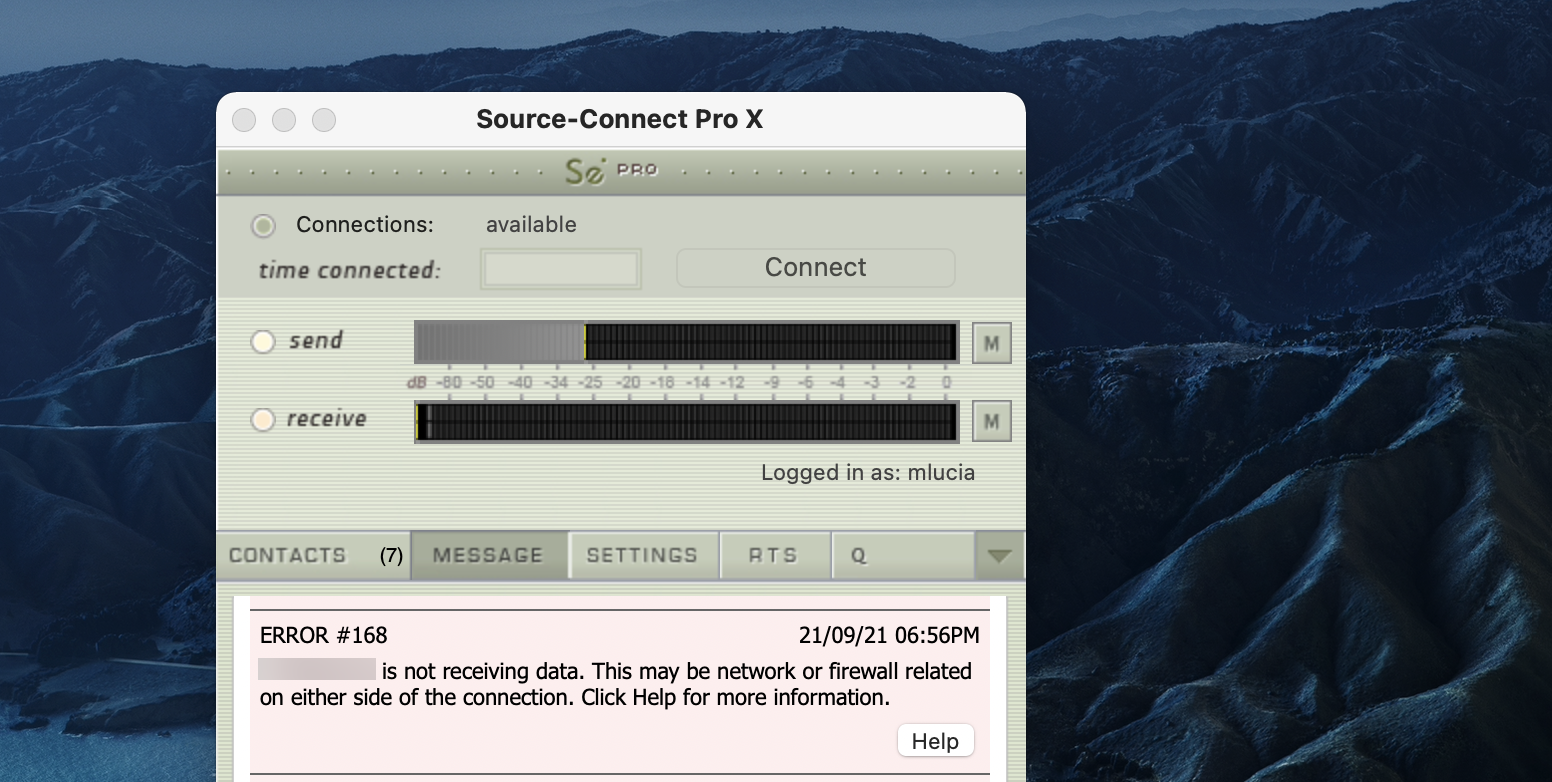
Log into your account by entering your username and password. After logging in, you should be able to see your list of online Contacts in the Contacts panel. Start a session by selecting a name and pressing the Connect button.
About the Group Channel
The Group Channel affords you more flexibility within your session. Although it is possible to place Source-Connect directly on the Talkback Channel, this tutorial placed Source-Connect on a Group Channel because it allows you to decide which channels in your session will send audio out Source-Connect and to the other party you are connected to.
Here's an example with additional tracks which we will route to the Group Channel containing Source-Connect:
Create four new audio tracks, label them Voiceover, Sync, SFX, and Music. If you have appropriate audio, drag those files into your new tracks. Next, click the "Sends" option on the left panel: 
Also, create an insert to Source-Connect from each track that you'd like the connected party to hear: 
This will allow the connected party to perform along with your pre-recorded mix. Please note that anything you record will be out of sync with your pre-recorded audio due to internet latency. Simply slide the newly recorded audio back in time so it is in sync with the other tracks.
Table of Contents
