How to configure Source-Connect Link in Cakewalk Sonar on Windows
This article contains how-to instructions to set up Source-Connect LinkThis document will show you how to set up the Source-Connect Plug-In VST within Cakewalk Sonar. Before we get started, please make sure you have the Source-Connect VST Plug-In installed. The installer places the VST in C:\Program Files\Steinberg\VST and you must instruct Sonar about this location.
Do this by going to the right panel on Sonar > Audio FX panel > Plug-ins > Manage Layouts. 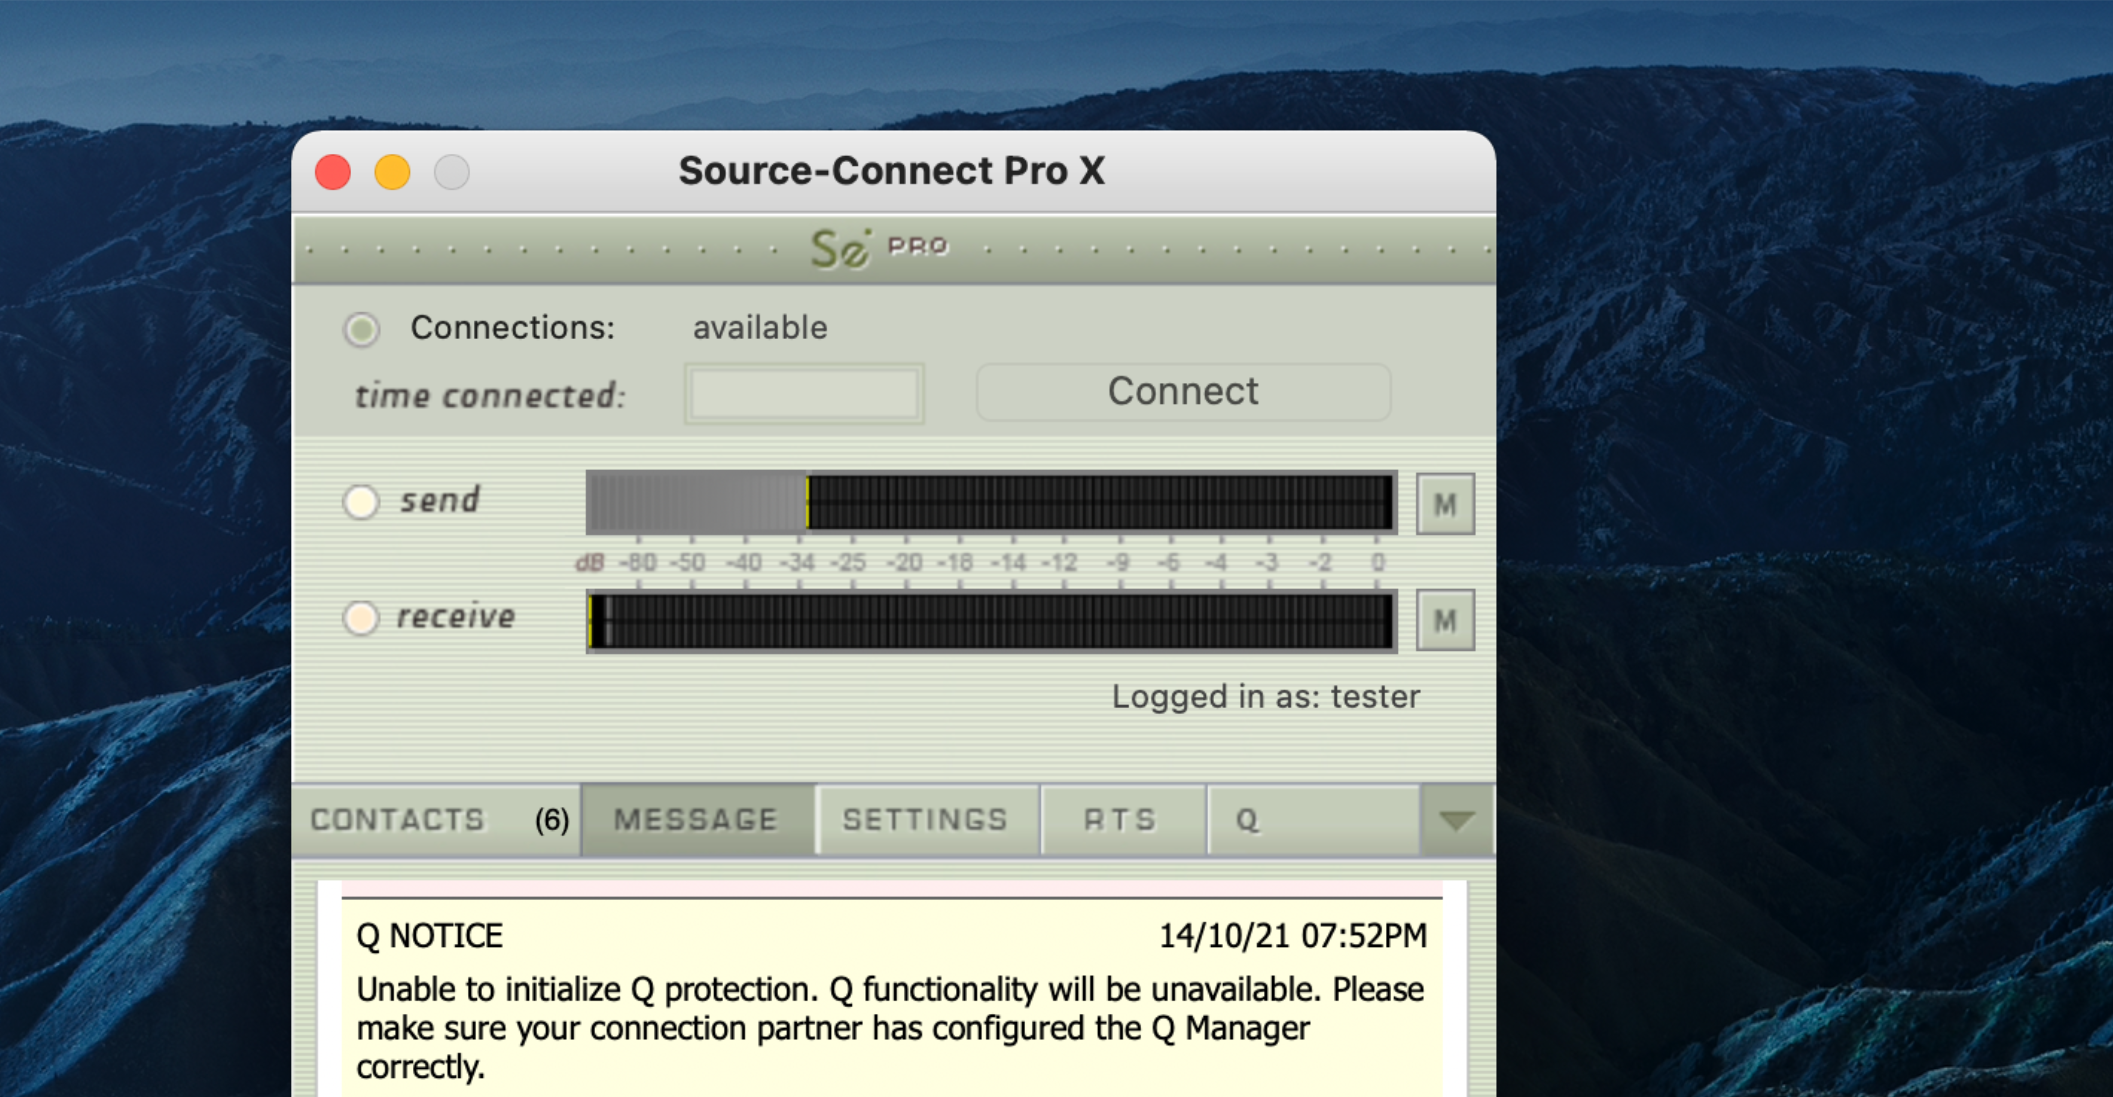
From here we can indicate to Sonar the location of the Source-Connect Plug-In. In the bottom center of this window you will see a section labeled in blue "VST Configuration". Click the Options button in this section to invoke the Cakewalk VST Scan Paths dialog window. In this window, simply click the Add... button and then navigate to the folder containing your Source-Connect Plug-In. As previously mentioned, under normal circumstances this location is: C:\program files\steinberg\vstplugins. Navigate to this location and click OK. Back in the Cakewalk Plug-in Manager window, again in the VST Configuration section, press Scan VST Plug-ins. Sonar will now test all your plug-ins for use in the application.
Next, start a new Sonar session from the Menu: File -> New... Type in a name for this session and click OK. Next, invoke the plugin menu by right-clicking in the area labeled "FX" along the left side of Sonar's main window, as shown here: 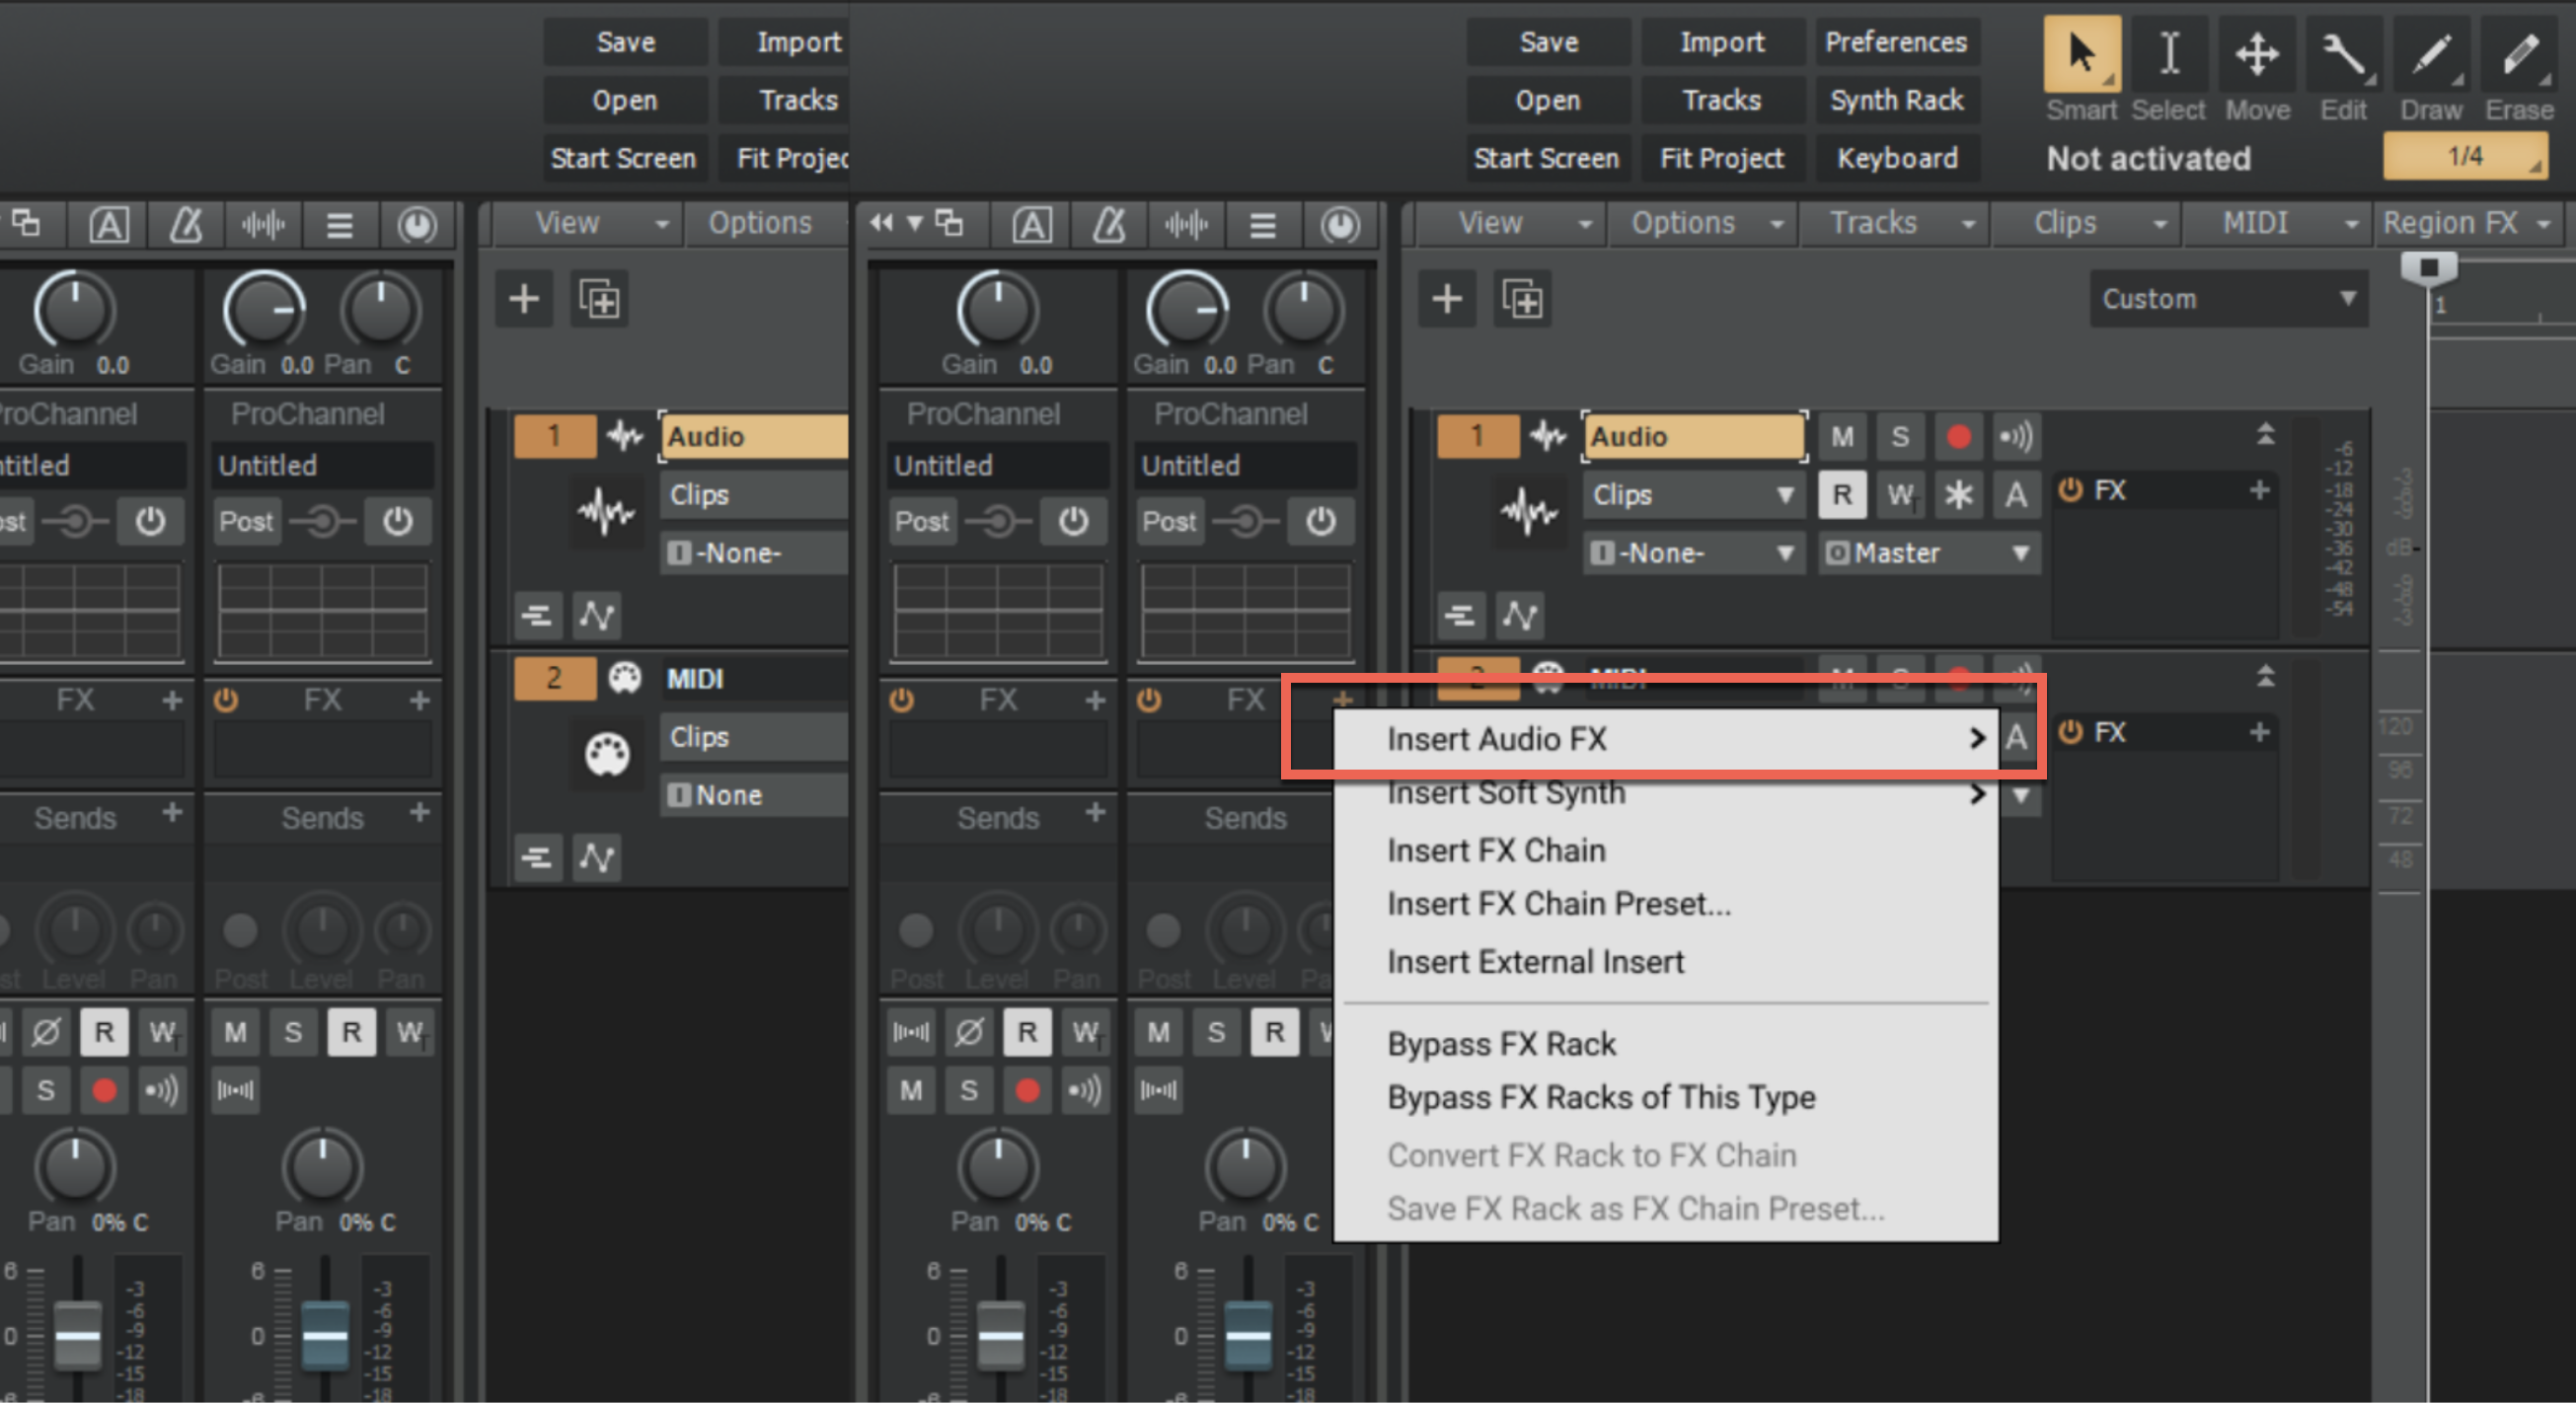
Continue in this menu to: Audio FX -> SourceElements -> Source-Connect Link (the plug-in might show up under "Uncategorized") to select Source-Connect Link. The Source-Connect Plug-In will now load into your session. If you find that the Source-Connect Plug-In interface is truncated inside the window that appears, close the Source-Connect Plug-In window and re-open it by double-clicking the Source-Connect label along the left side of the Sonar window, as indicated here: 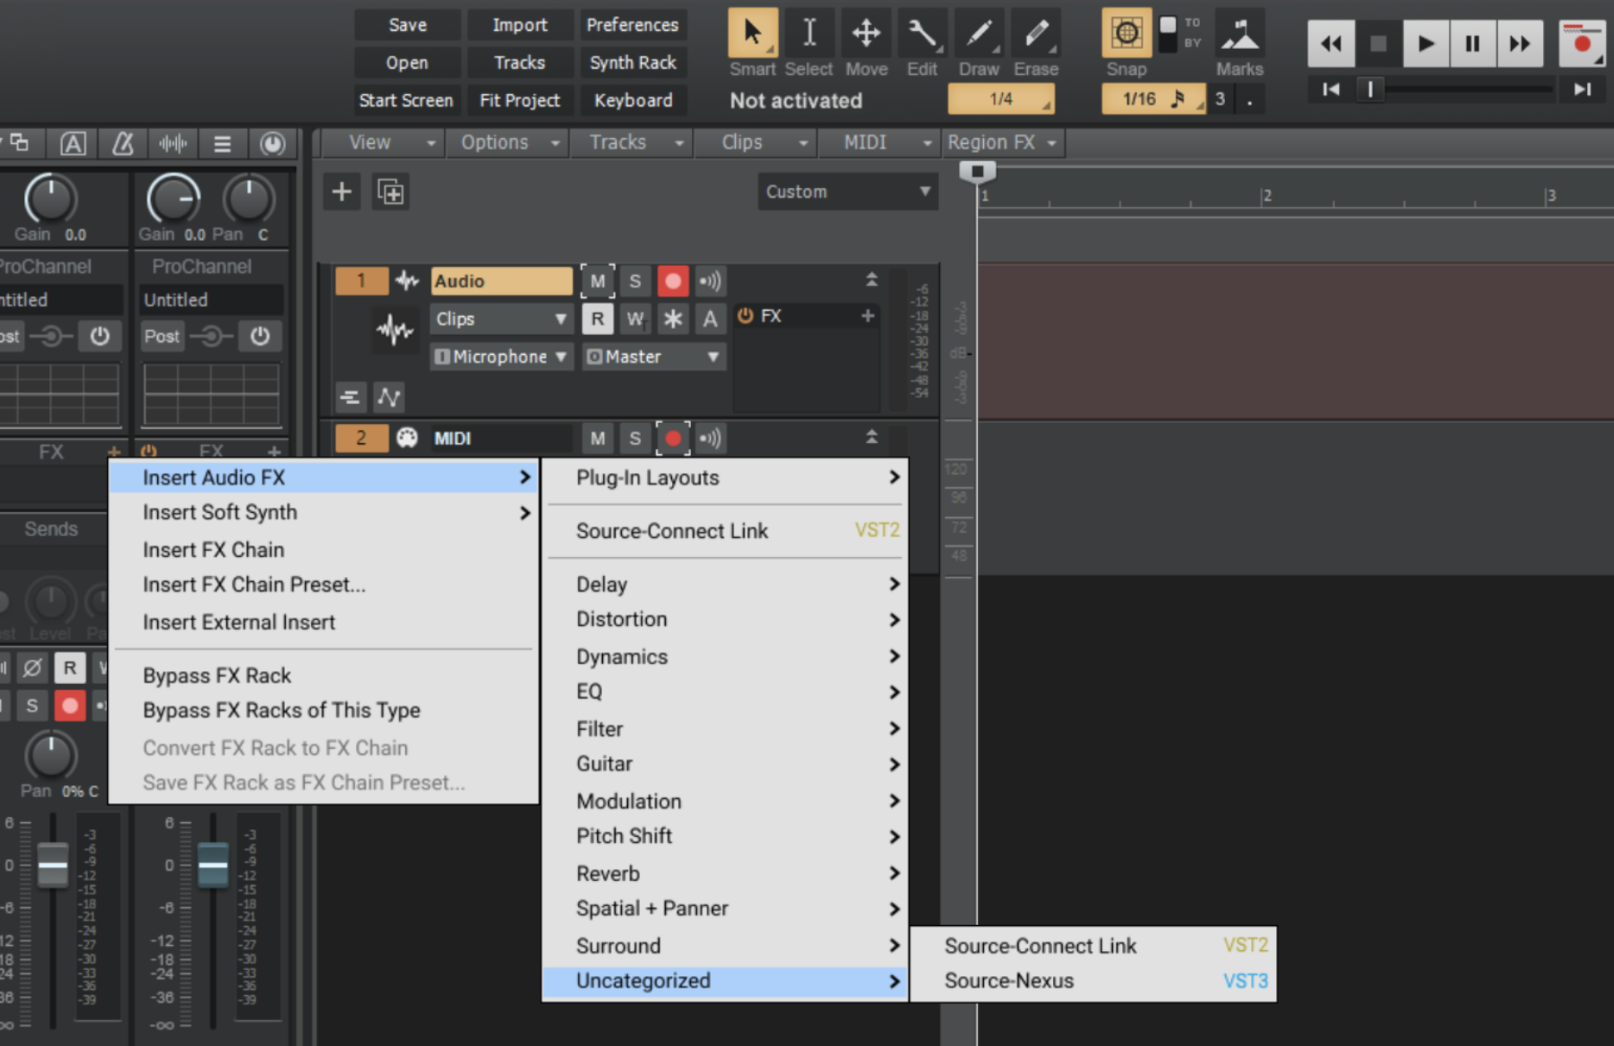
The Source-Connect Plug-In will now load into your session. If you find that the Source-Connect Plug-In interface is truncated inside the window that appears, close the Source-Connect Plug-In window and re-open it by double-clicking the Source-Connect Link label along the left side of the Sonar window, as indicated here: 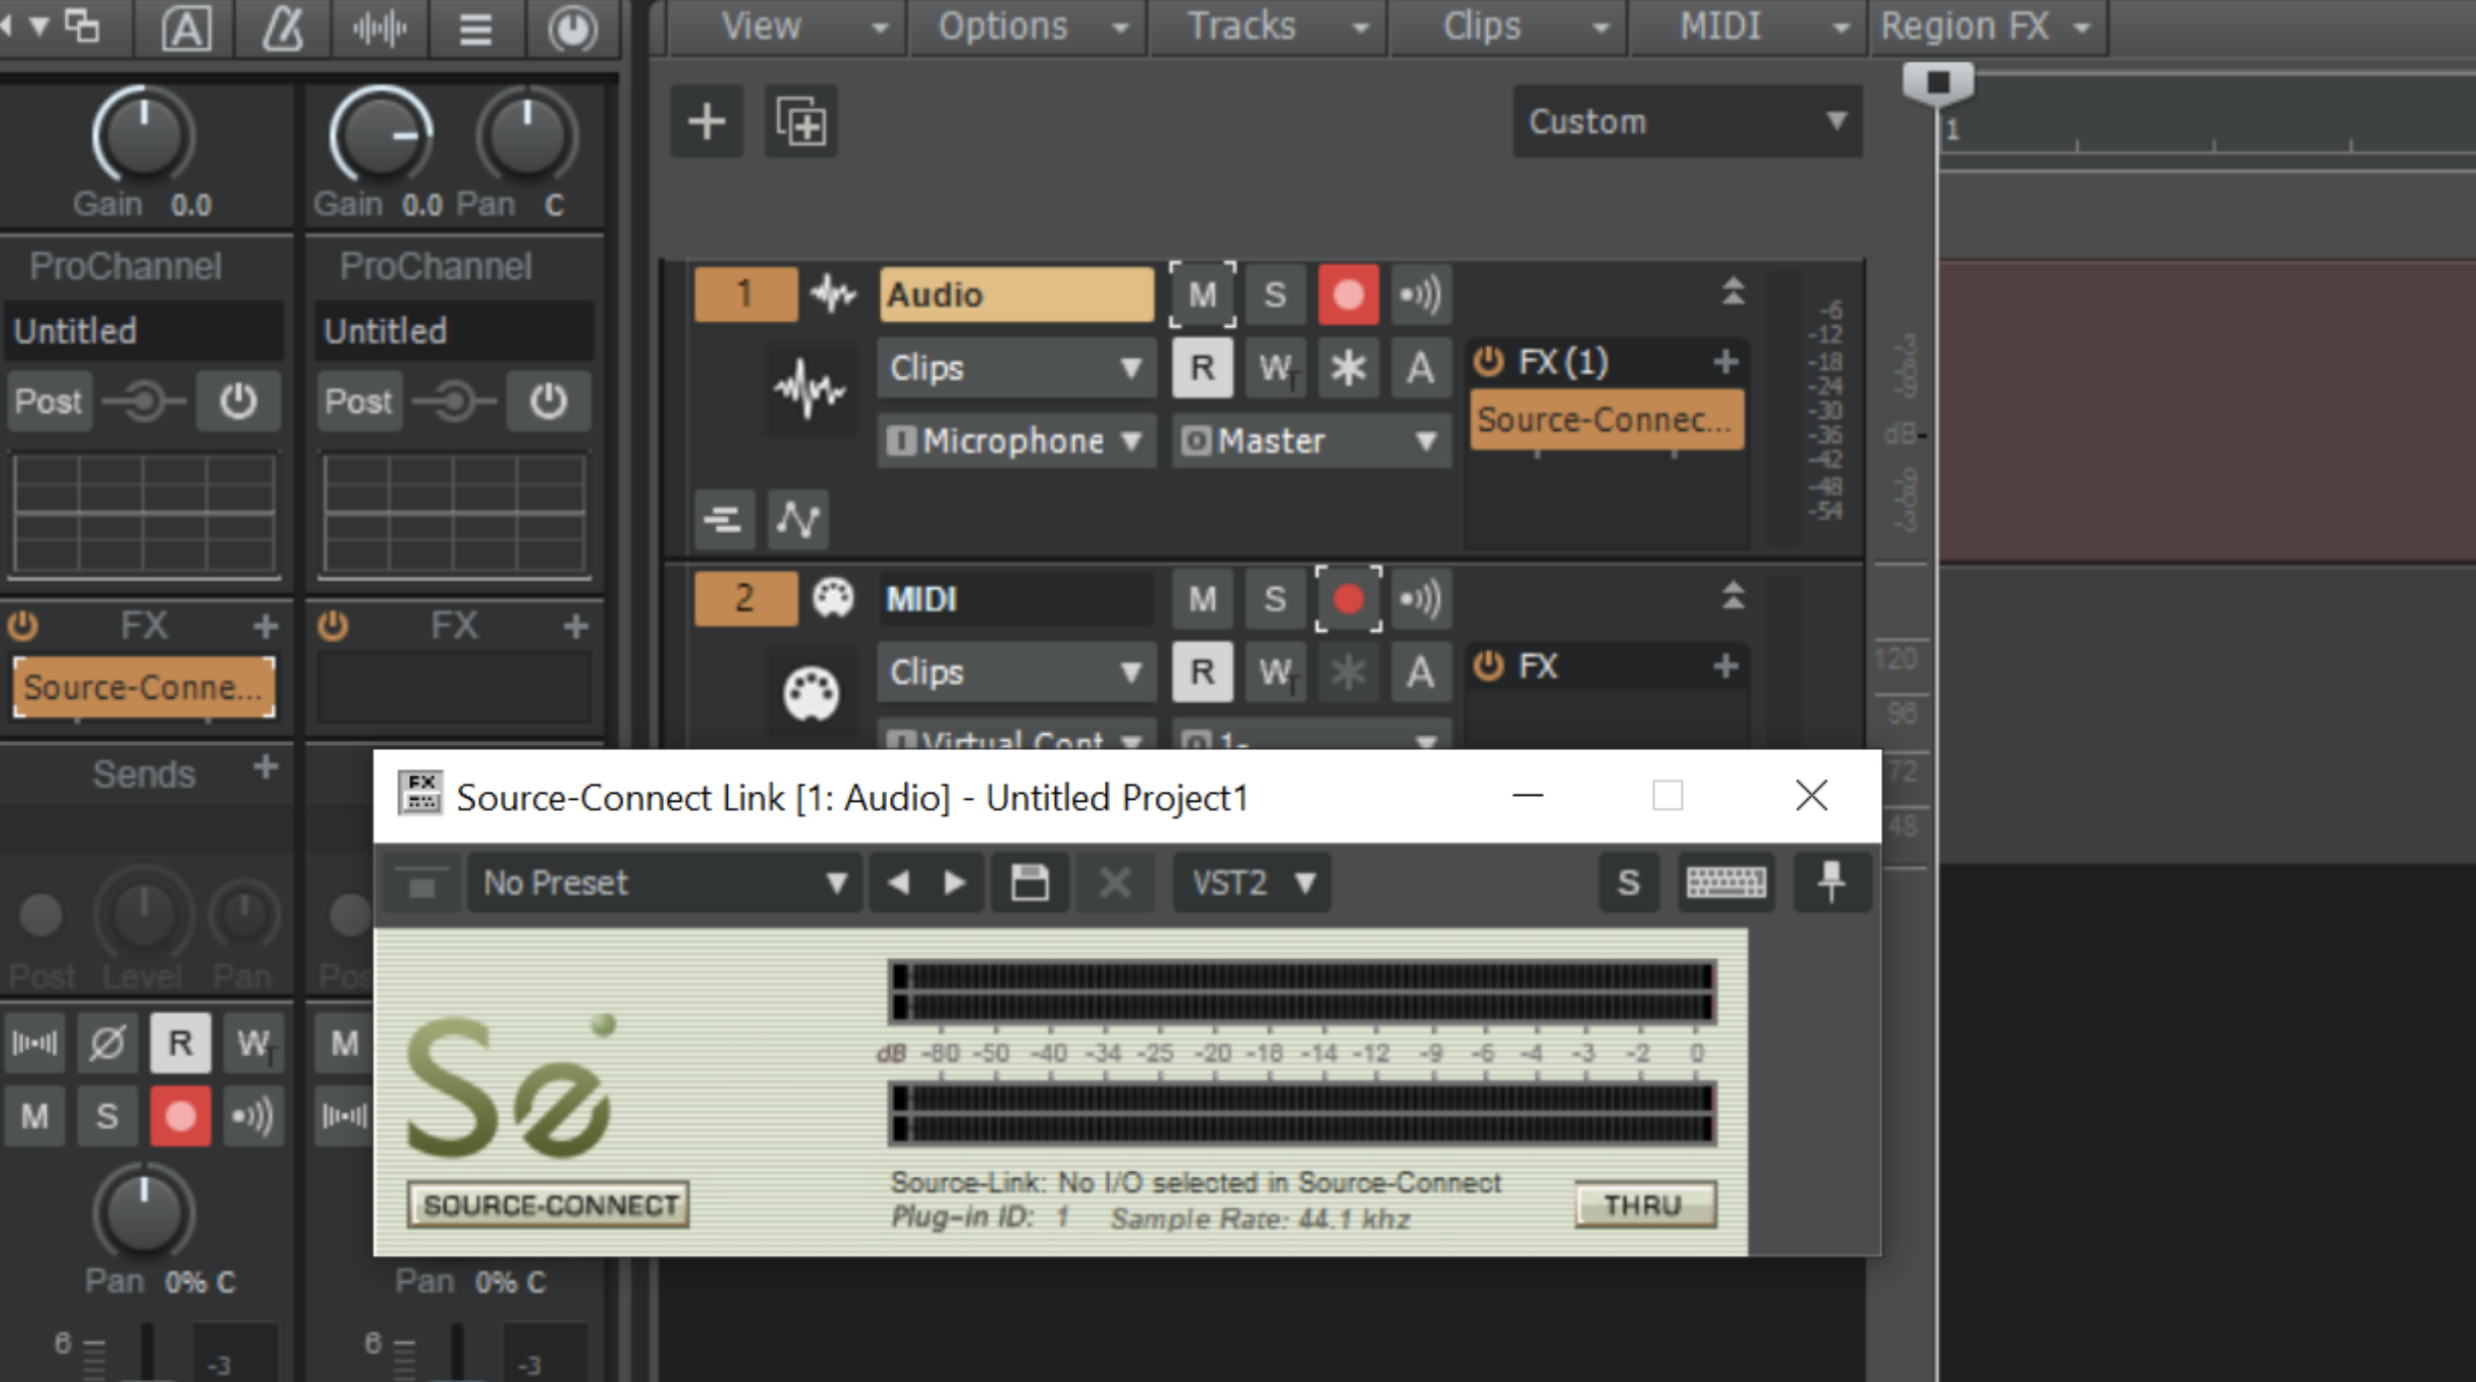
You should find that the window re-appears as normal.
Next, open Source-Connect 3.8 on your PC to access the Source-Connect interface. Then, log into your account using your Source Elements account. 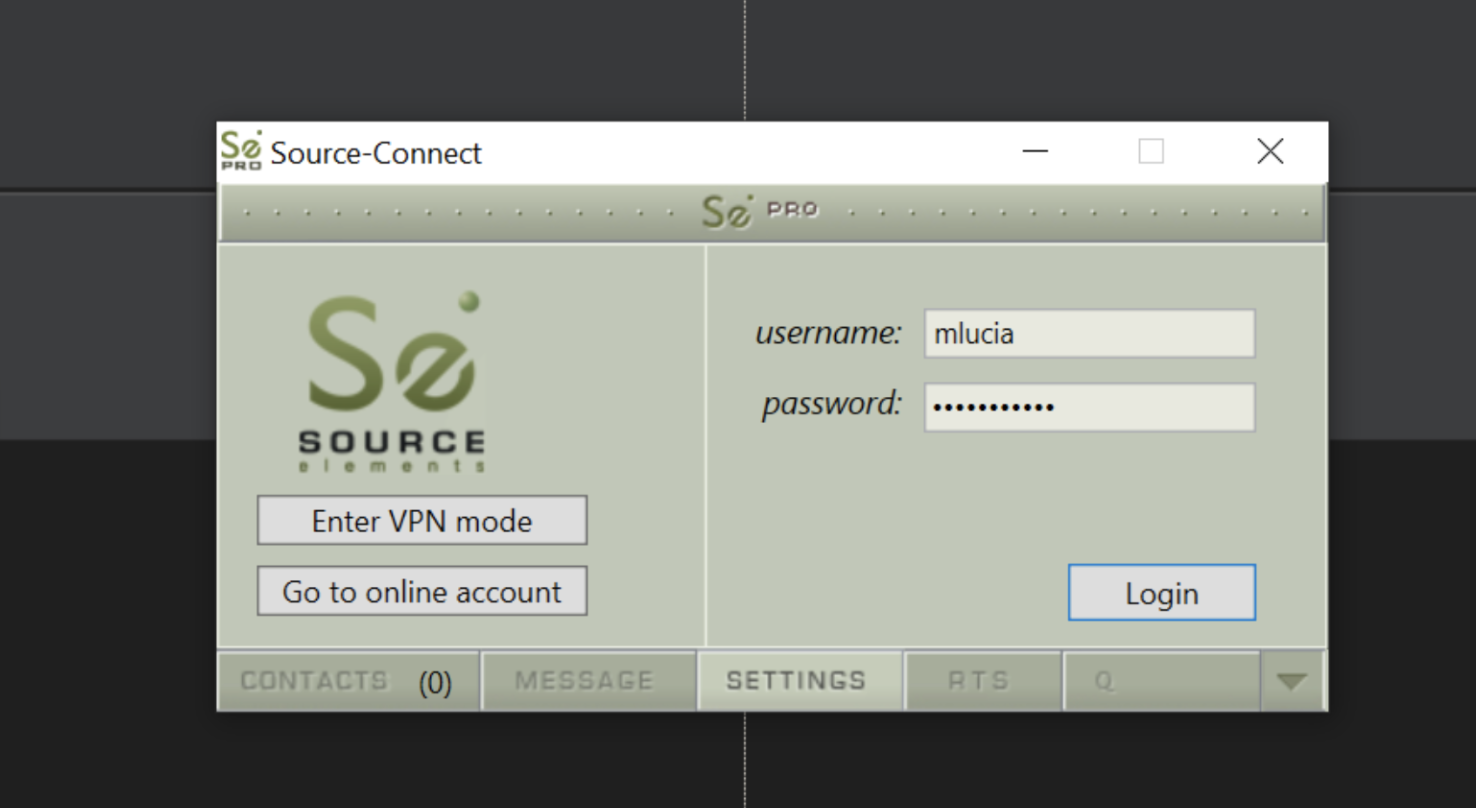
If you are using Source-Connect Standard and your network is configured properly, you will see a “port:open” message in the Source-Connect application. 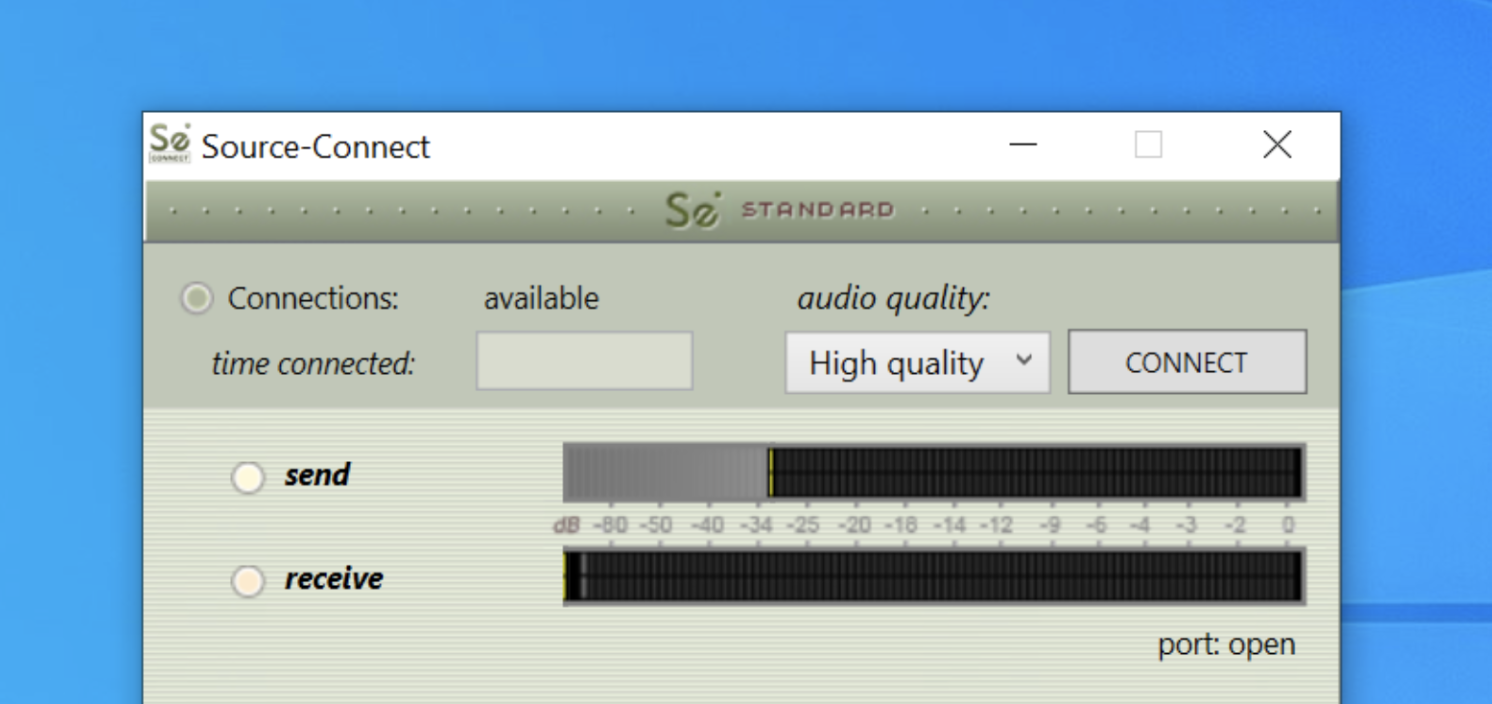
If you are using Source-Connect Pro, go to the SETTINGS menu and click the “port test” button; you will see a “successful” message, which will indicate that your ports are properly allowing Source-Connect data through. 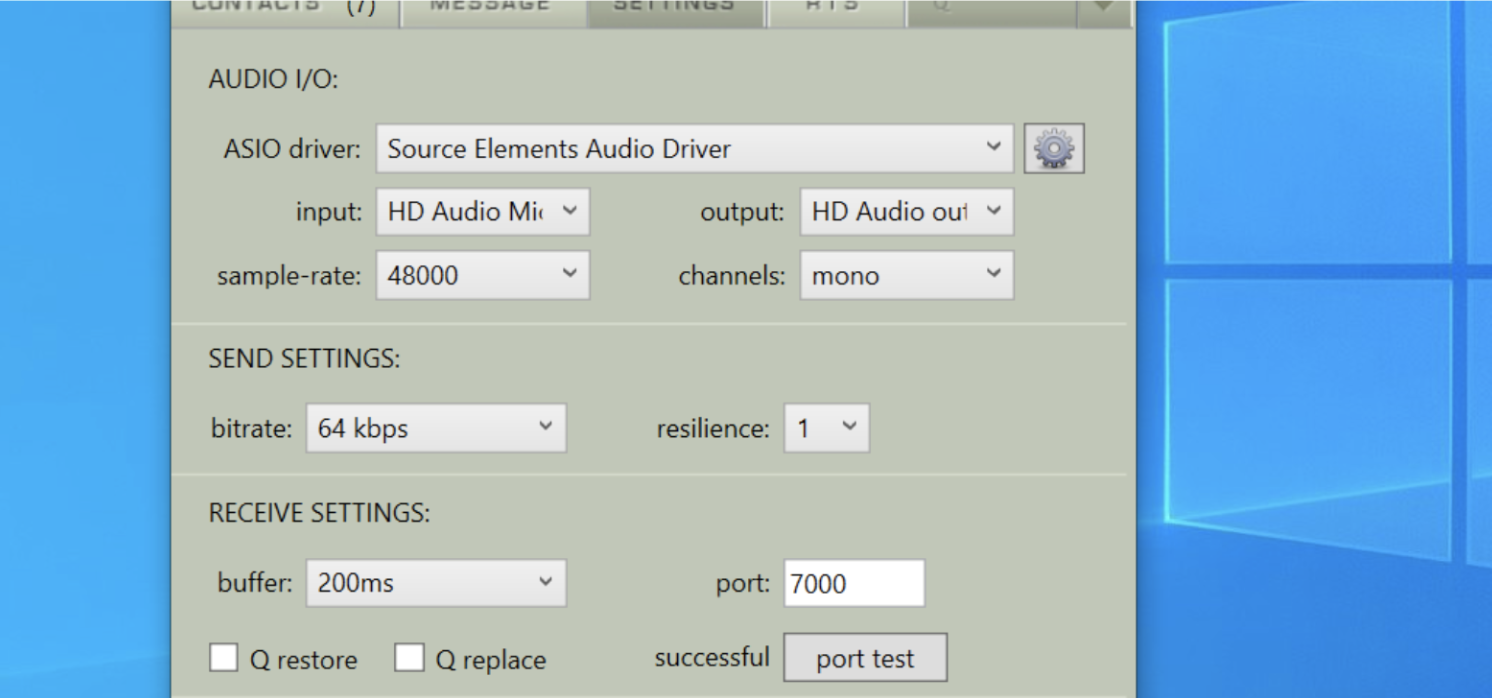
If you see "port: not mapped" there is a good chance that a connection will go through, but this depends on your particular type of network. The message "port: failed" indicates you will be unable to connect to an outside Contact, but it should work internally. Finally, users who receive "port: UPnP/PMP" and are also experiencing connection problems may need to disable UPnP and properly configure your network. Refer to the following document for more information on port mapping: Network Guide.
Once you are ready, select Source-Connect Link as your input/output in Source-Connect, as required. In the screenshot below, we have selected the Link Plug-in with ID=1 as our input source. 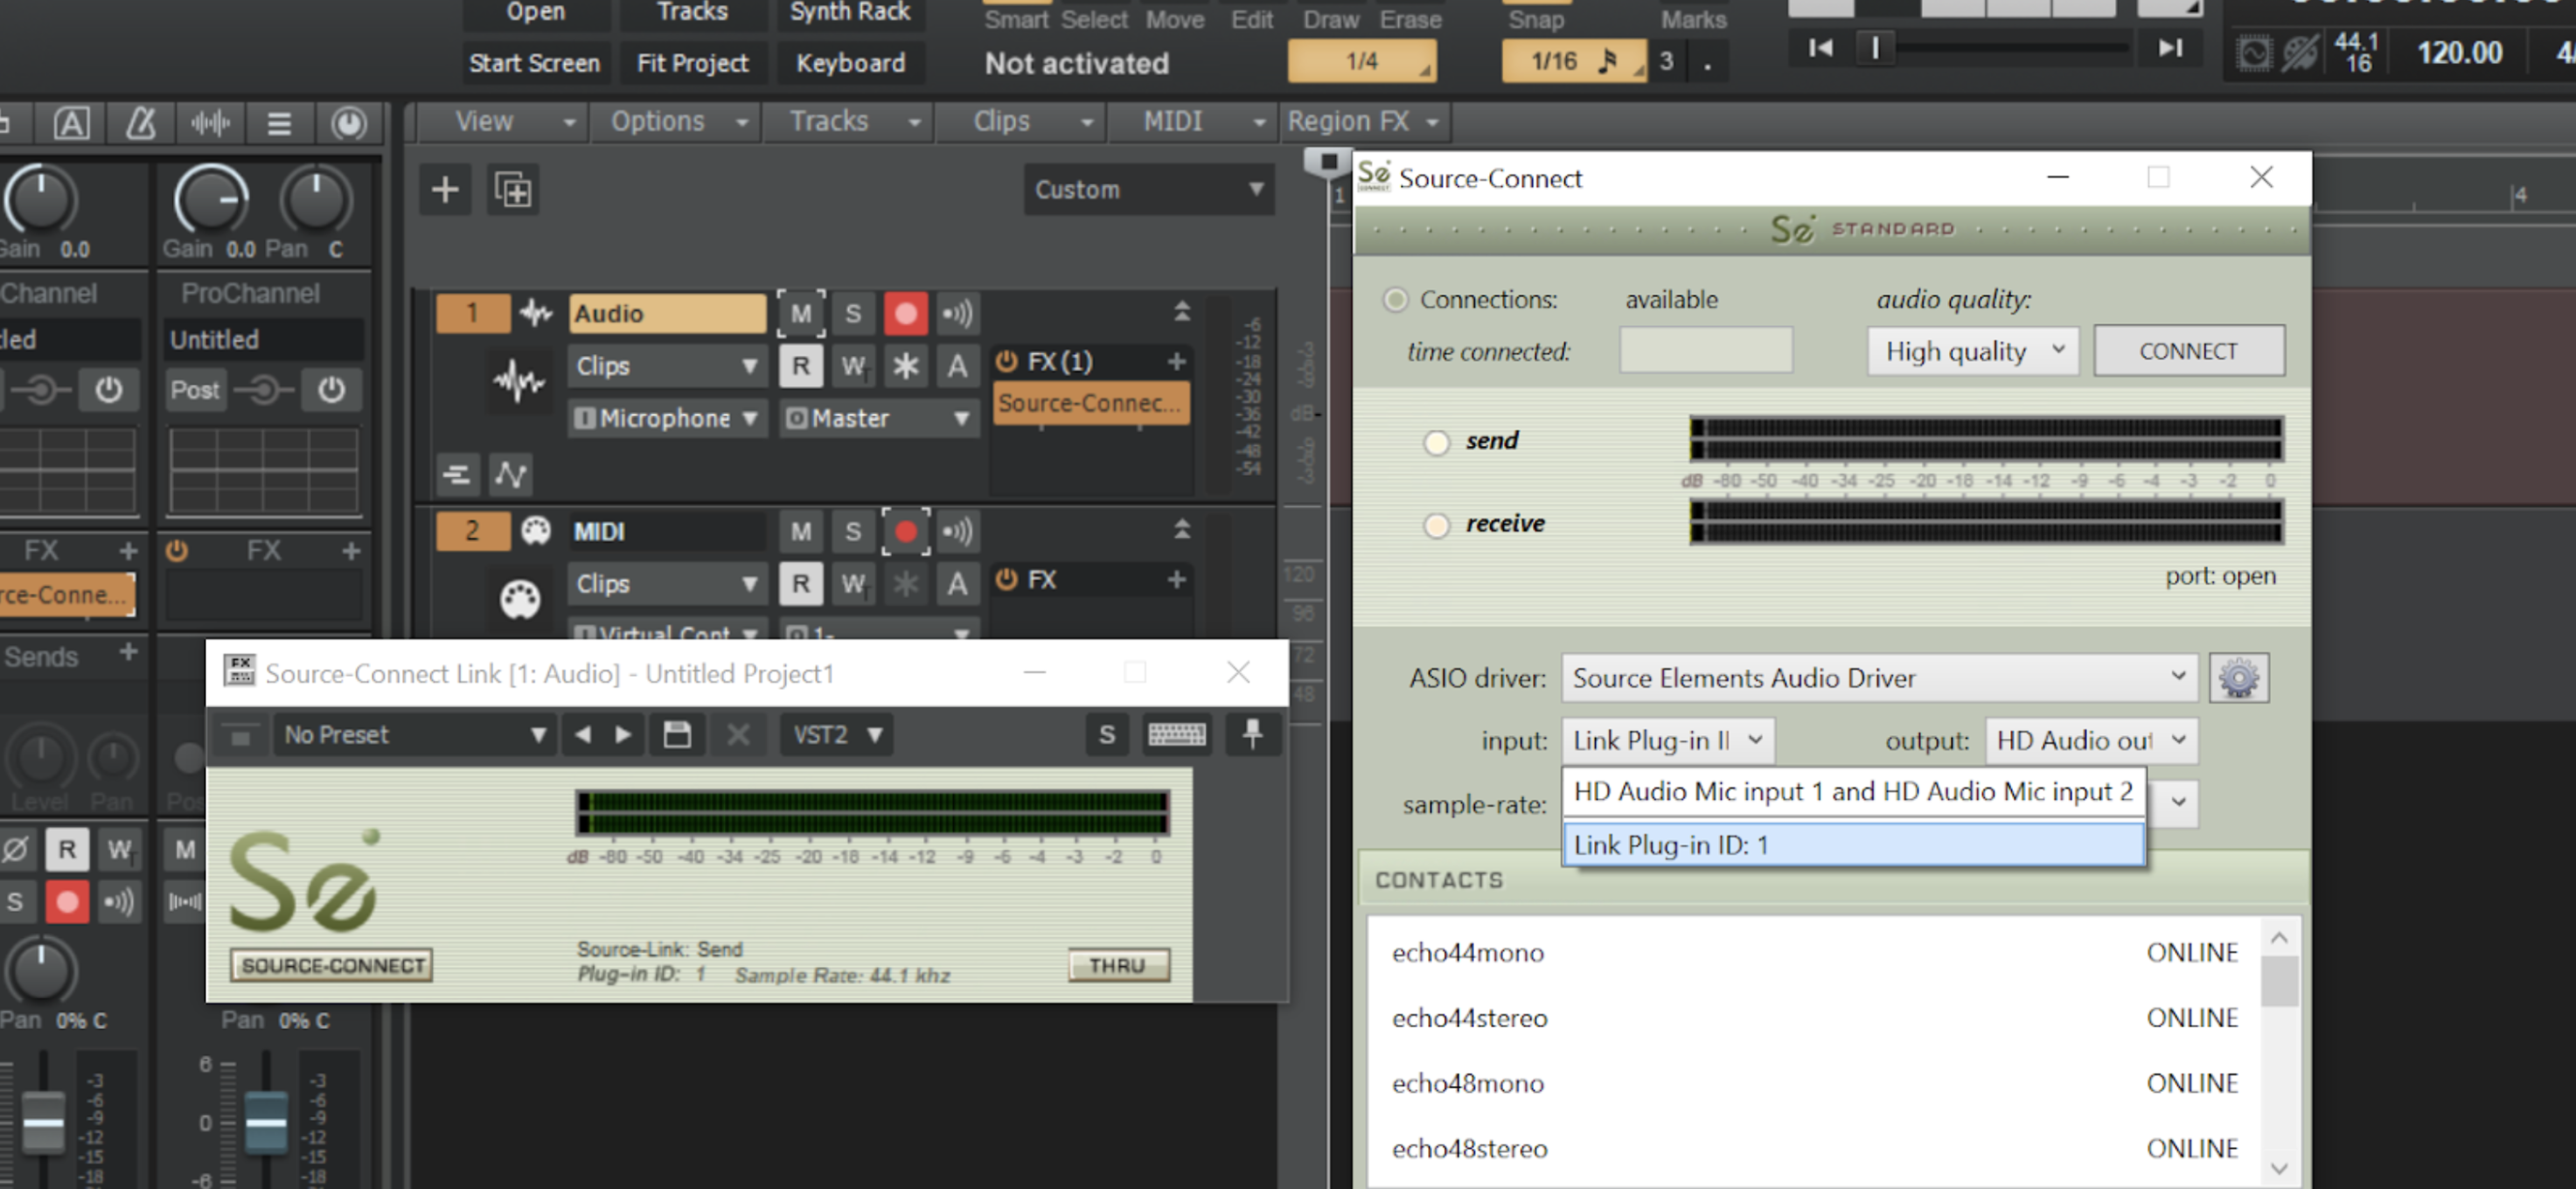
If you now push the Record-Arm button on the track, the button will turn red and the track will monitor your input signal (usually a microphone): 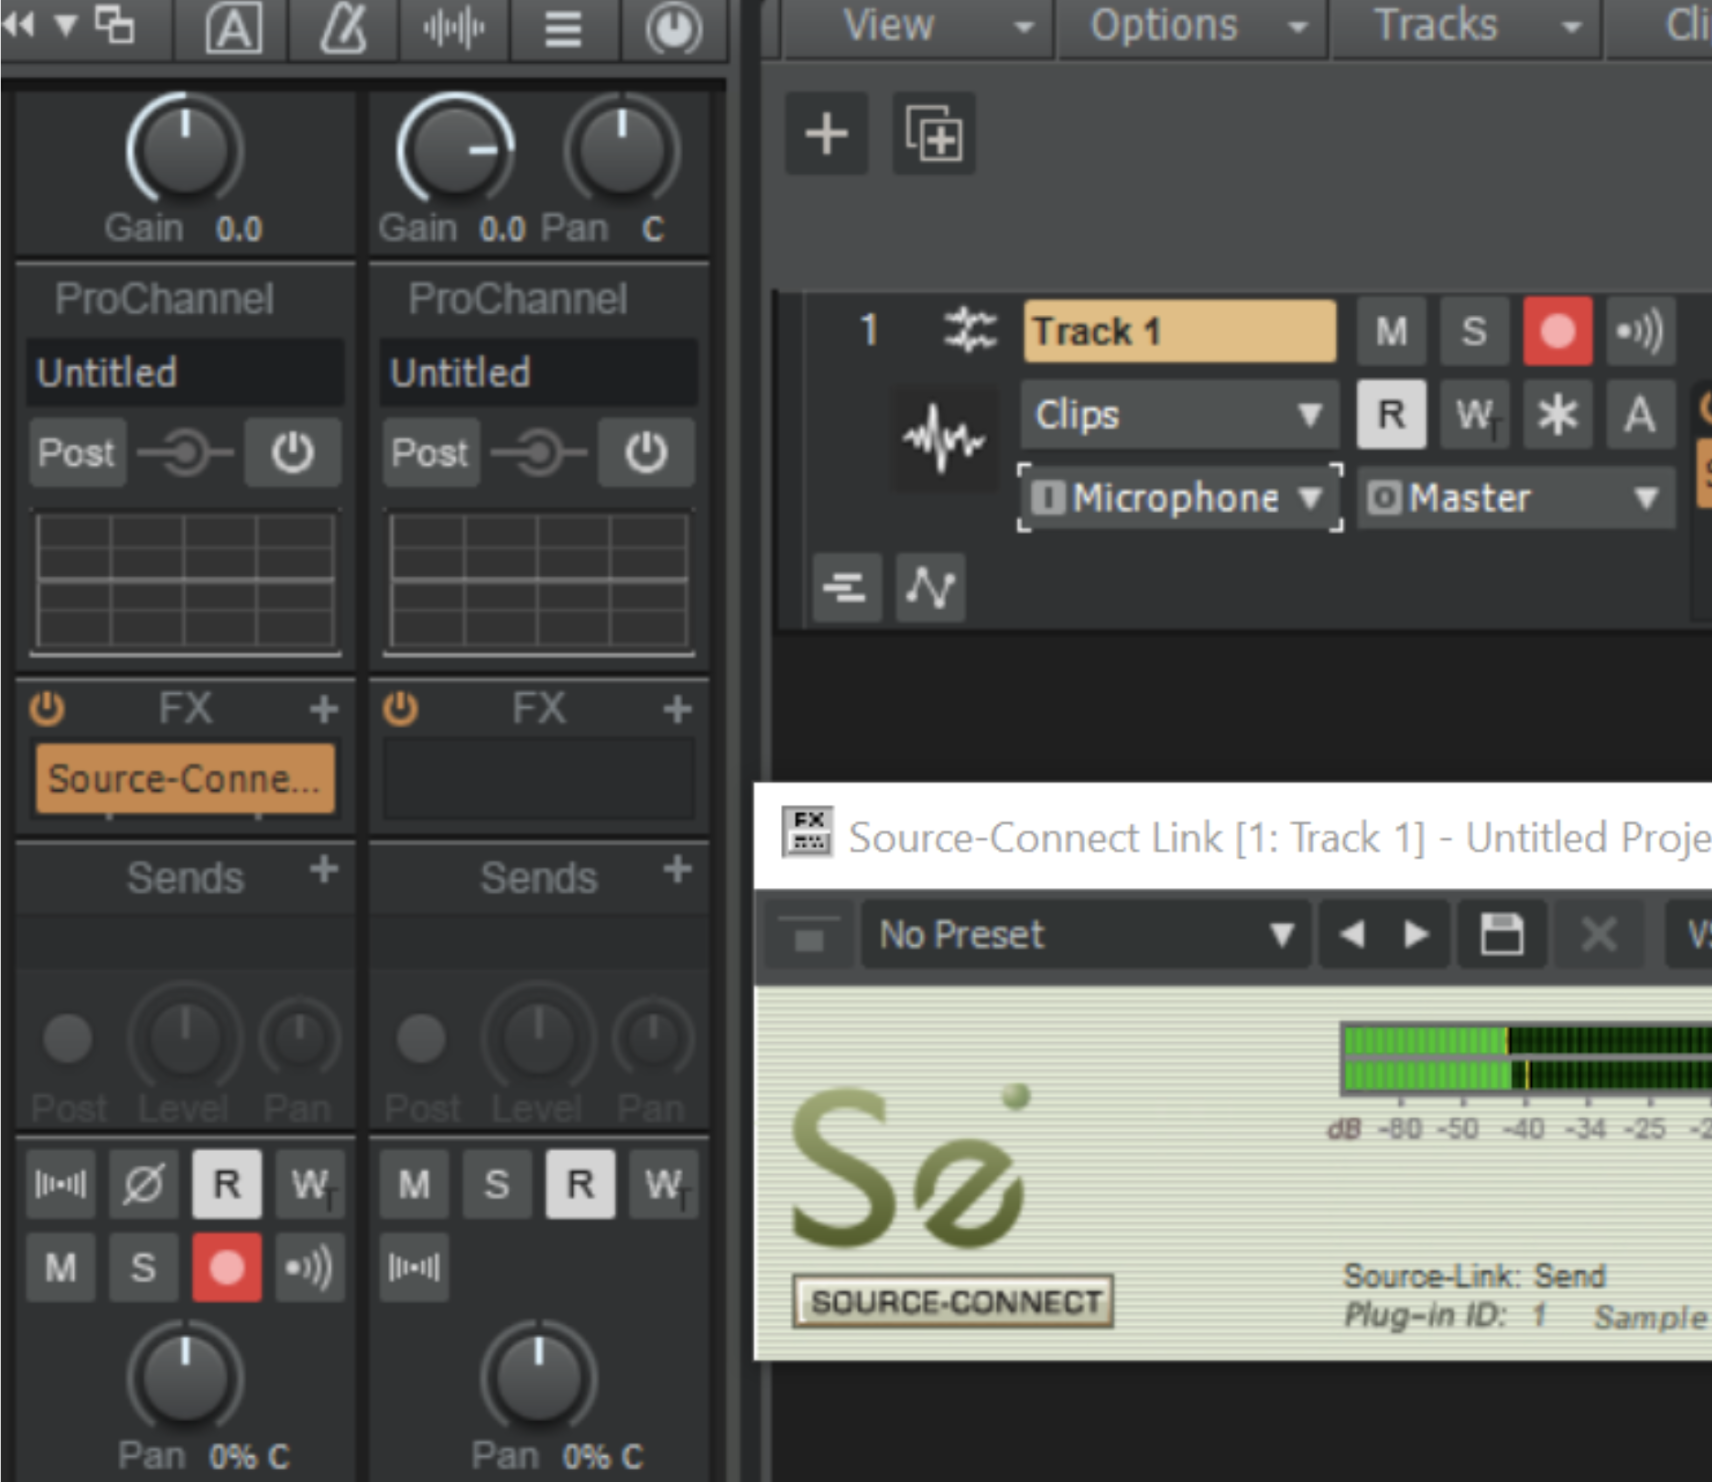
You can confirm that audio is passing through the track by looking at the level meters which should be active. You are now ready to connect to a remote party. In the SourceConnect Plug-In window, choose a contact from your list and request a connection. If the remote party accepts, you will immediately be able to hear any audio they may be sending out. In order to let them hear your audio, press the Input Echo button (just to the right of the Record-Arm button) on the track you are using: 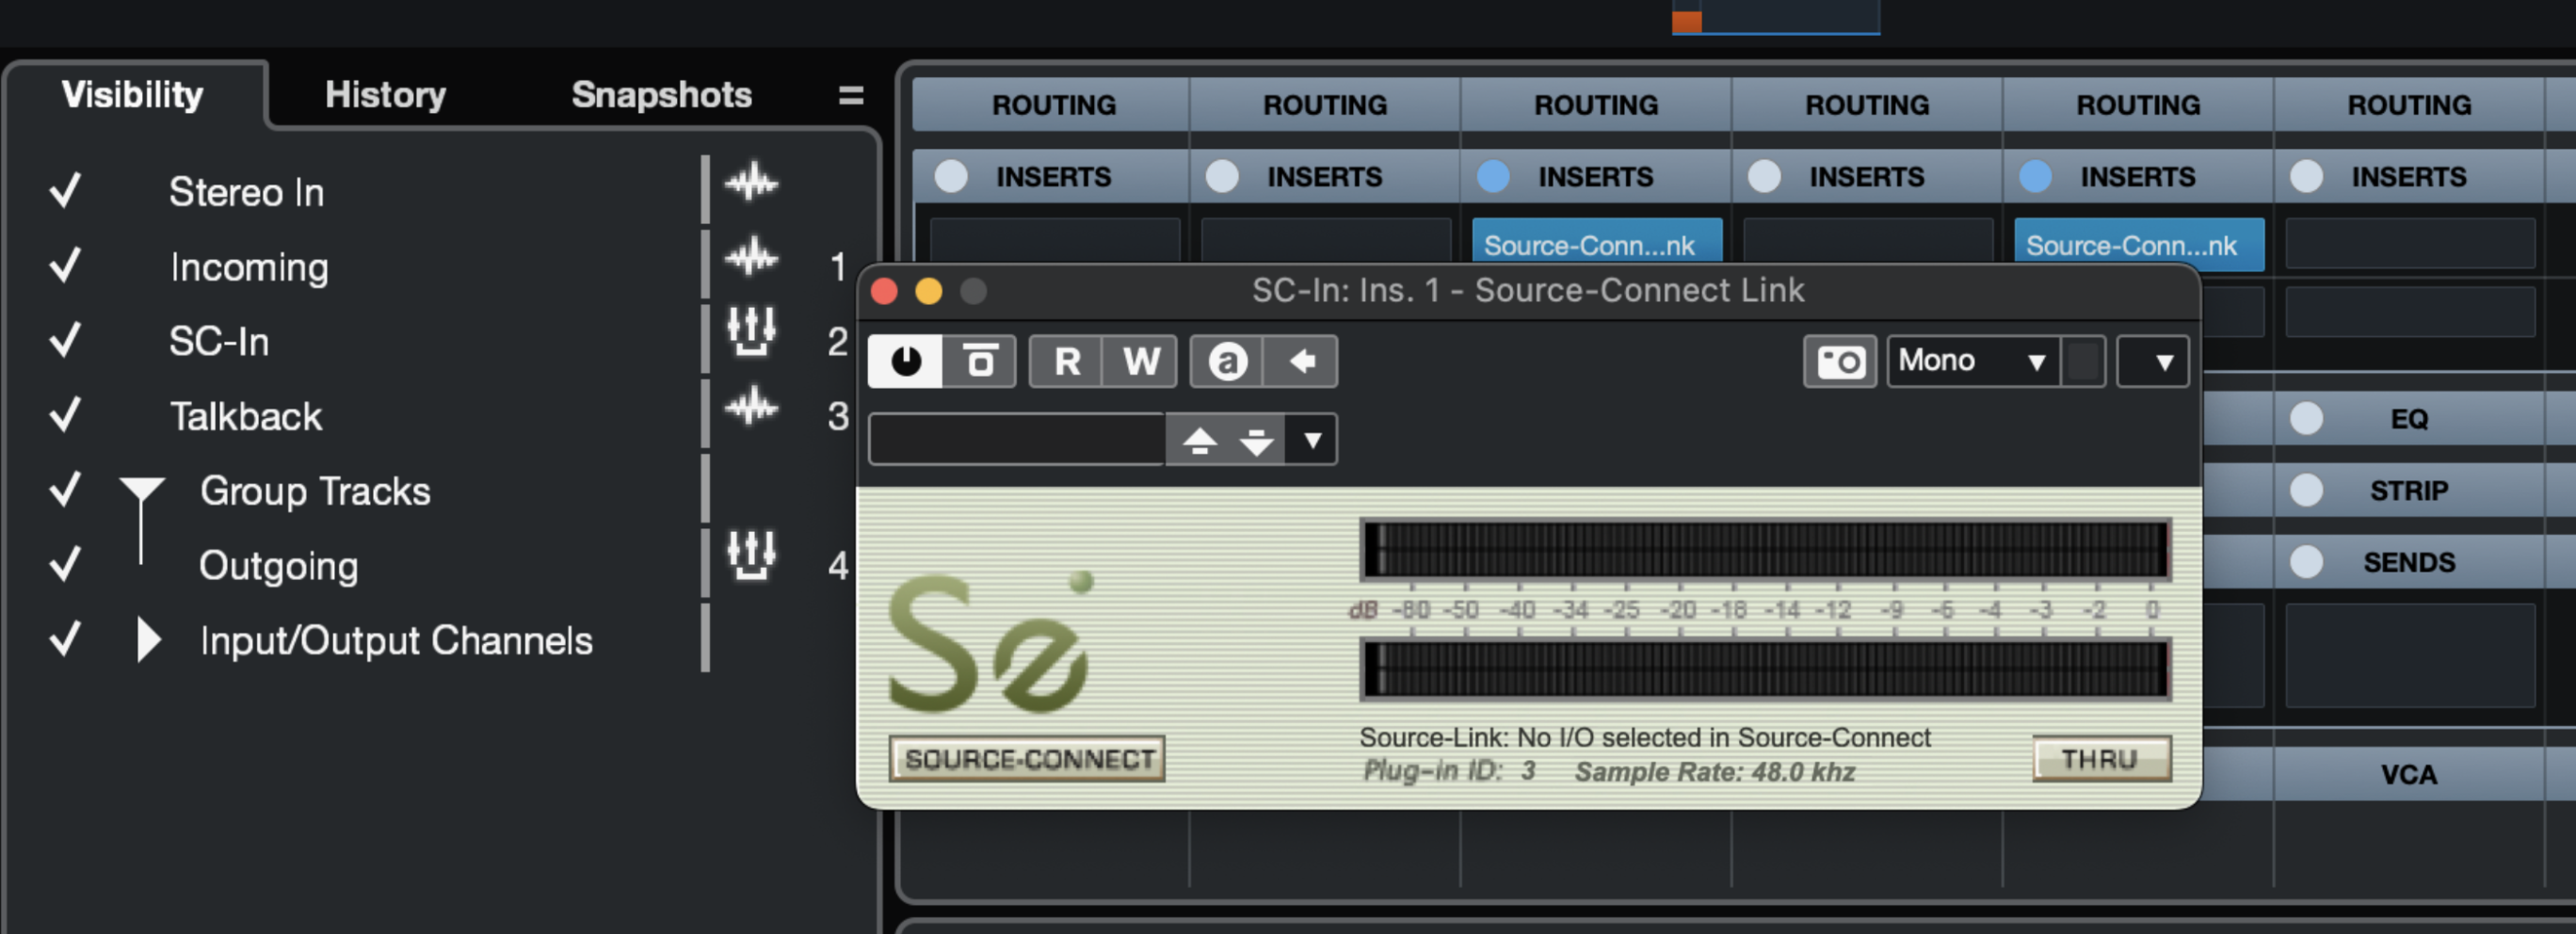
You can use this button as your 'talkback' switch, toggling it on (illuminated) when you wish to speak to the remote party, and toggling it off when you wish to mute your microphone.
Keep in mind you can also send out any pre-recorded audio by dragging the file into a Sonar track and pressing Play on Sonar's transport controls.
NOTE: Currently it is impossible to record the incoming audio in Sonar