Getting Started with Source-Connect Pro and Pro X 3.9
This article is part of the Source-Connect Pro and Pro X 3.9 User GuideThe following is a quick guide, which does not include working with Auto-Restore, Auto-Replace or Remote Transport Sync. See the linked articles for specific information on working with these technologies.
Basic steps in using Source-Connect are as follows:
- Launch the Source-Connect application.
- Log in with your username and password.
- Set up your audio I/O. See the documentation specific to your DAW from our support page or contact our support team for assistance. See this article for documentation on using Source-Connect Link.
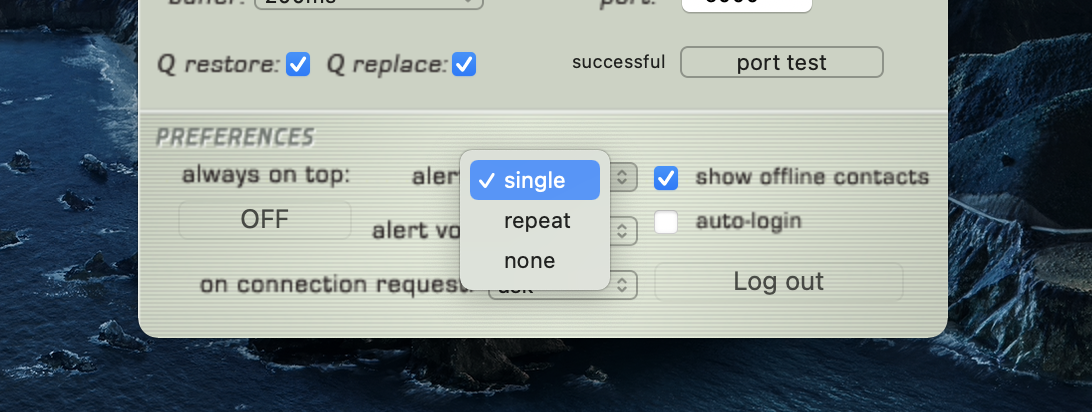
- Setup your audio session parameters. Parameters that can be set are bitrate, resilience and buffer size. You may also need to specify a port. If in doubt, use the default settings.
- Select an online contact in your Contacts list and press ‘Connect’ in the Status (top) panel. This will connect both studios with a real-time streaming-audio session. Instant Messaging will be activated between the connected partners, and if the sample rate and channels are the same (e.g. 48khz mono), RTS (Remote Transport Sync) will also be enabled. During the session, you send compressed audio data to each other over the Internet. Be advised that if either user does not have sufficient bandwidth or has excess packet loss there is a possibility of an audible dropout. To minimize dropouts, see the support documentation online. You can also work with the Q Manager to ensure full-quality recording is achieved.
- Disconnect. This will end your audio session with the remote studio.
- Log out.
Getting Around
Source-Connect consists of multiple tabs. Simply click on the Tab title in the center section of SourceConnect to show that tab. You can collapse Source-Connect to its minimum size by clicking on the open tab header.
About Source-Connect
The About Box provides information on which version of Source-Connect you have installed. To view the About box, go to the Apple menubar, click on Source-Connect and then ‘About Source-Connect Pro’.
Opening the About Box
In order to open the About box, go to the Source-Connect Pro menu in the top left-hand corner and click "About Source-Connect Pro".