
How to set up backup recording in Ableton Live (Source Connect & Ableton Live)
This tutorial demonstrates how to use the Source-Connect VST3 plugin within Ableton Live.The following instructions will show you how to set up the plugin within your Ableton Live session.
What you need to get started
Make sure you have Source-Connect 4 installed - this will include the Source-Connect plugin that Ableton Live will use:
For macOS users, the normal location for the plugin System folder is HD/Library/Audio/Plug-Ins/VST3/Source-Connect.vst3
If you used the installer to install Source-Connect 4, it should already be in the correct location mentioned above. Of course, Ableton Live allows you to keep your plugins in a custom folder of your choosing. If you opt to store your plugins in a non-system plugin folder, make sure you instruct Ableton Live where this folder is. You can specify this within the Ableton Live preferences window:
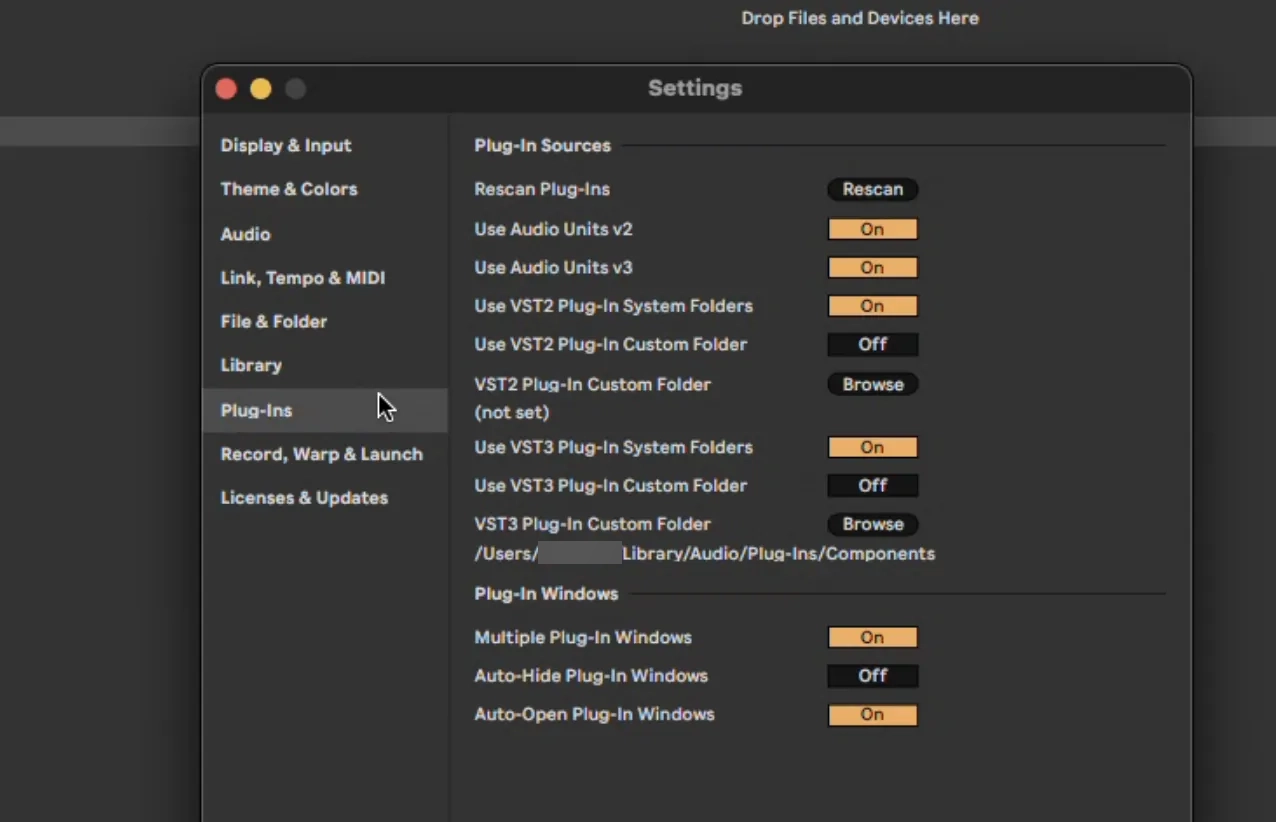
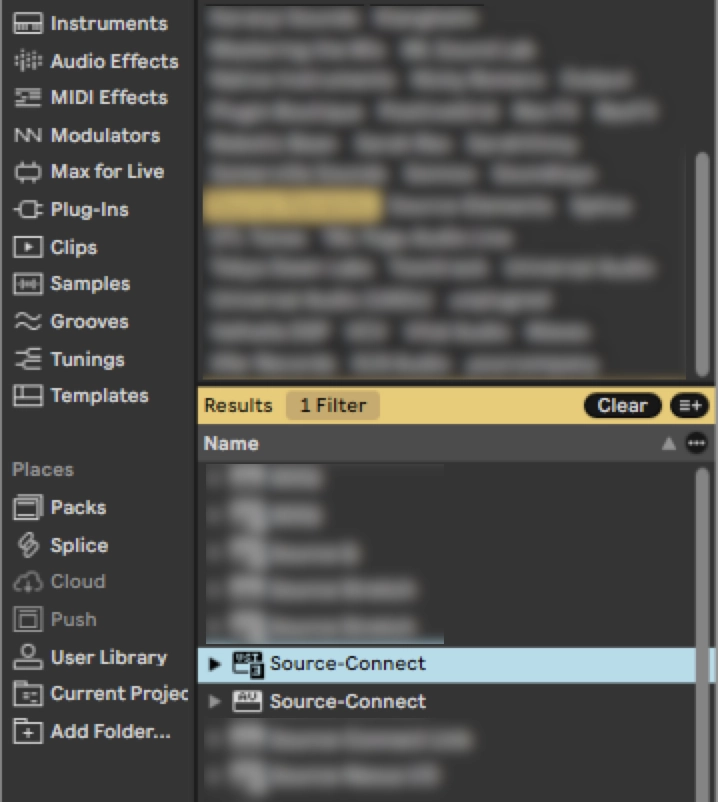
Click the Plug-Ins icon along the left side of the window and you should see a list of VST3 plugin that you have installed. In the picture shown below, Source-Connect is highlighted:
While you are here, click the Audio tab to confirm your settings. In the case below, we are using a Universal Audio interface:

Setting up the backup
We are going to use the Source-Connect plugin on a Return Track, which will provide more flexibility.
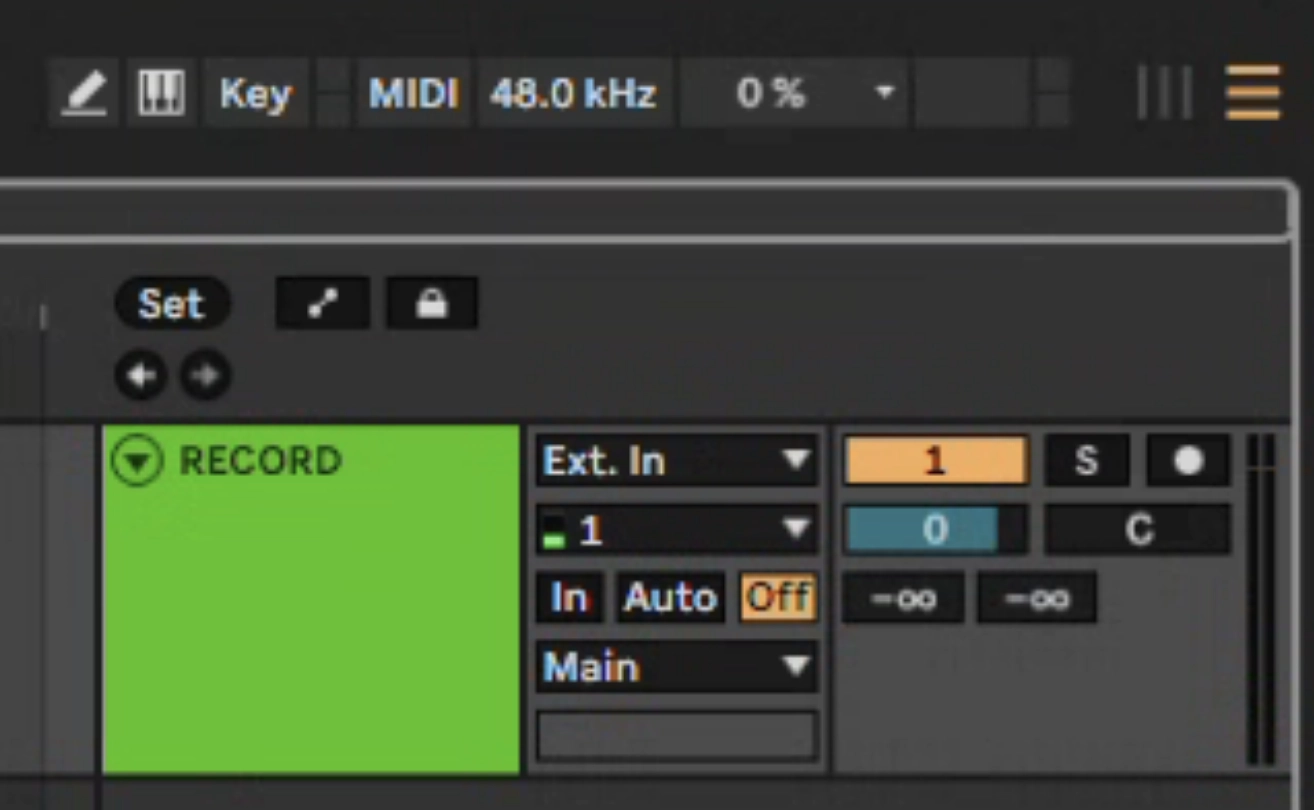
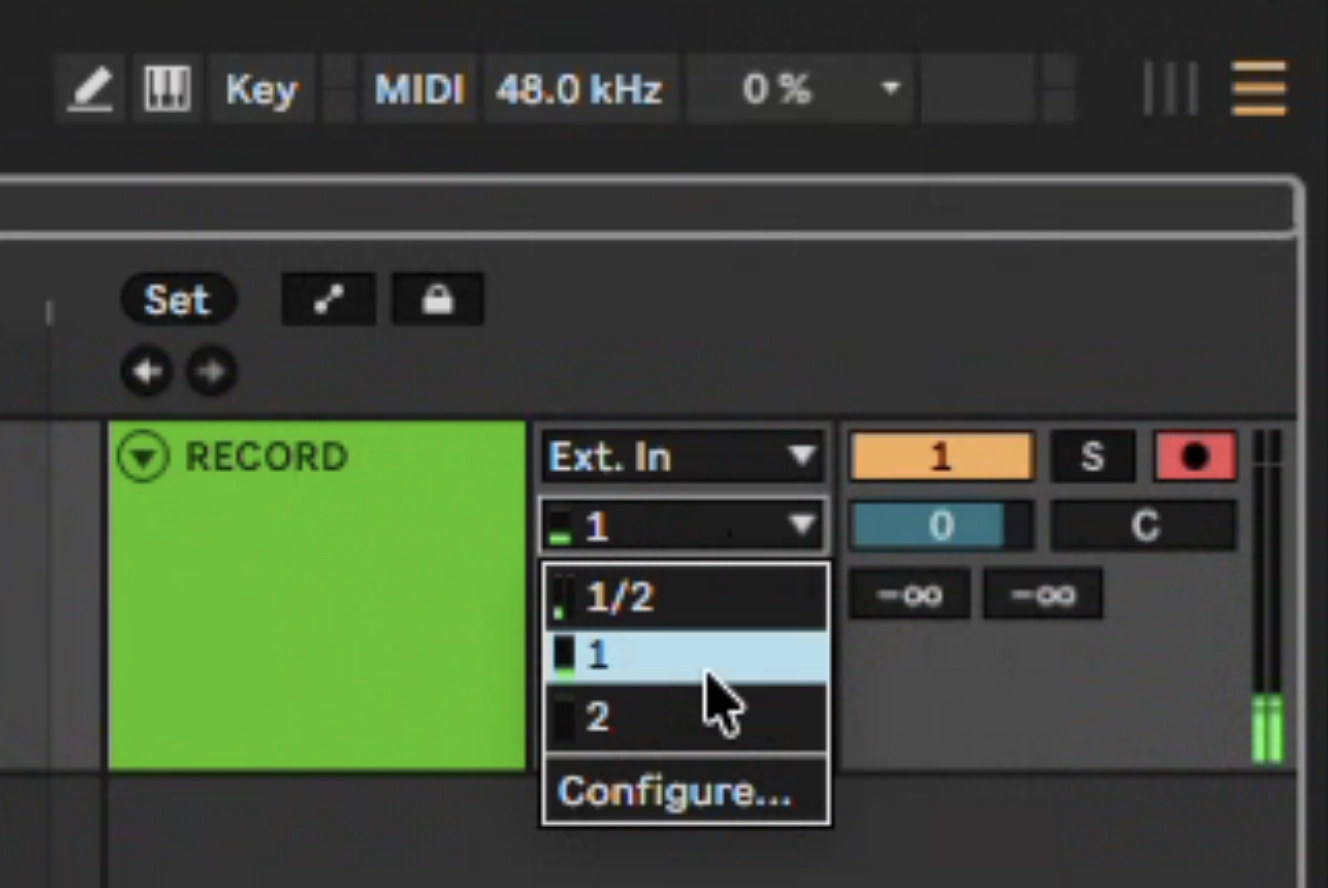
- Create an Audio Track, which will provide the source audio for your session. Name it "RECORD" - you can do so by right-clicking the track or my pressing cmd+R.
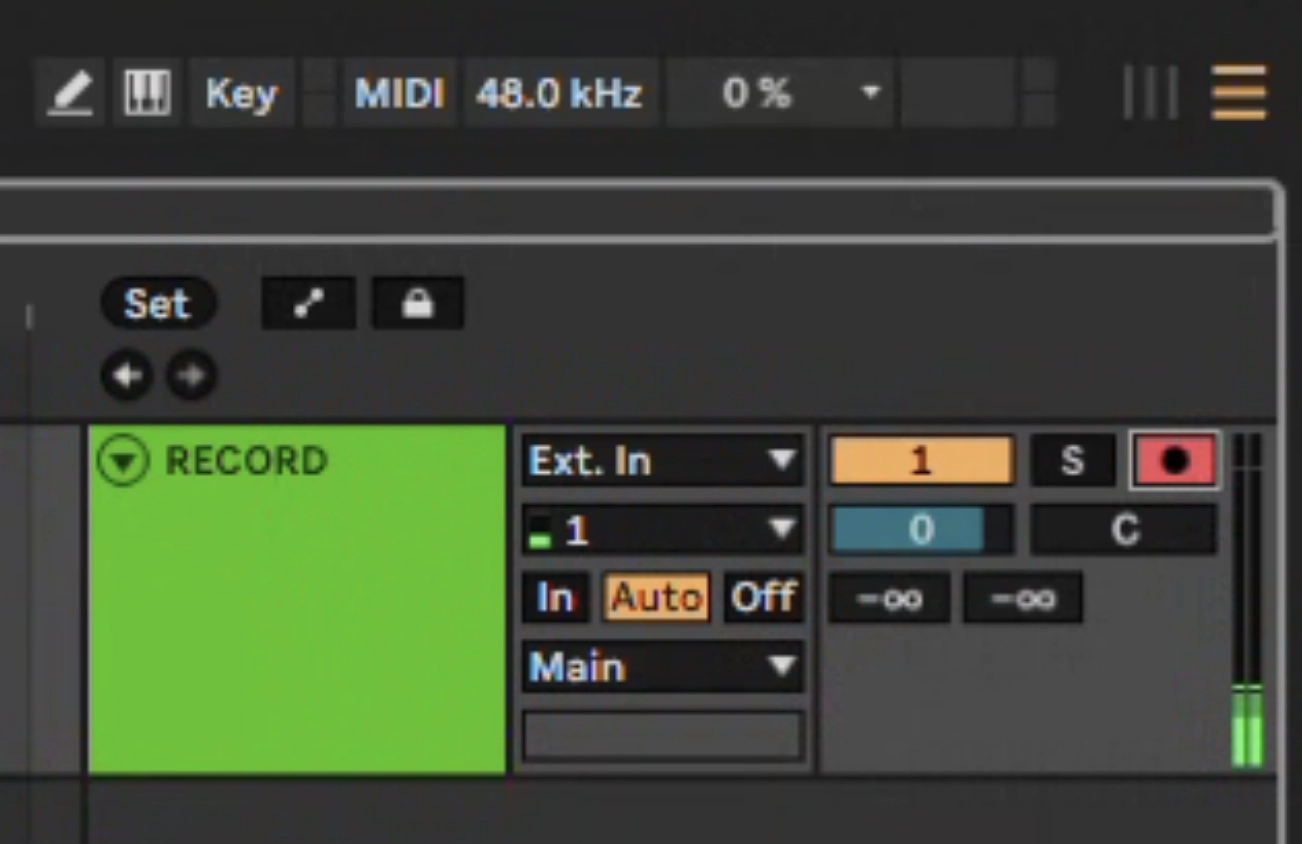
- Record arm the audio track and set it to "Auto"
- Make sure you chose the channels for your audio interface on the Audio Track as needed.
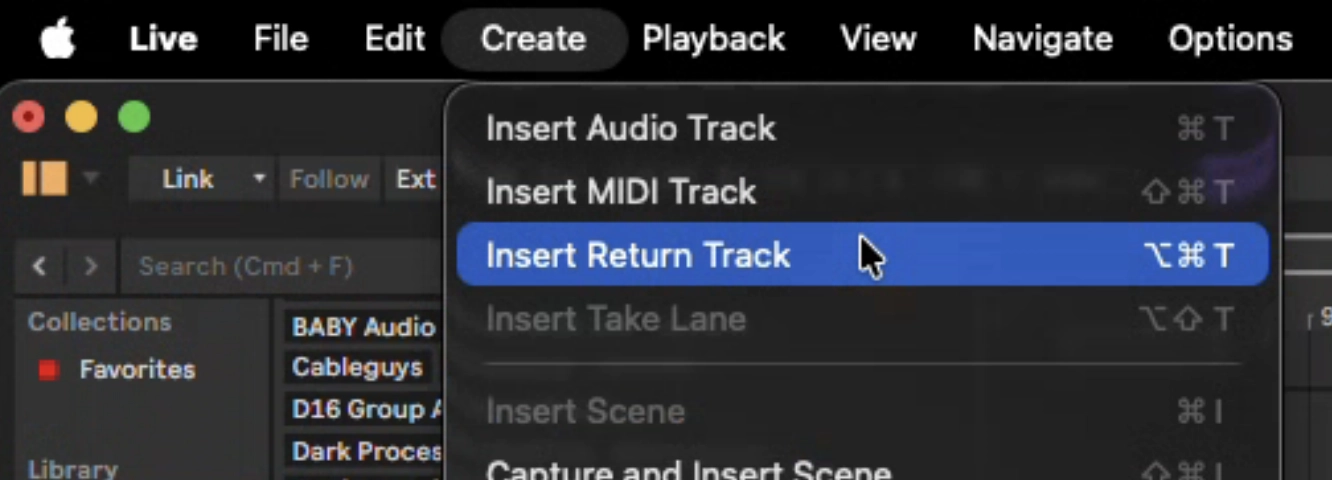
- To create the Return Track, simply choose "Insert Return Track" from the Create Menu, or you can use the keyboard shortcut (macOS Alt+Command+T or Windows Ctrl+Alt+T).
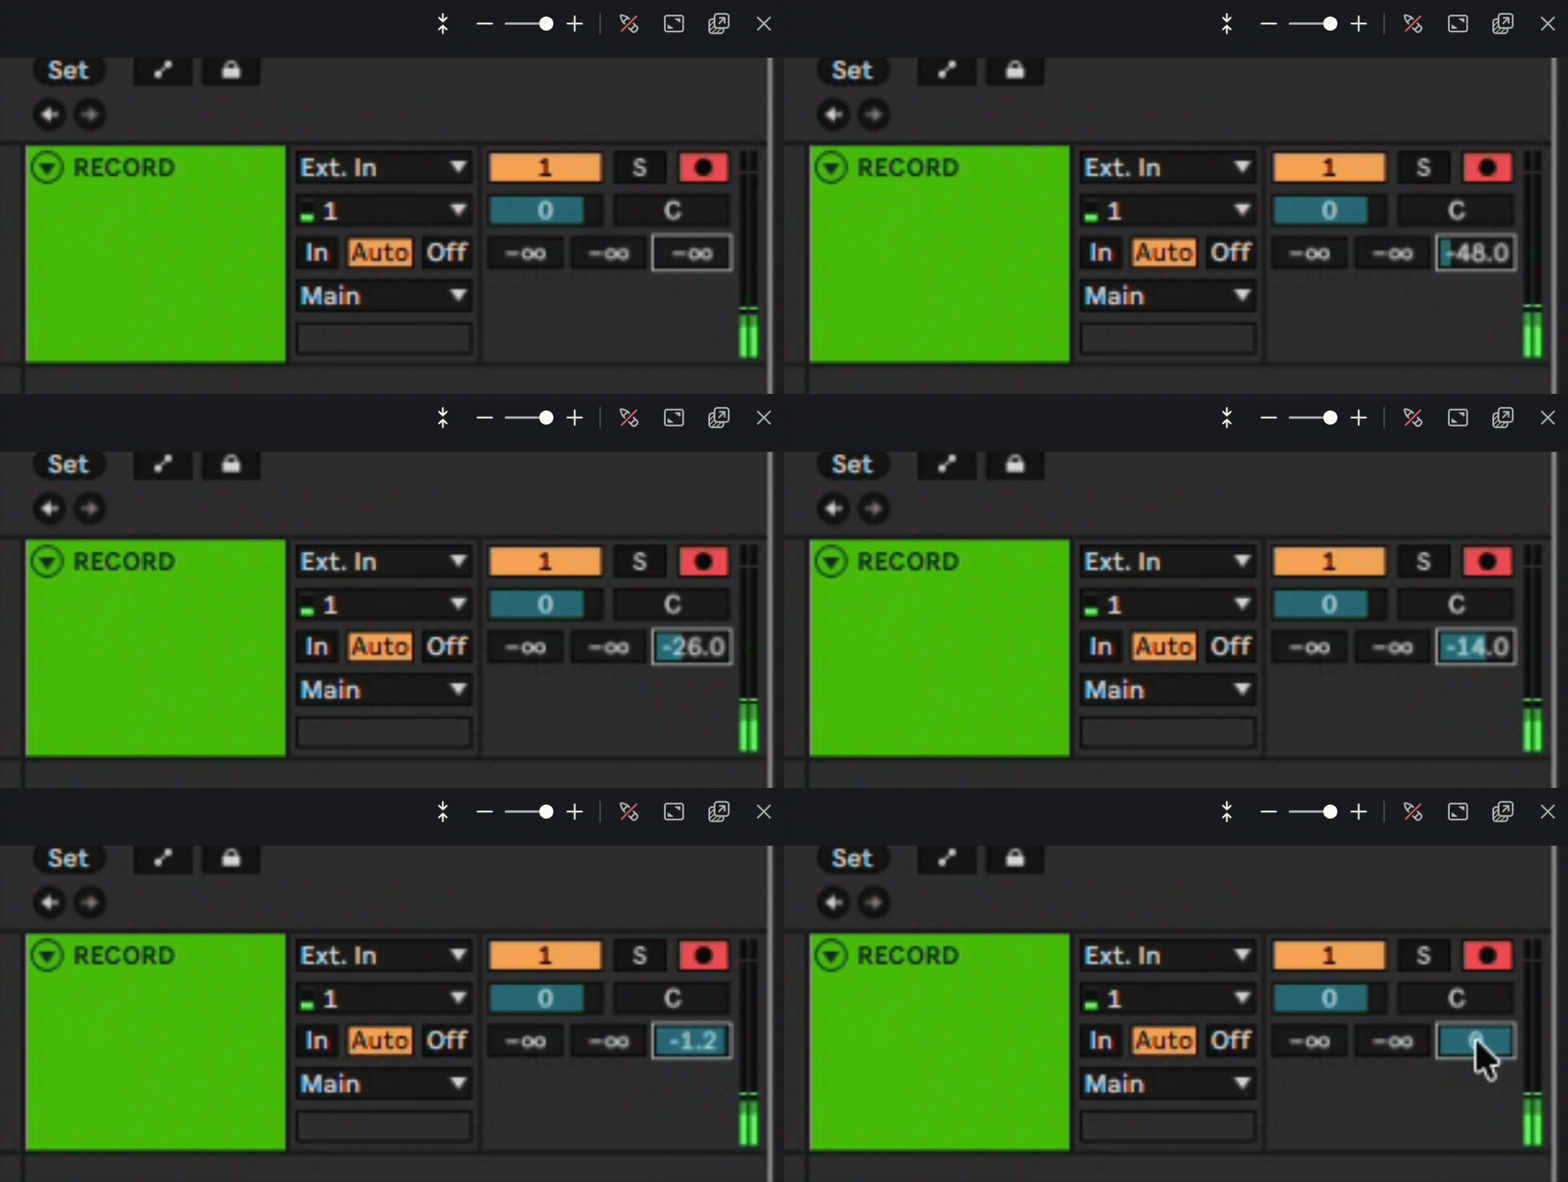
- On your Audio Track, click the corresponding SEND slider and drag it all the way up:
- To instantiate the Source-Connect plugin, drag it from the Plug-In Devices Browser into the Return Track you created. You should see the Source-Connect plugin appear - to make it easier for the following steps, rename it to "Ableton to Source-Connect".
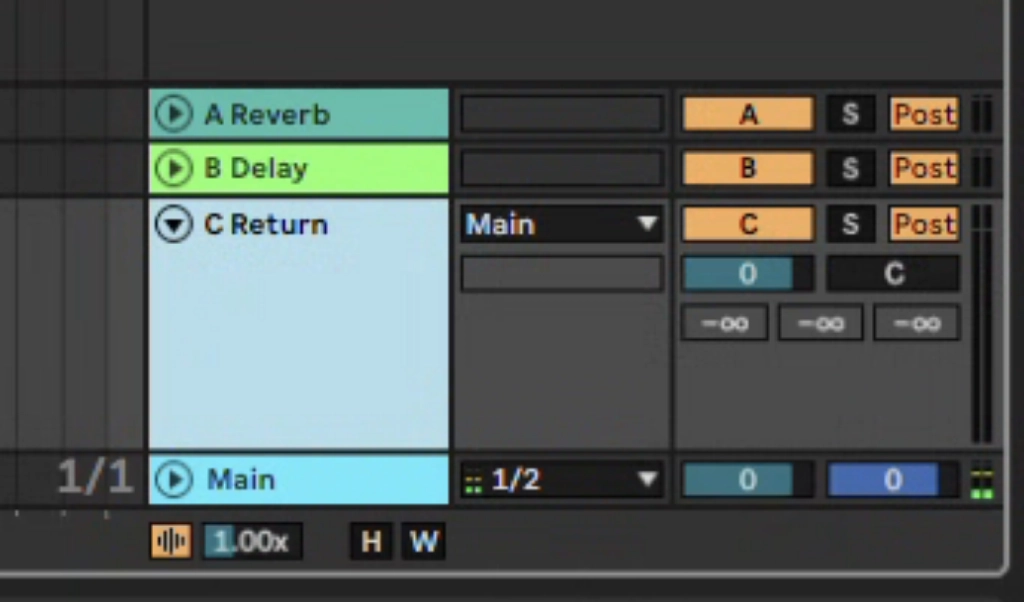
Your return track will be listed at the bottom of your Ableton window:
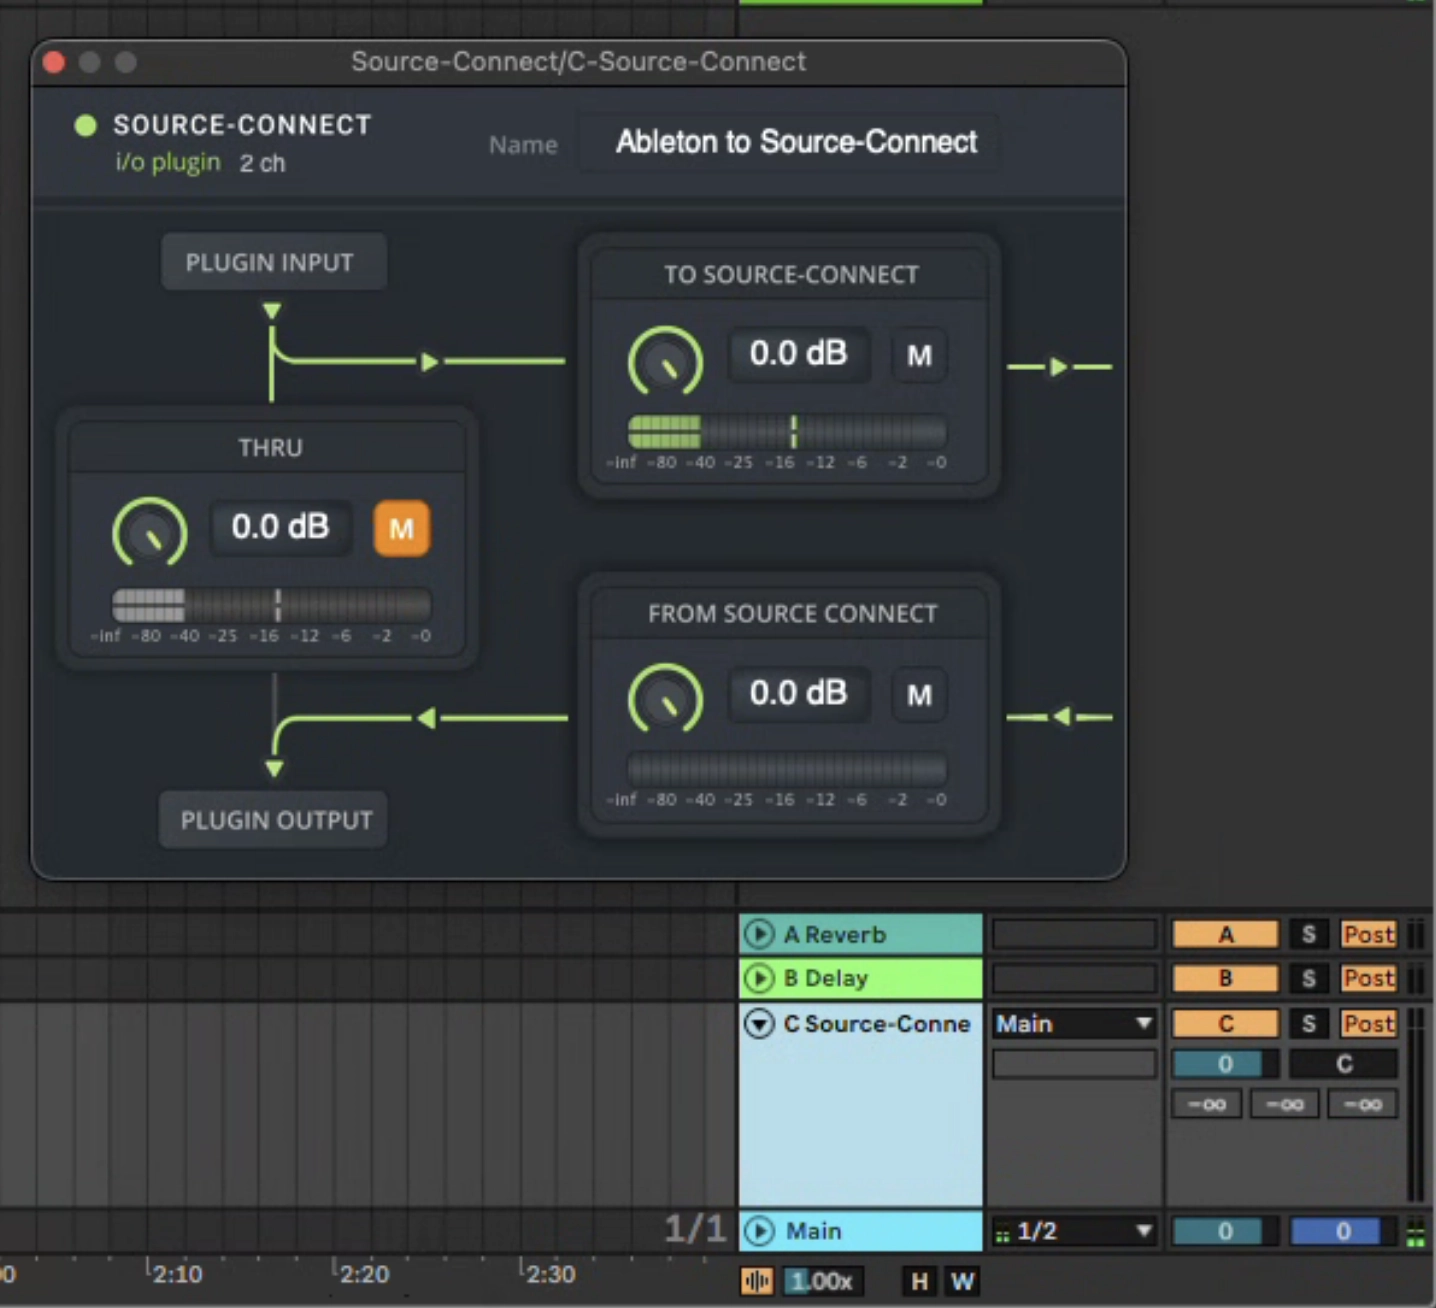
Make sure you have signal on the SEND meter of the Source-Connect plugin.
Setting up your Source-Connect session settings
On Source-Connect 4, click the cog icon to access your settings panel. Then, choose the Source-Connect plugin as your input and output. in the AUDIO I/O section.
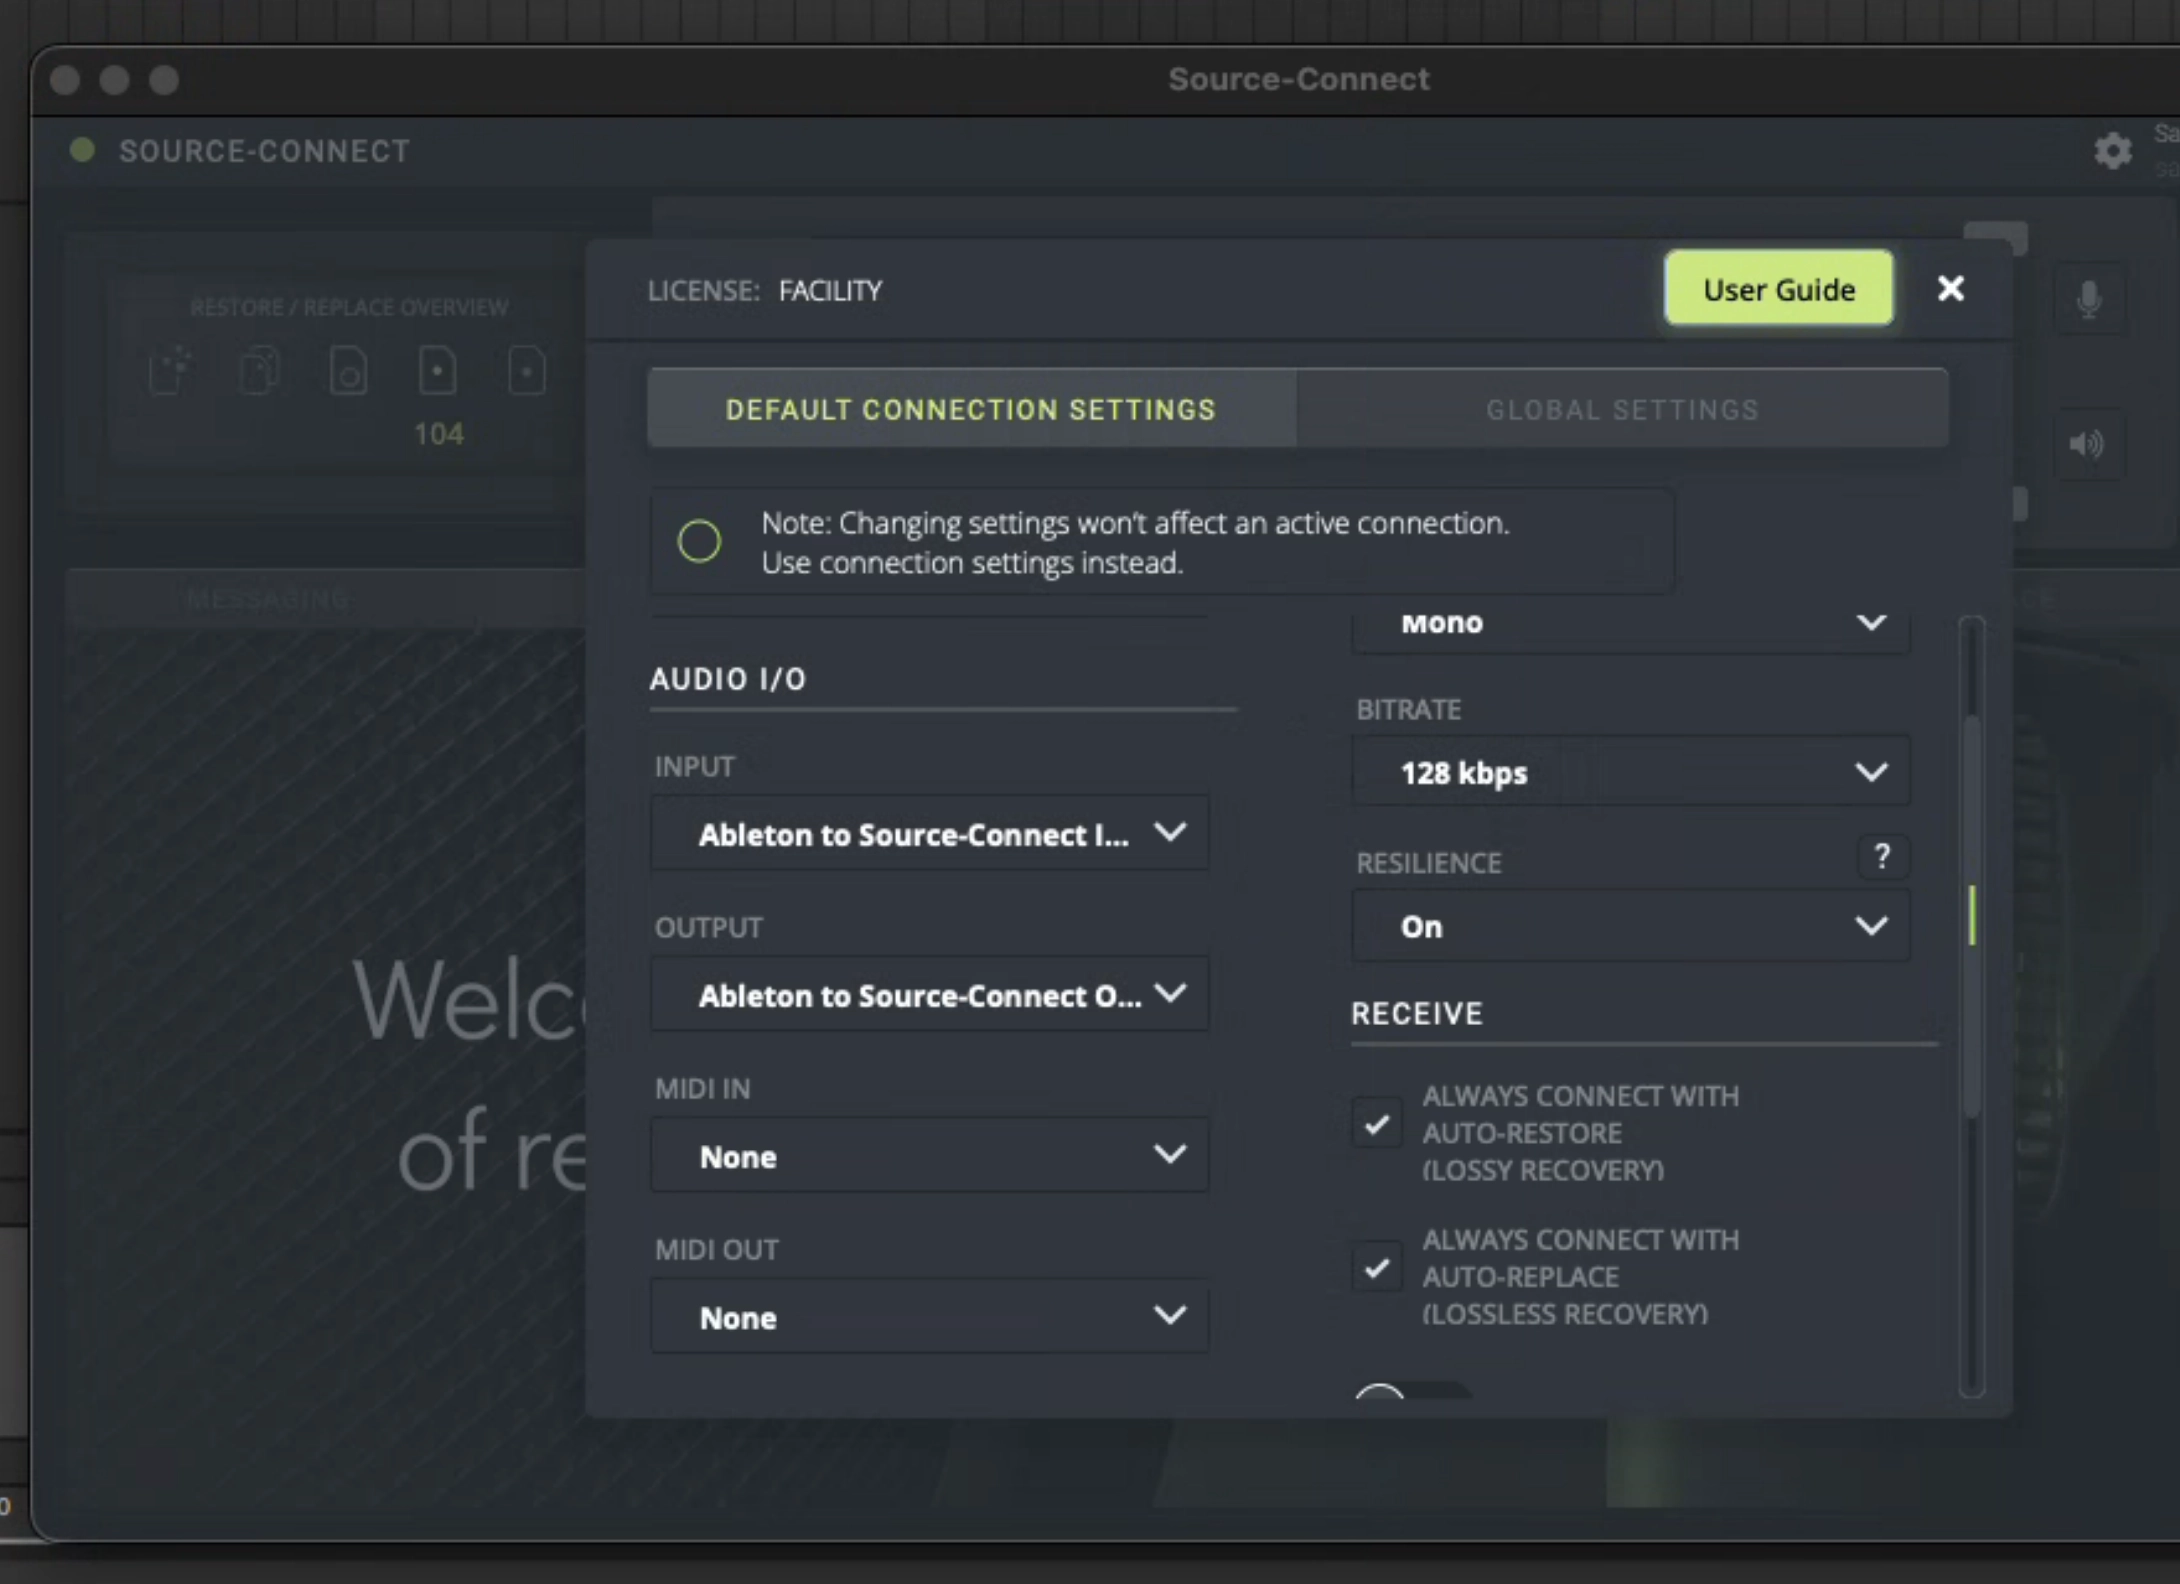
Now when you start playback of your audio or speak into your microphone, the other party will be able to hear it.
Tips
- If you would like to use the entire mix rather than selected tracks, place the Source-Connect Plug-In on Ableton Live's Master Track.
- Do not monitor through speakers when you are recording your own audio through Source-Connect - use headphones instead to limit echo.