The Source-Live Gateway
This article is part of the Source-Live Pro LL User GuideSource-Live offers a unique, easy way to invite viewers via a customizable web interface, the Source-Live Gateway.
What is the Source-Live Gateway?
It allows for real-time HD audio and video via the Source-Live broadcast software.
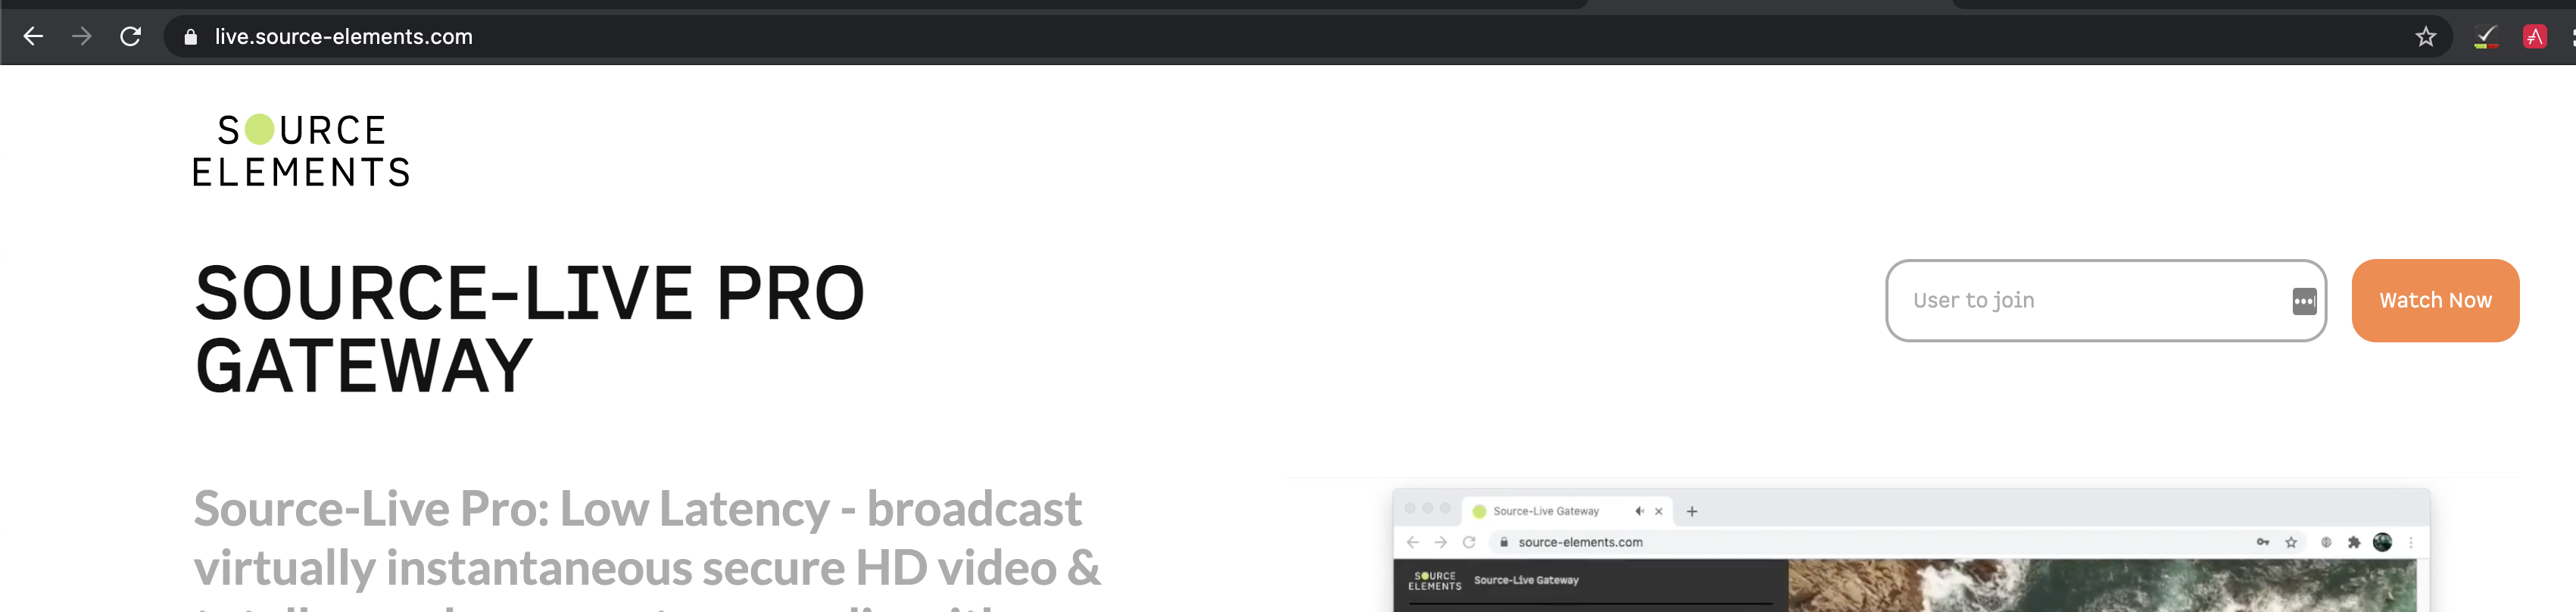
To hear your audio, users can access Source-Live Gateway via a web browser by going to https://live.source-elements.com/.
Your viewers will require at least as much download bandwidth as the Stream quality settings. Generally we recommend at least 1MB of download speed, but more is always better in streaming configurations.
Important: 4G and LTE cellular networks generally support Source-Live streams. Note however, that streaming HD video will consume significant bandwidth! We do not recommend viewers use their 4G or LTE connection to stream Source-Live Pro, except where absolutely necessary.
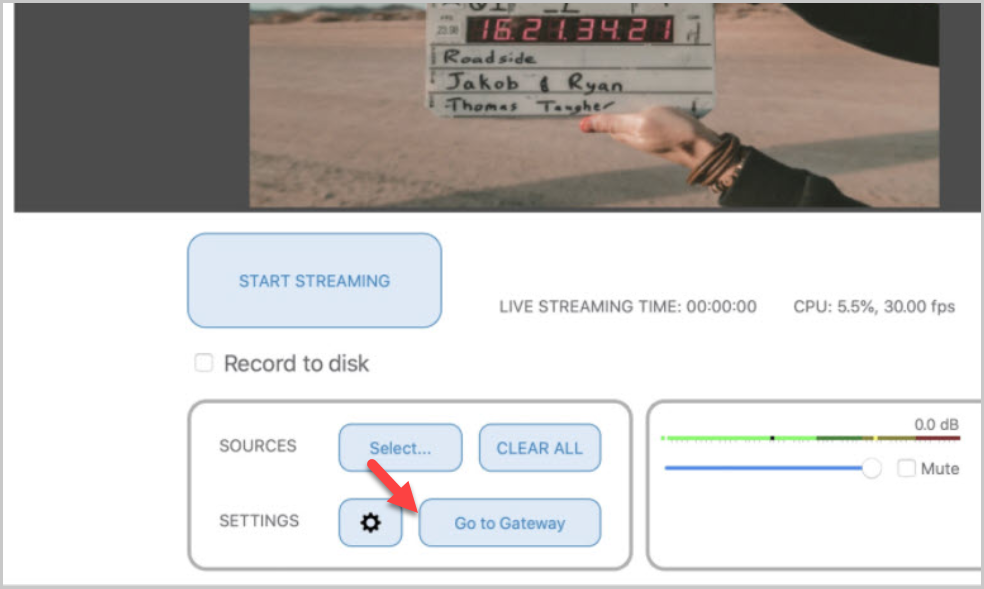
Once you have configured your setup to meet your requirements (e.g ports, Audio Delay and Quality Settings), you can invite your viewer by providing them with the URL to your gateway. You can find this URL by clicking the "Go to Gateway" button in the main screen. To start broadcasting, and only if you are ready to accept viewers, click the “Start Streaming” button in Source-Live.
System Requirements
When receiving a live stream:
- macOS: Chrome
- Windows: Chrome
- Mobile: Android (Chrome) and iOS (Safari)
For Video Chat, there is support for Desktop and Android. iOS is not yet supported.
For Audio, set your default audio output in your System Preferences (Mac) or Control Panel (Windows).
Note: for mobile devices with small screens (such as smartphones), you will need to use Source-Live Gateway in Landscape mode. Portrait mode is not supported.Please contact support if you have any questions regarding network requirements.
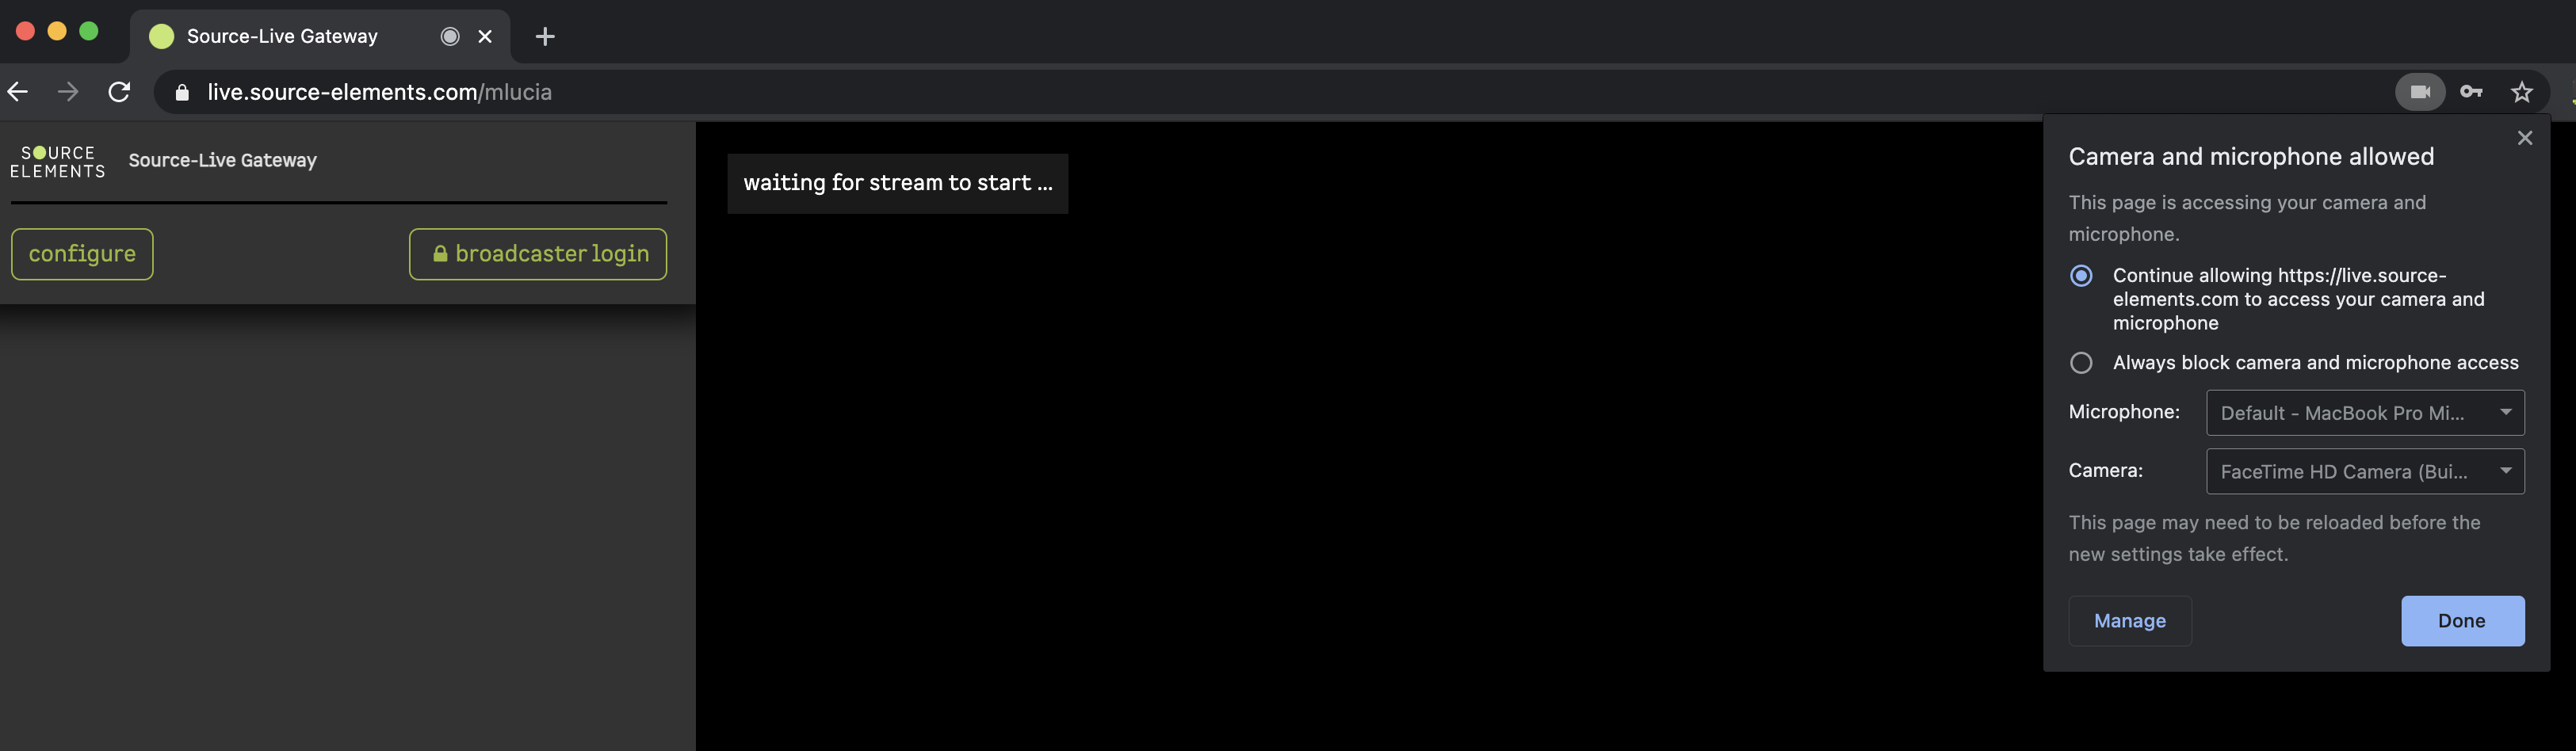
How to allow browser access to your camera and microphone
Different browsers allow users to define the default behavior for their camera and microphones, usually due to privacy reasons.
Enabling Camera and Microphone access on Chrome
In order to enable your microphone and camera in your Chrome browser:
- Type in chrome://settings/content#media-stream-mic in the browser bar and then Enter.
- Scroll down to Permissions > Camera.
- Click Camera.
- Define a behavior ("ask always" or "allow").
- Scroll down to Microphone
- Click Microphone.
- Define a behavior ("ask always" or "allow")
If you have already joined a stream and cannot configure these settings, try clicking the camera icon on the top right-hand corner of the screen. You will also be able to modify the settings there.
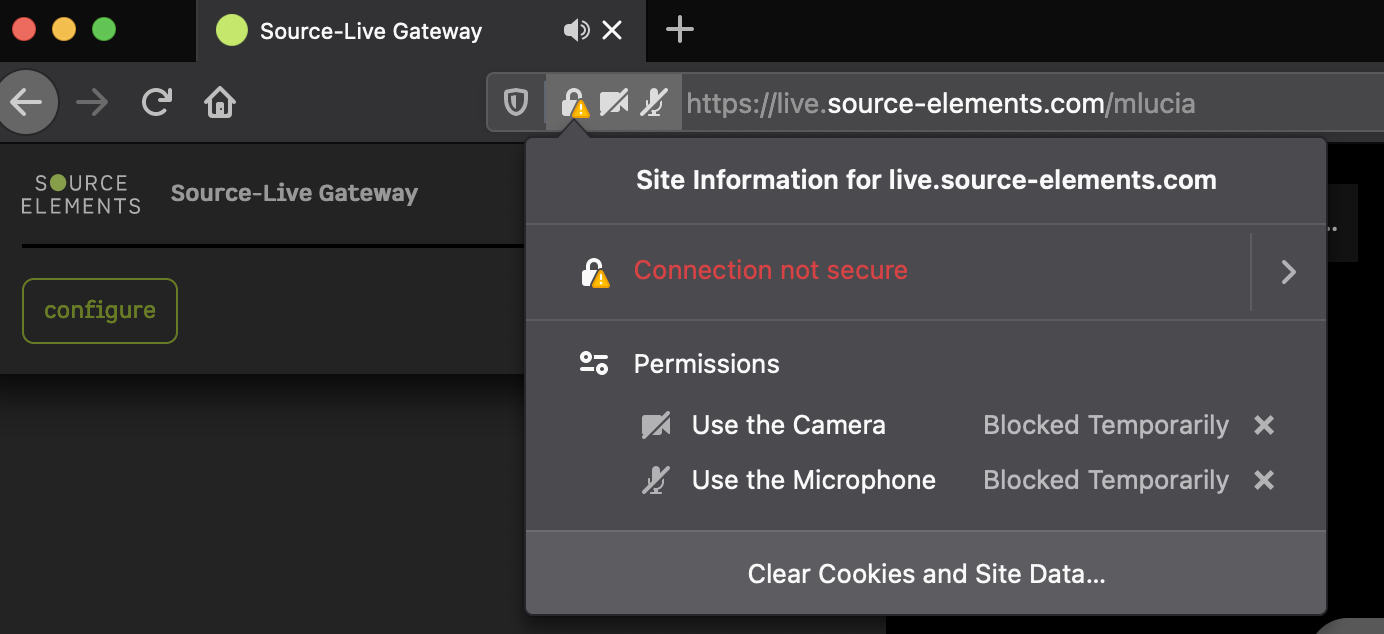
Enabling Camera and Microphone access on Firefox
In order to enable your microphone and camera in your Firefox browser:
- Type in about:preferences#privacy in the browser bar and then Enter.
- Scroll down to Permissions > Camera.
- Click Settings.
- If live.source-elements.com is blocked, click "Allow".
- Scroll down to Microphone
- Click Settings.
- If live.source-elements.com is blocked, click "Allow".
If you are already in a session, click the gray camera or microphone icon. You will see "Use the Camera" or "Use the Microphone" temporarily blocked. Remove the temporary block.
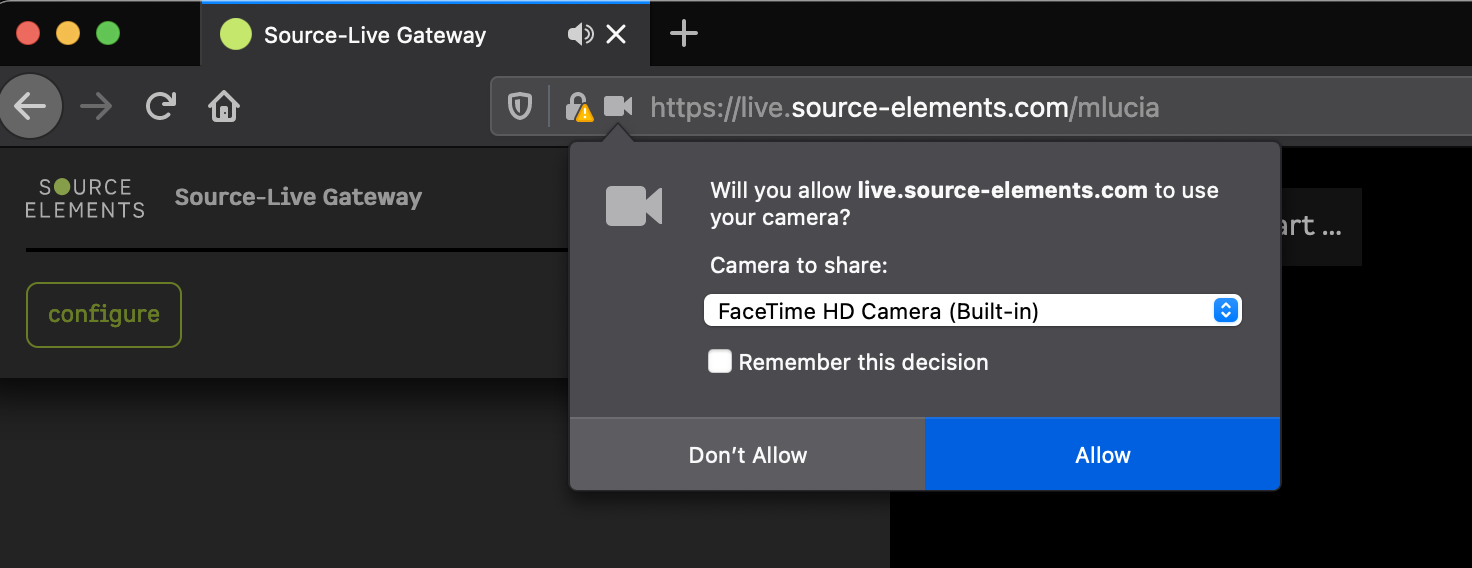
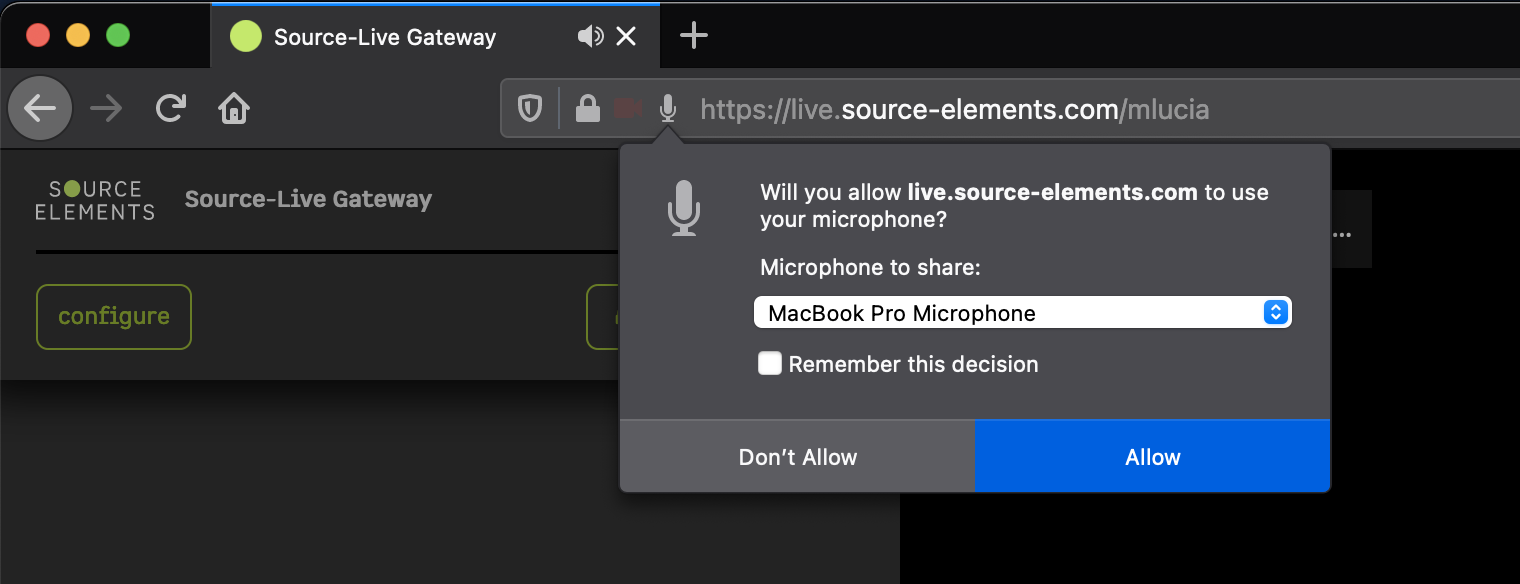
Then, click the green "configure" icon in the top left-hand corner of the screen. You will see the configuration settings, which will have a default camera/microphone selection.
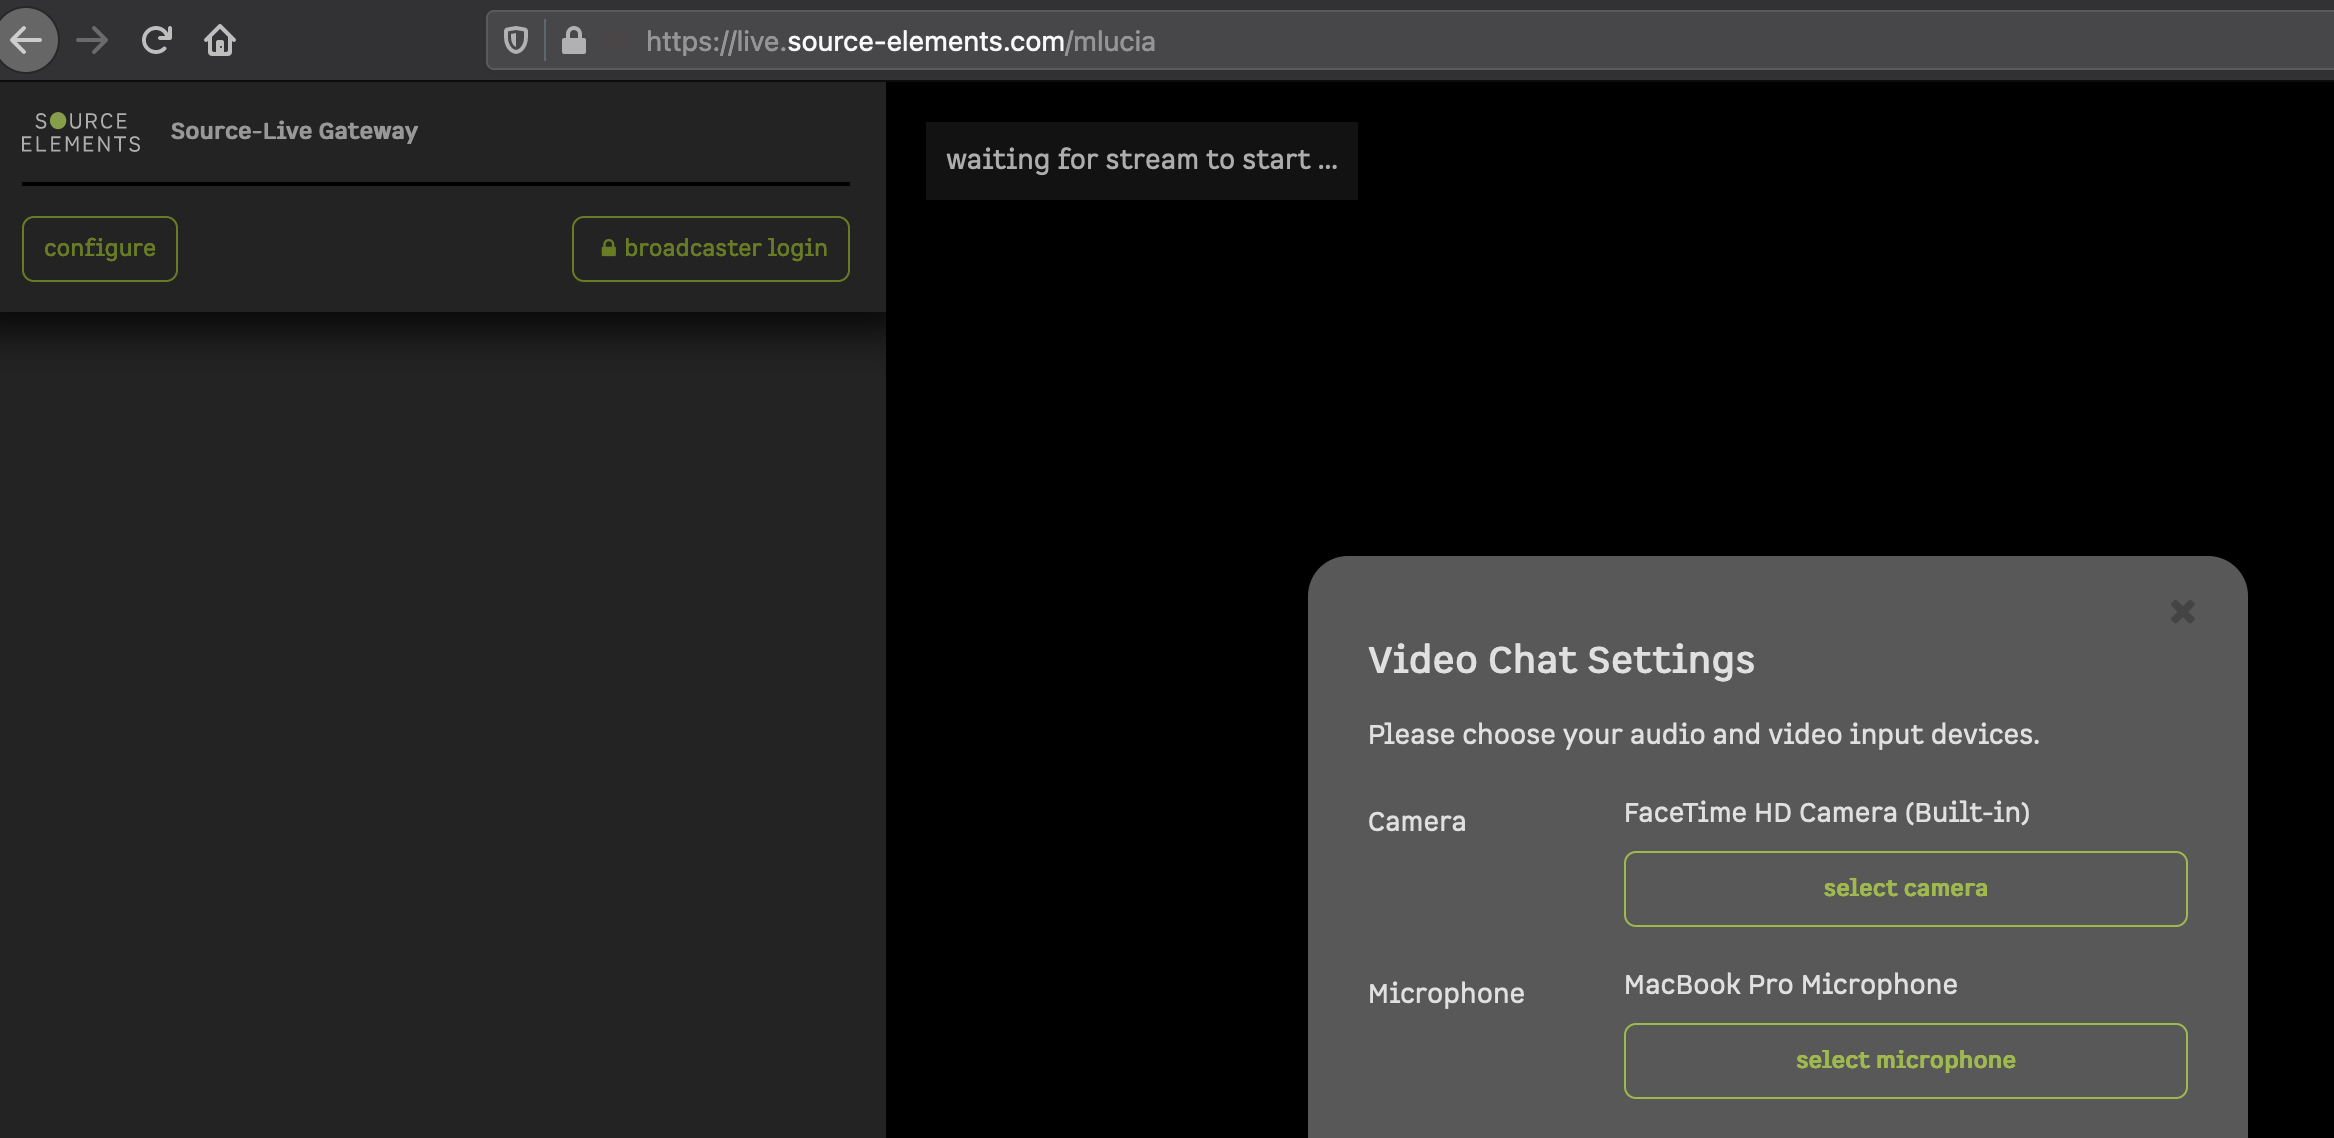
Click "select camera", then "Allow" in the pop-up.
Then, click "select microphone" and click "Allow" in the pop-up.
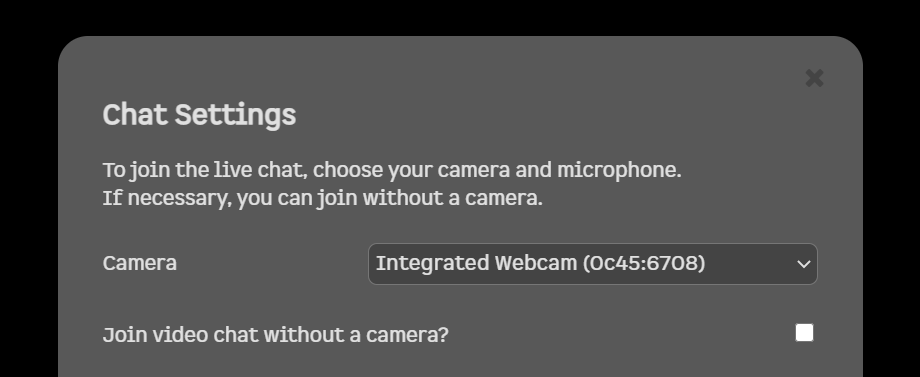
Joining video chat on a computer with no video
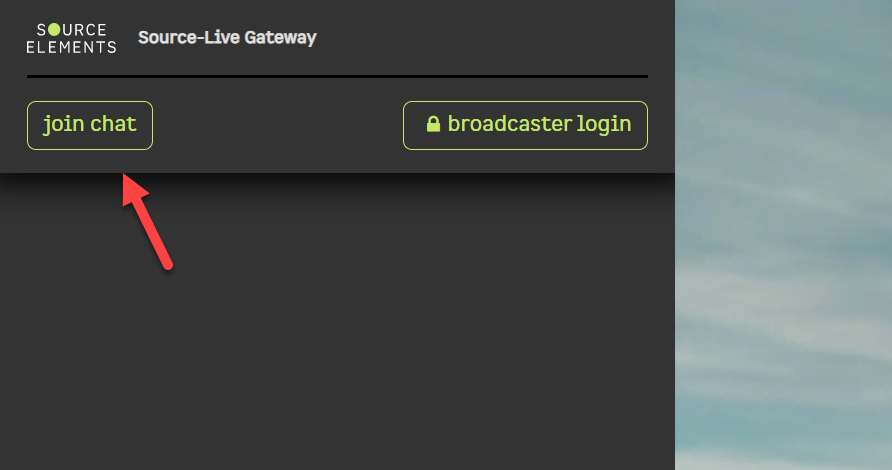
If you or your client don't have a computer with Video, you can still join a Source-Live Gateway session. When you click "Join Chat", you will be able to see a "Join video chat without a camera" option in the Chat settings.
Joining video chat on a computer with no video using NDI™ Tools on Mac
If you later wish to change your video source, read through this article instead.
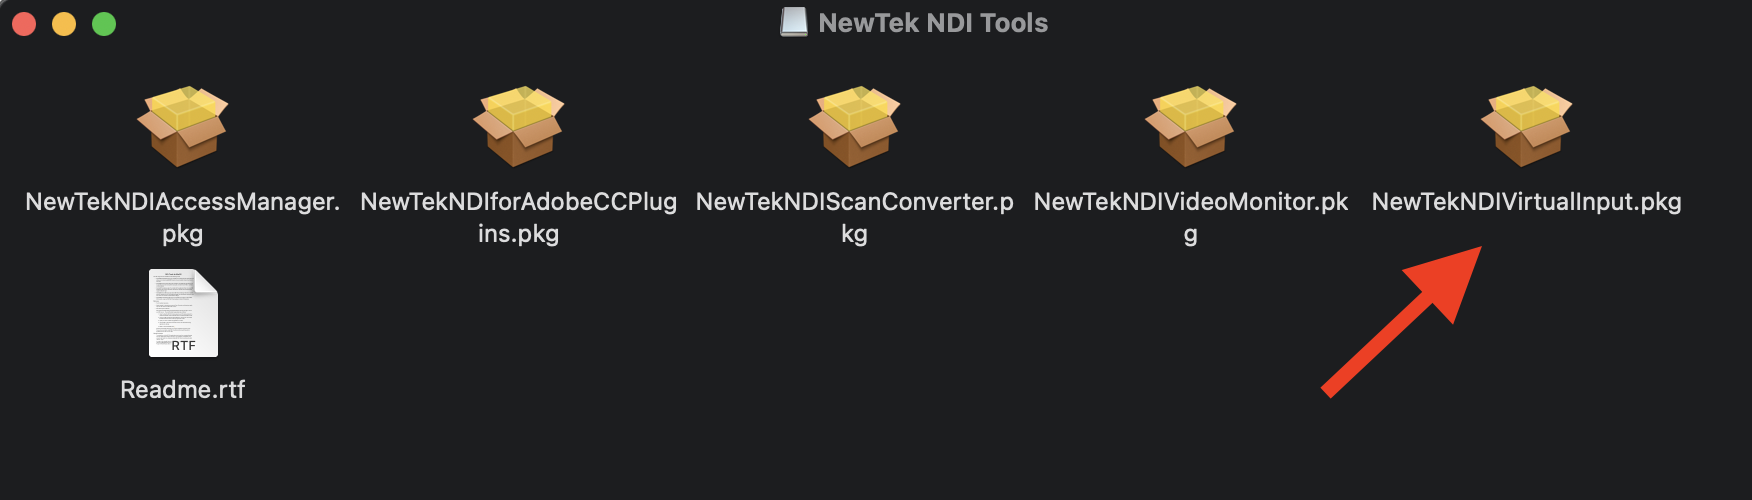
Install NDI™ Tools
- Go to https://ndi.tv/tools/ and download NDI™ Tools.
- Install and open NDI Virtual Input - this creates a virtual camera driver, similar in concept to how Source-Nexus I/O creates a virtual audio driver.
Join the Source-Live Gateway session
- Join the session by navigating to https://live.source-elements.com/, entering the name of the broadcaster in the top right-hand corner, and clicking “Watch Now”
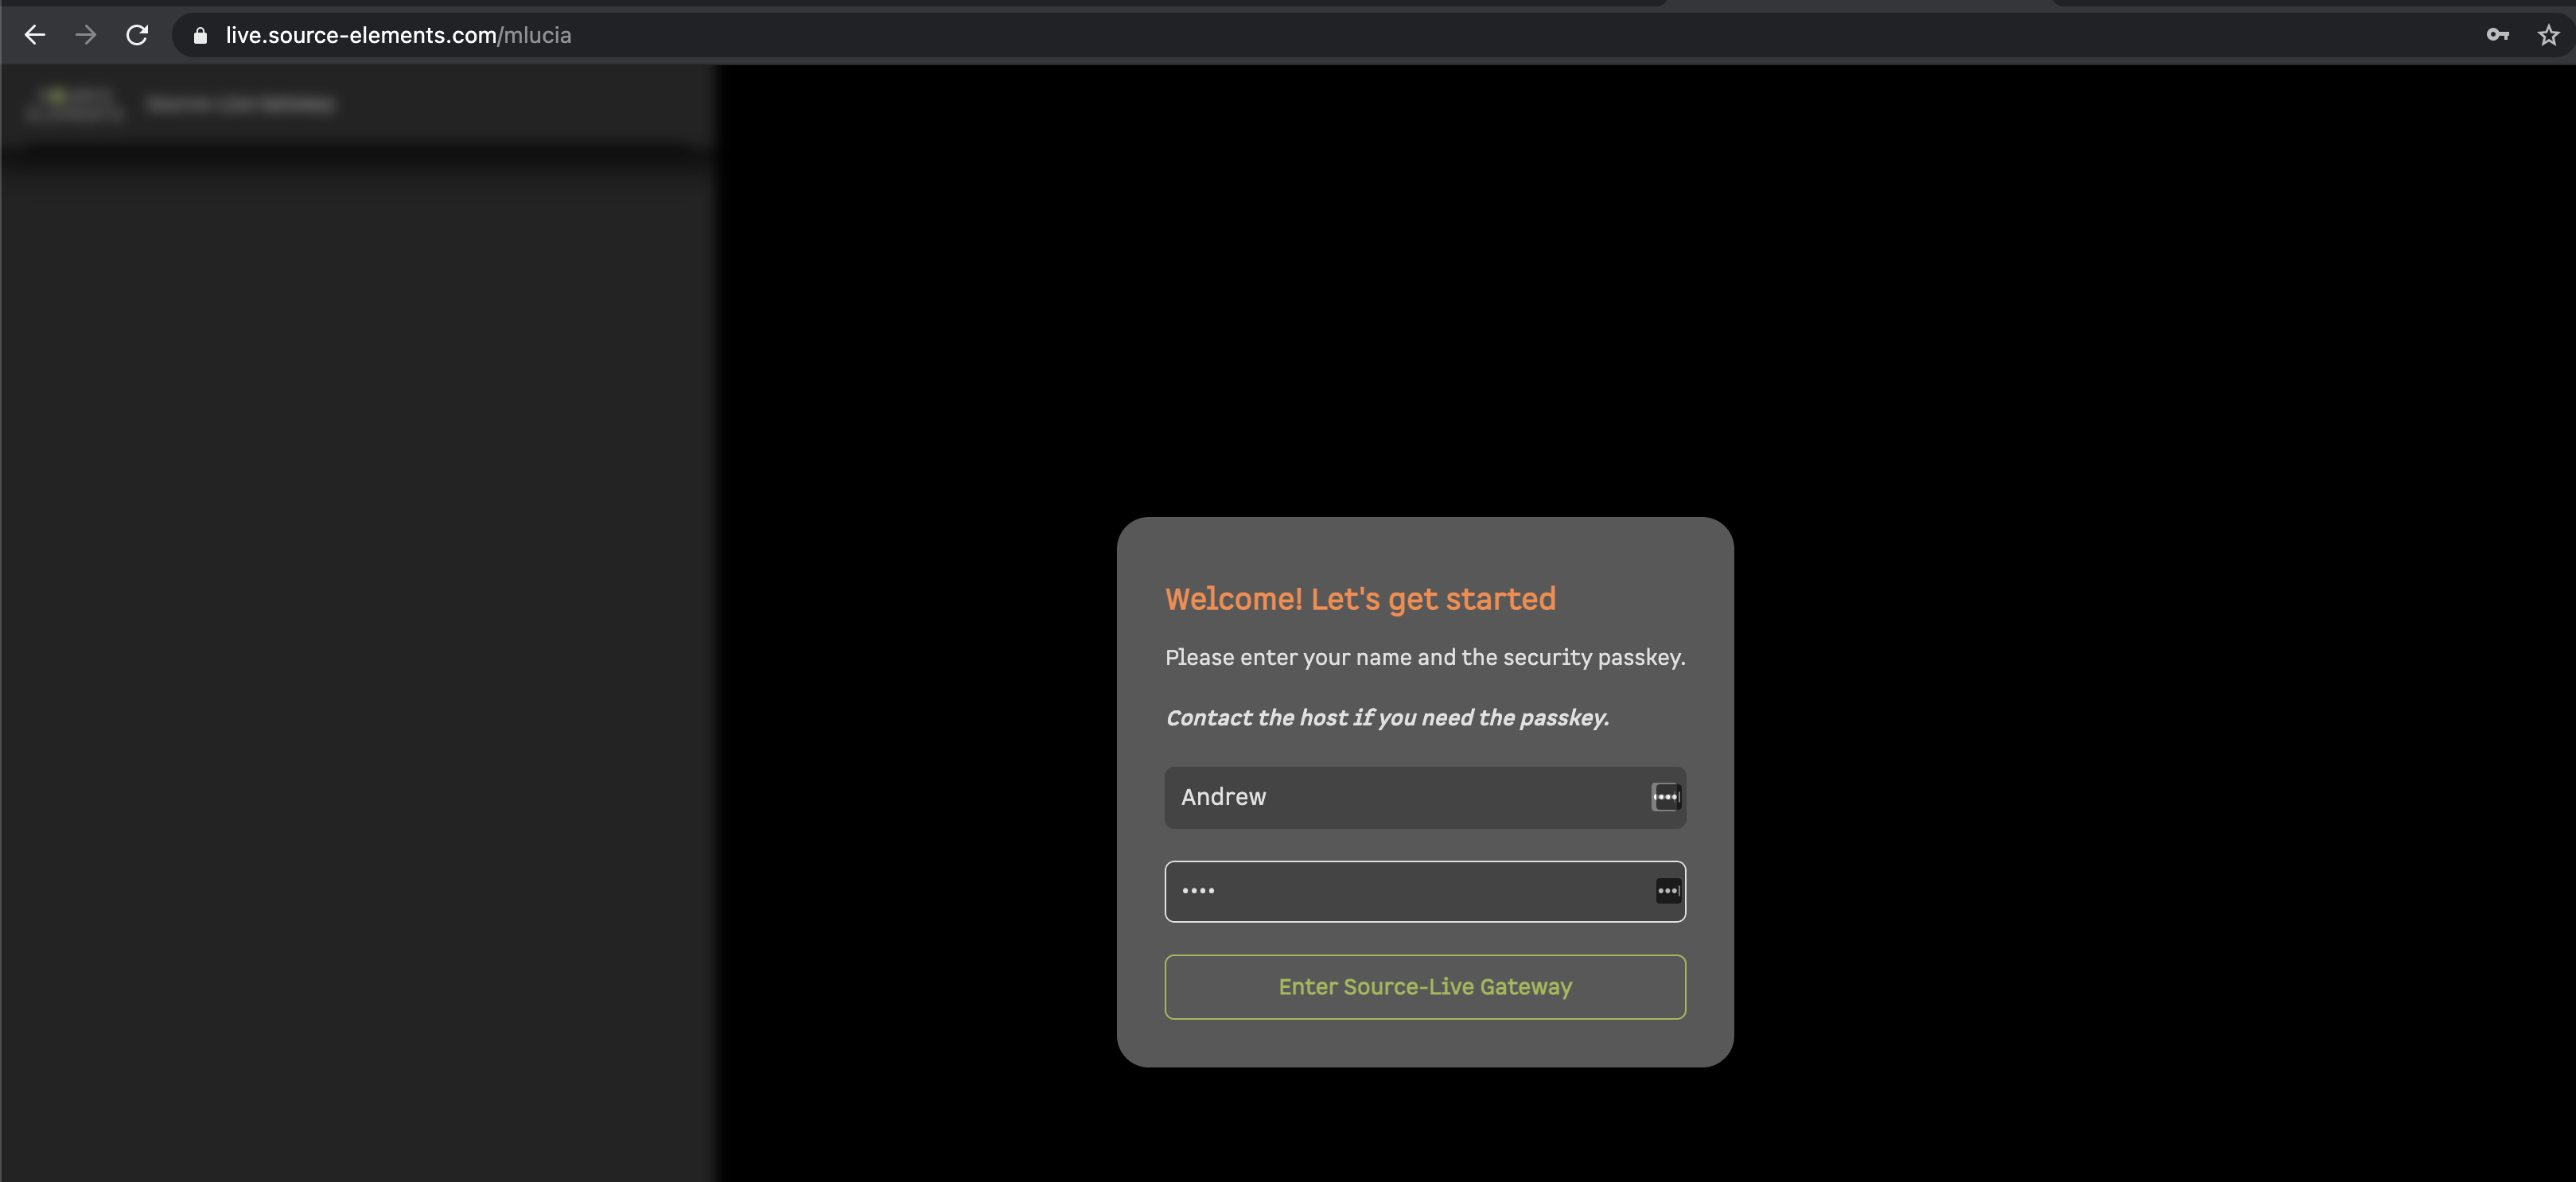
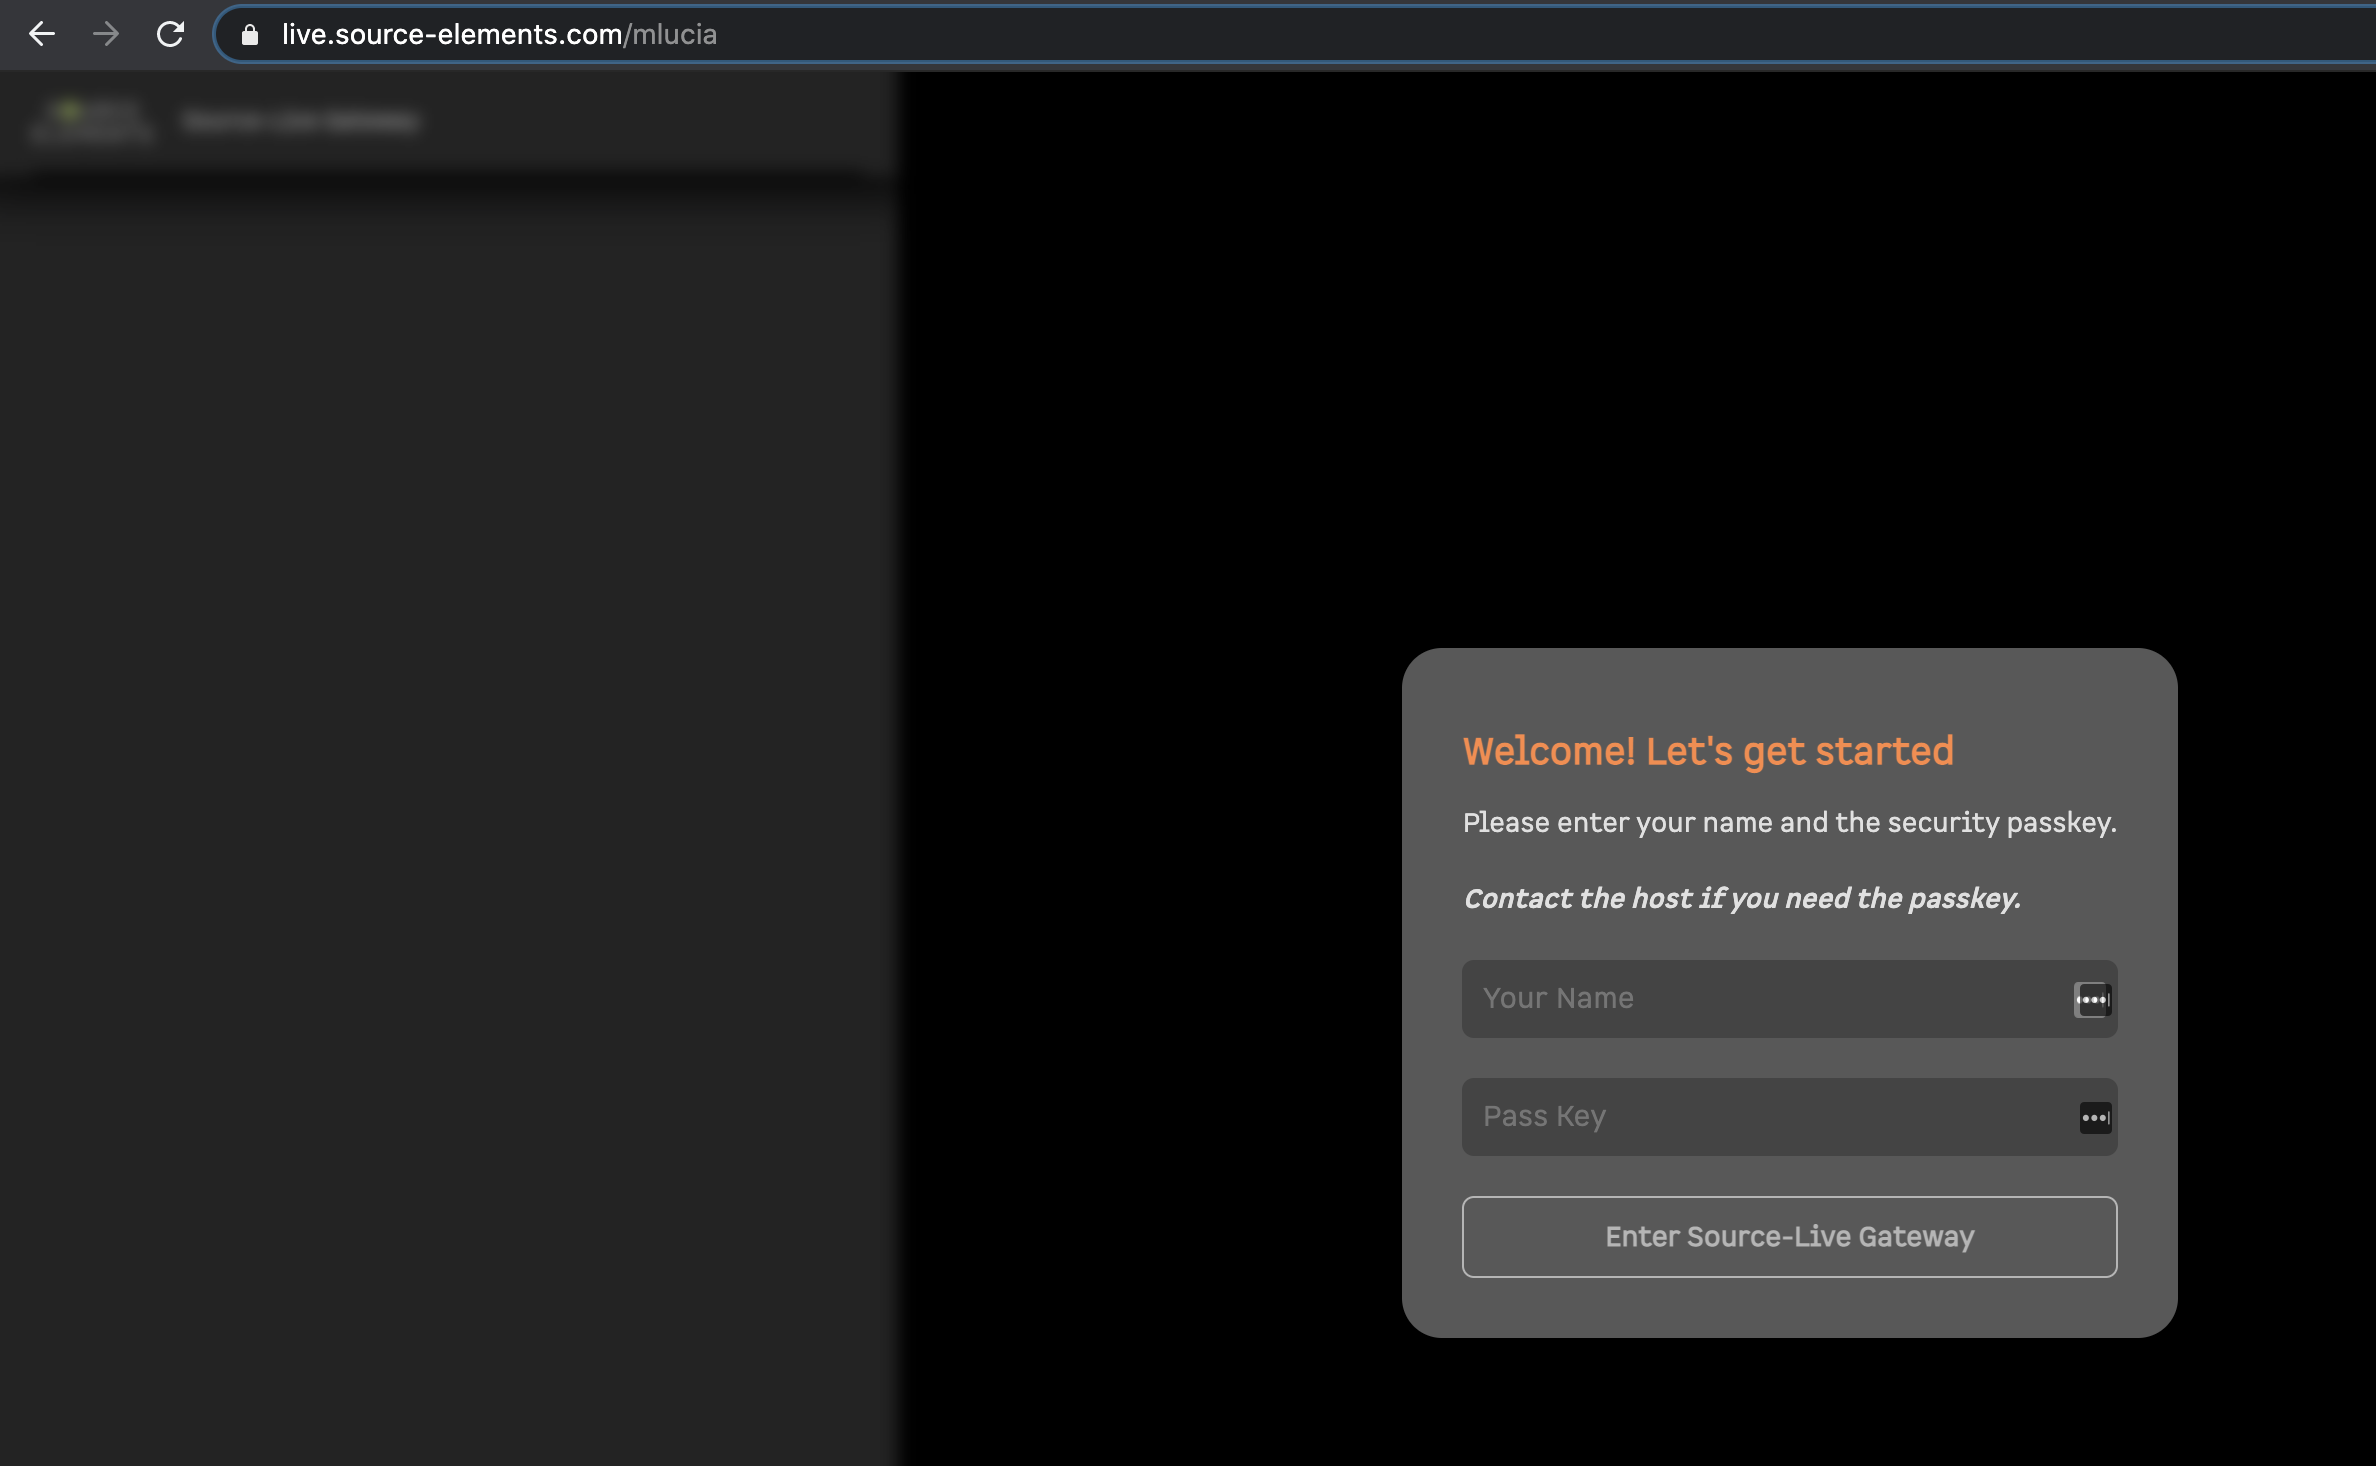
- Enter your username and the PASSKEY provided by the broadcaster.
Configure your Video
- In the top left-hand corner, click "join video chat".
- Once the Video Chat Settings pop-up is displayed, select "NDI Video" as the Source.
You will be able to send audio over Video Chat and listen to others.
Other participants will only see a video for you if you choose to send a video to the NDI virtual input application. If needed, you can also send video from your phone camera or use a different Newtek Converter to turn a screen into a video feed.
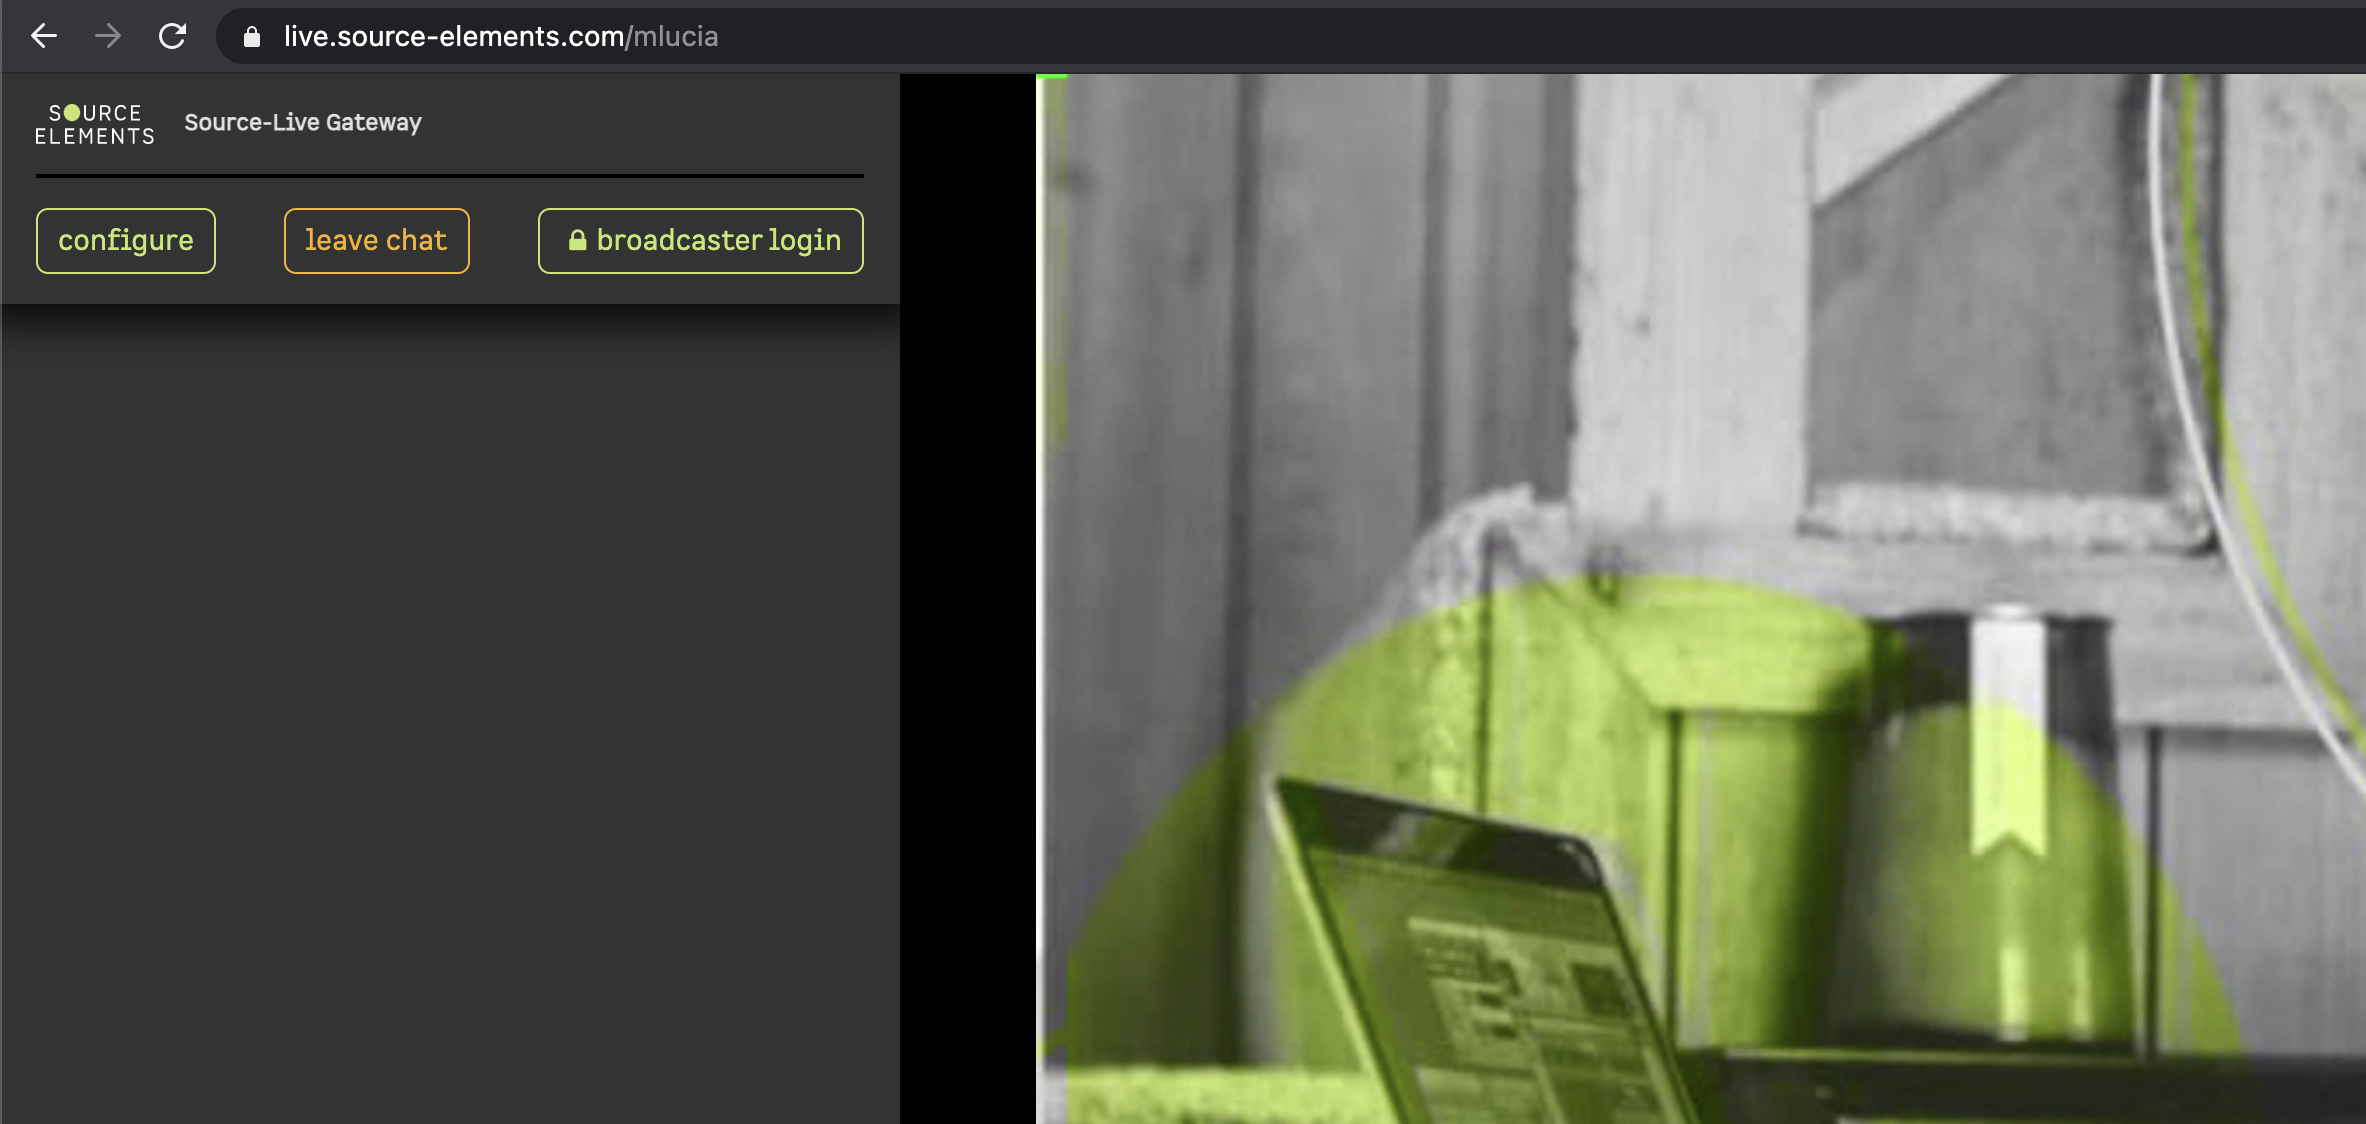
Leaving the session
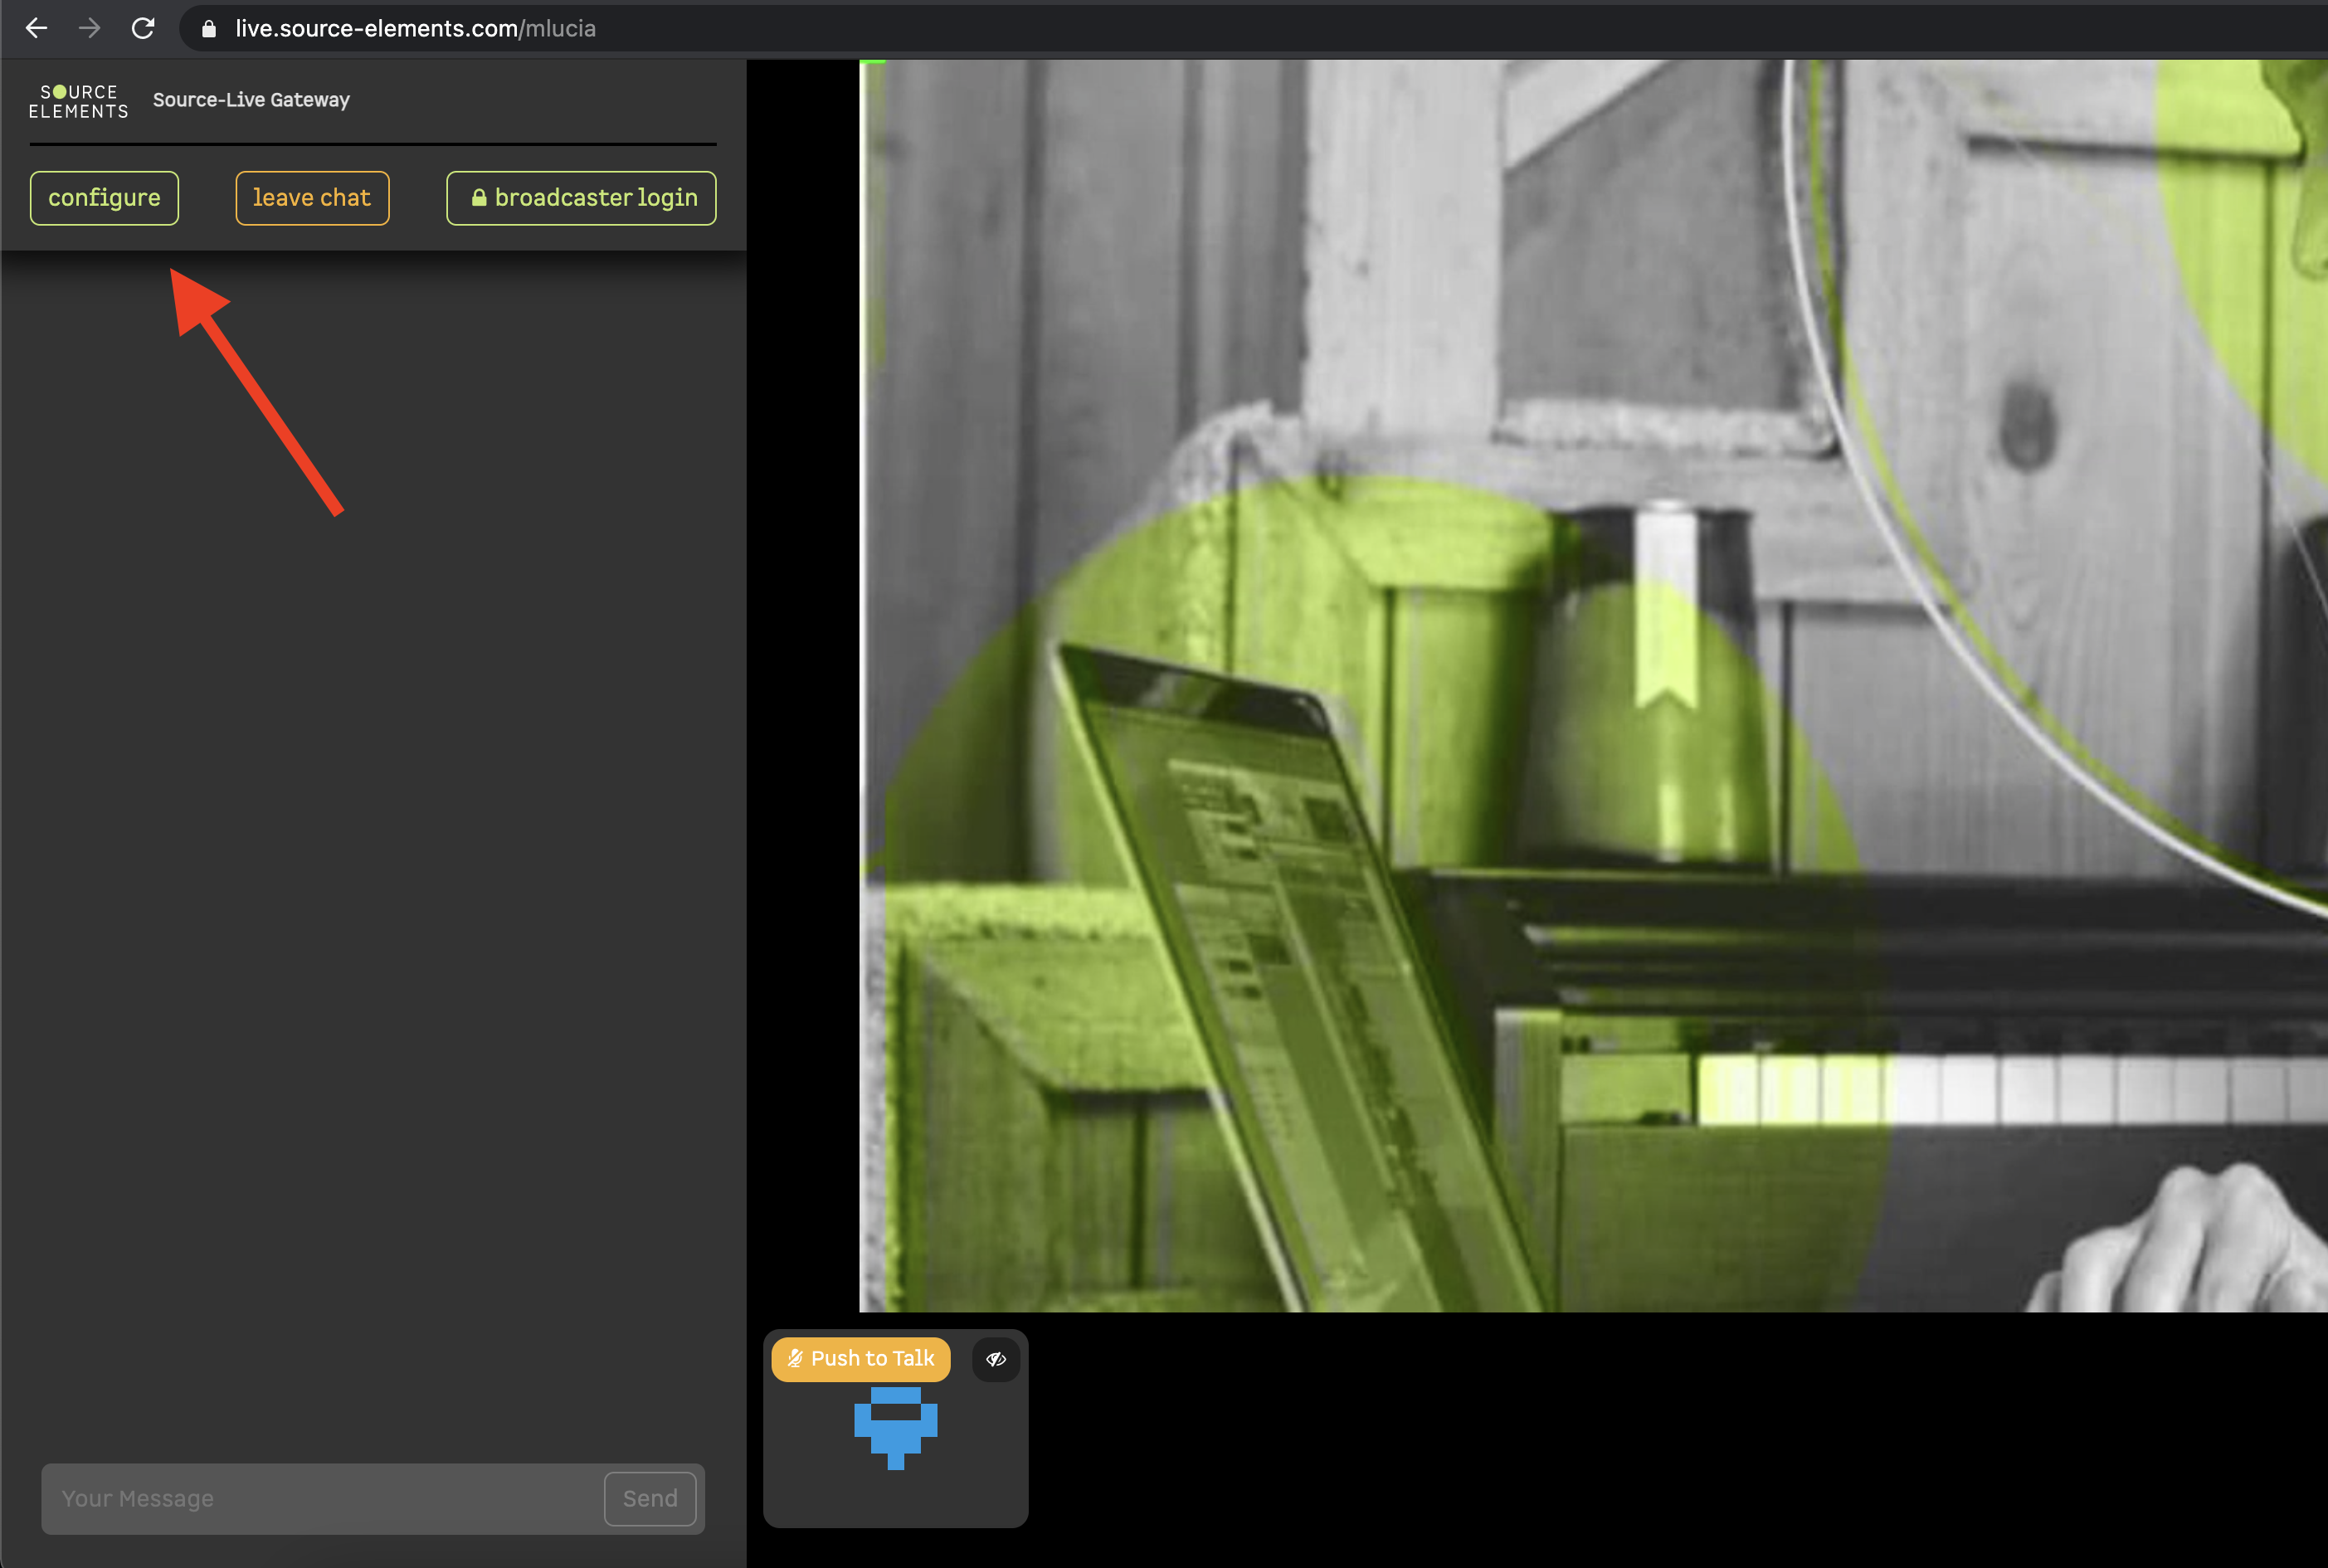
When you are ready to leave the Source-Live session, simply click "leave chat". This will return you to the login screen for the stream.
Joining the stream as a viewer
In order to join a stream, navigate to https://live.source-elements.com/. In the right-hand corner of the screen, you will see "User to join". In order to join in, you will need to have the streamer's username.
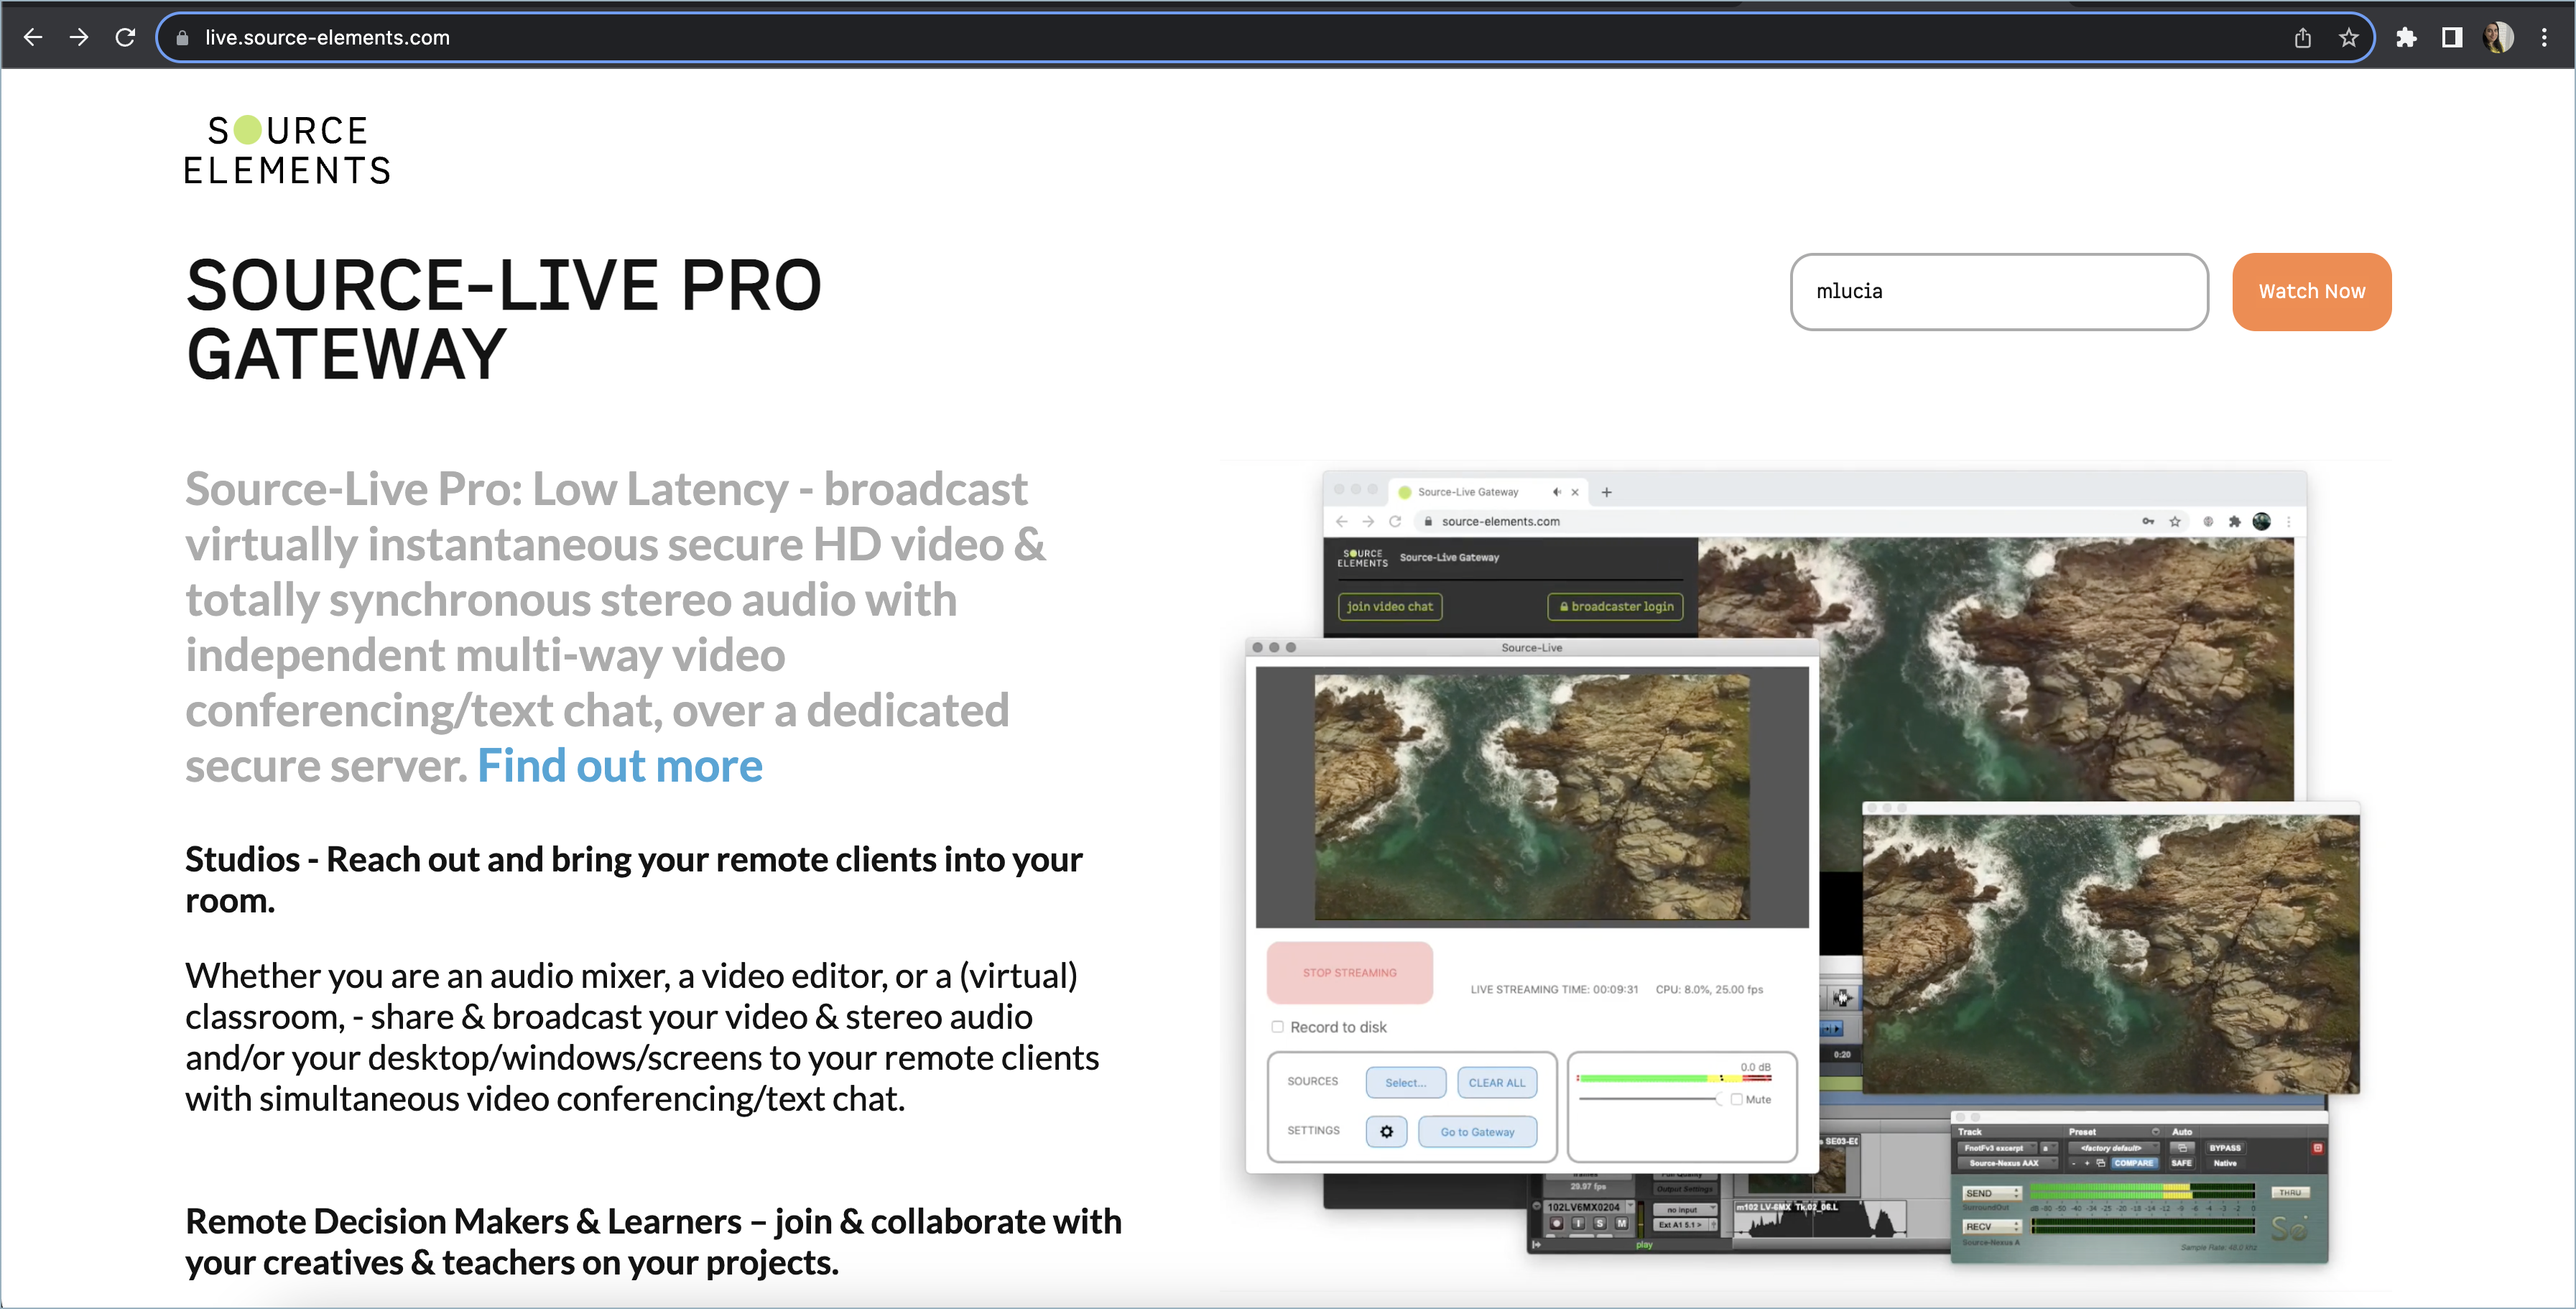
Enter the username for the streamer, then click "Watch now".
You will see a new screen with two fields:
- Your Name: the name users will see when you connect to the stream.
- Pass Key: the password for the stream. In PASSKEY, enter the password you received from the user broadcasting the session.
Turning on video chat as a viewer
In order to connect to a broadcast sent to you:
- Open Chrome or Firefox, and paste the URL sent to you.
- Enter your name and the passcode sent to you by the broadcaster.
- Click “Enter Source-Live Gateway”.
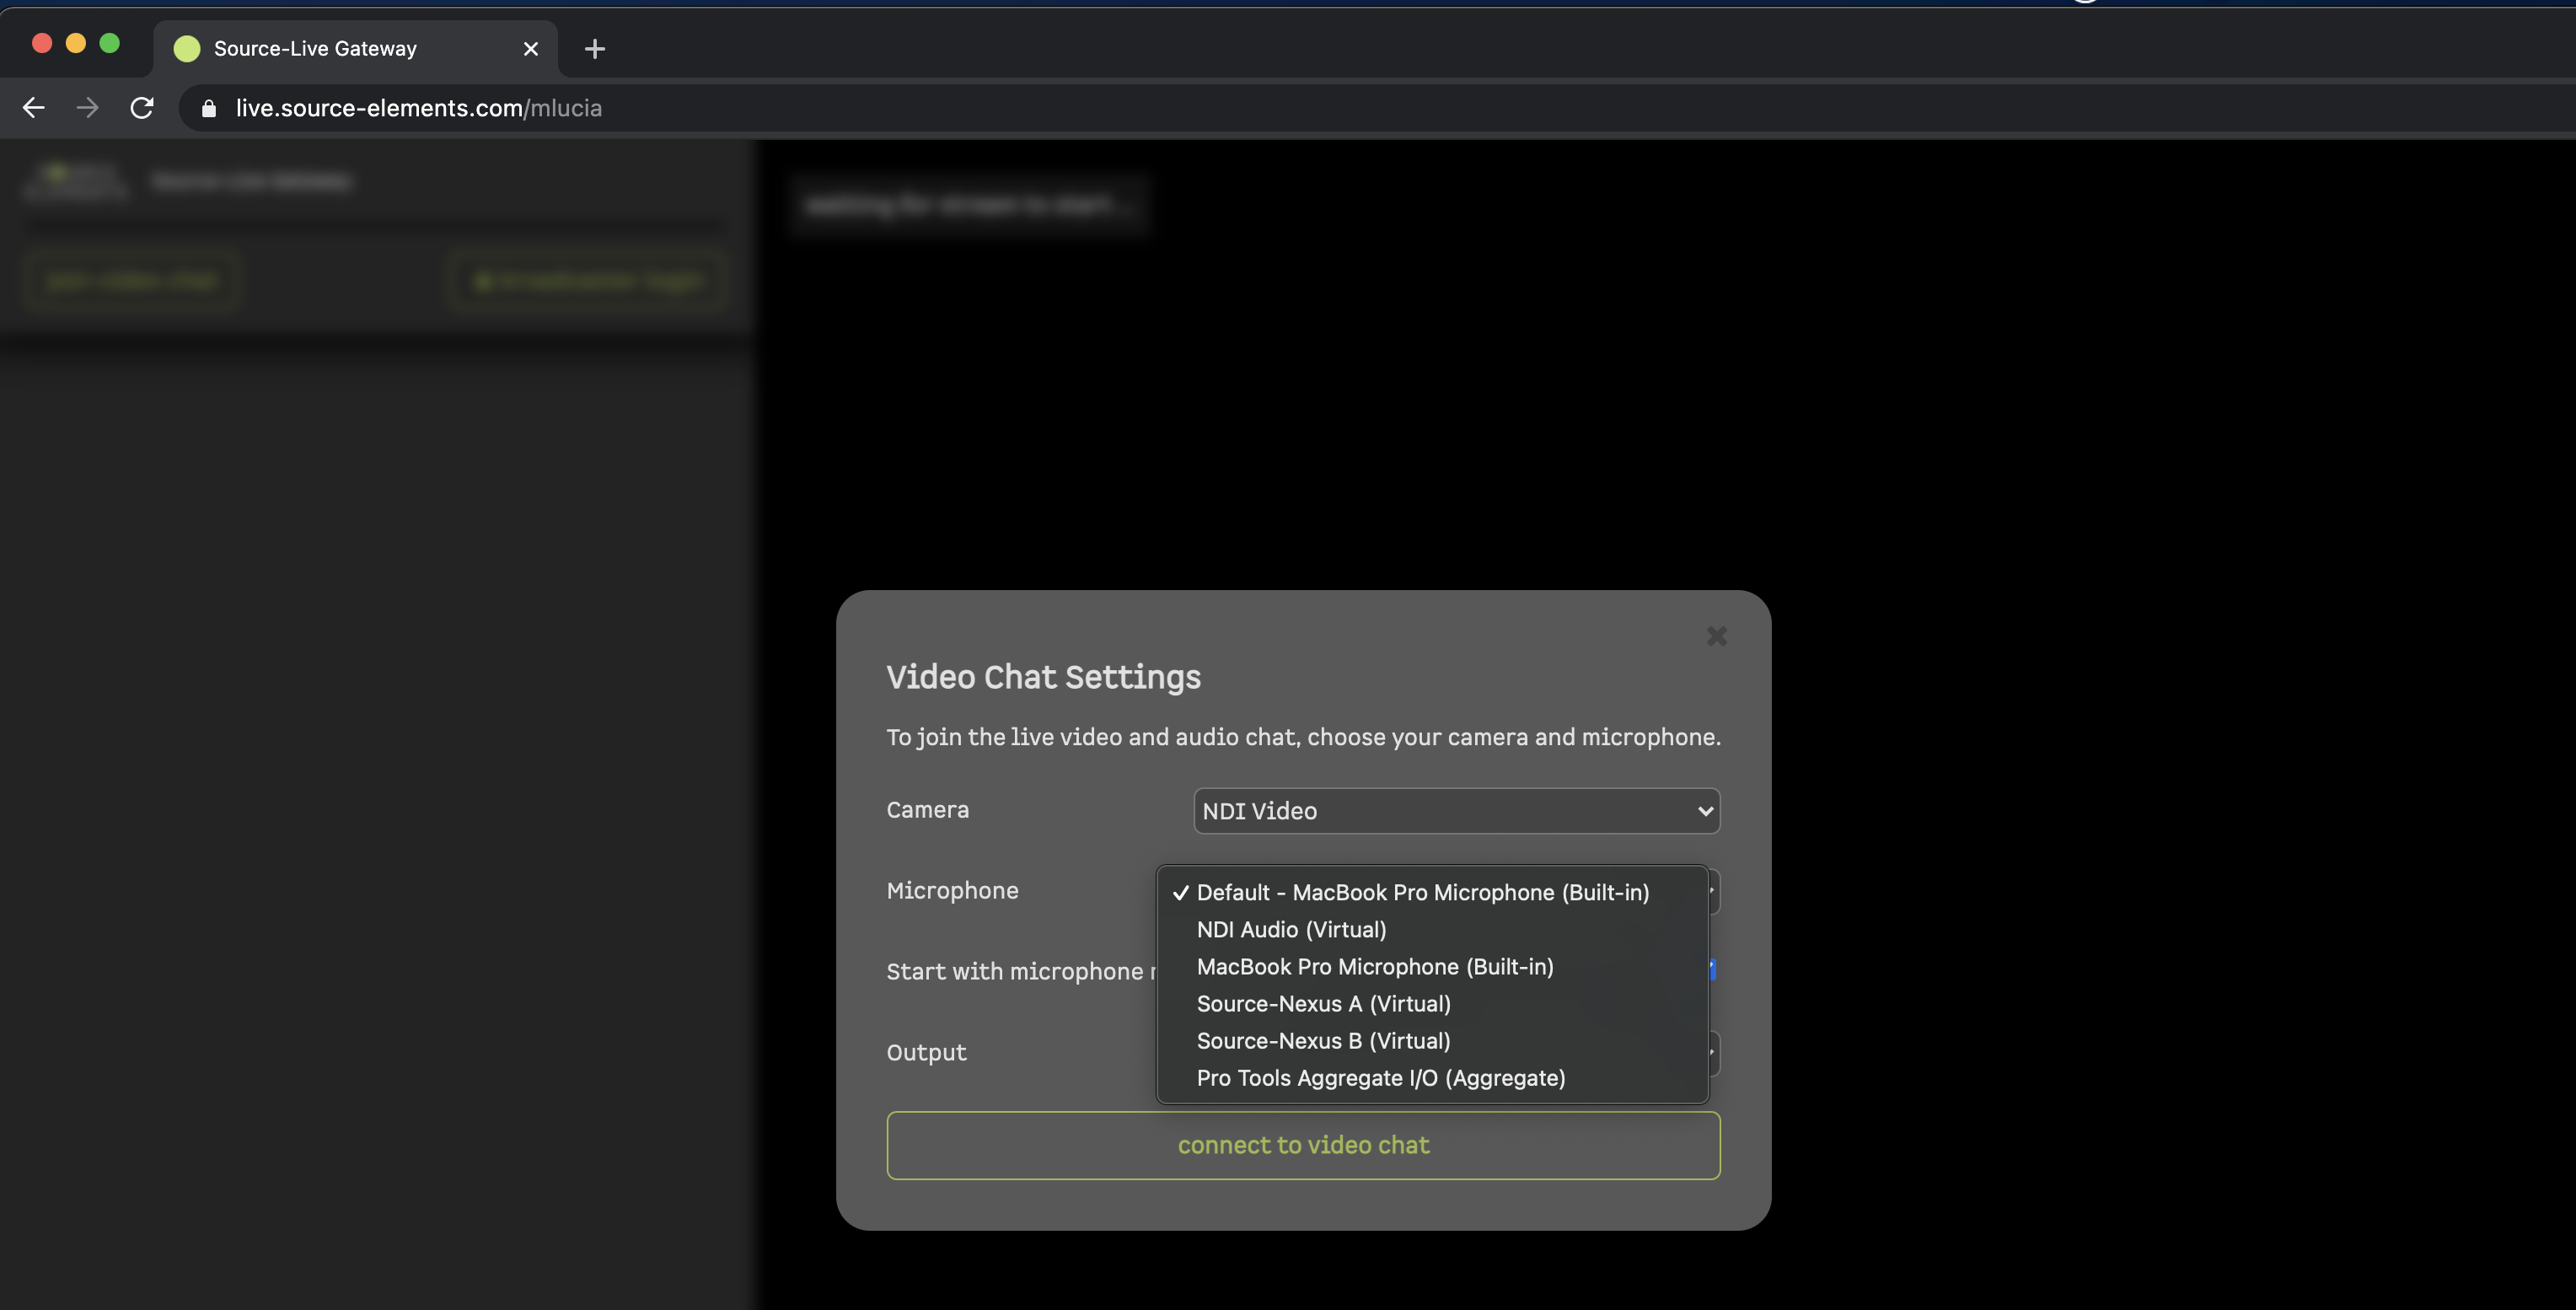
- Select your camera, microphone, and output.
- Click “connect to chat”.
Logging in as a broadcaster
Once you have configured your setup to meet your requirements (e.g ports, Audio Delay and Quality Settings), you can invite your viewer by providing them with the URL to your gateway. You can find this URL by clicking the "Go to Gateway" button in the main screen.
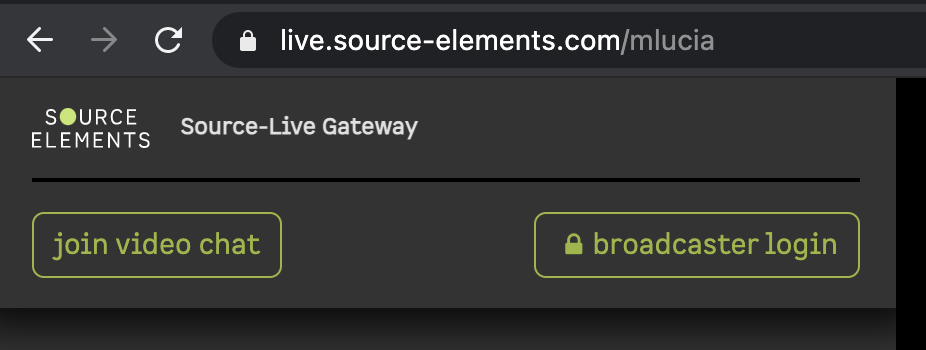
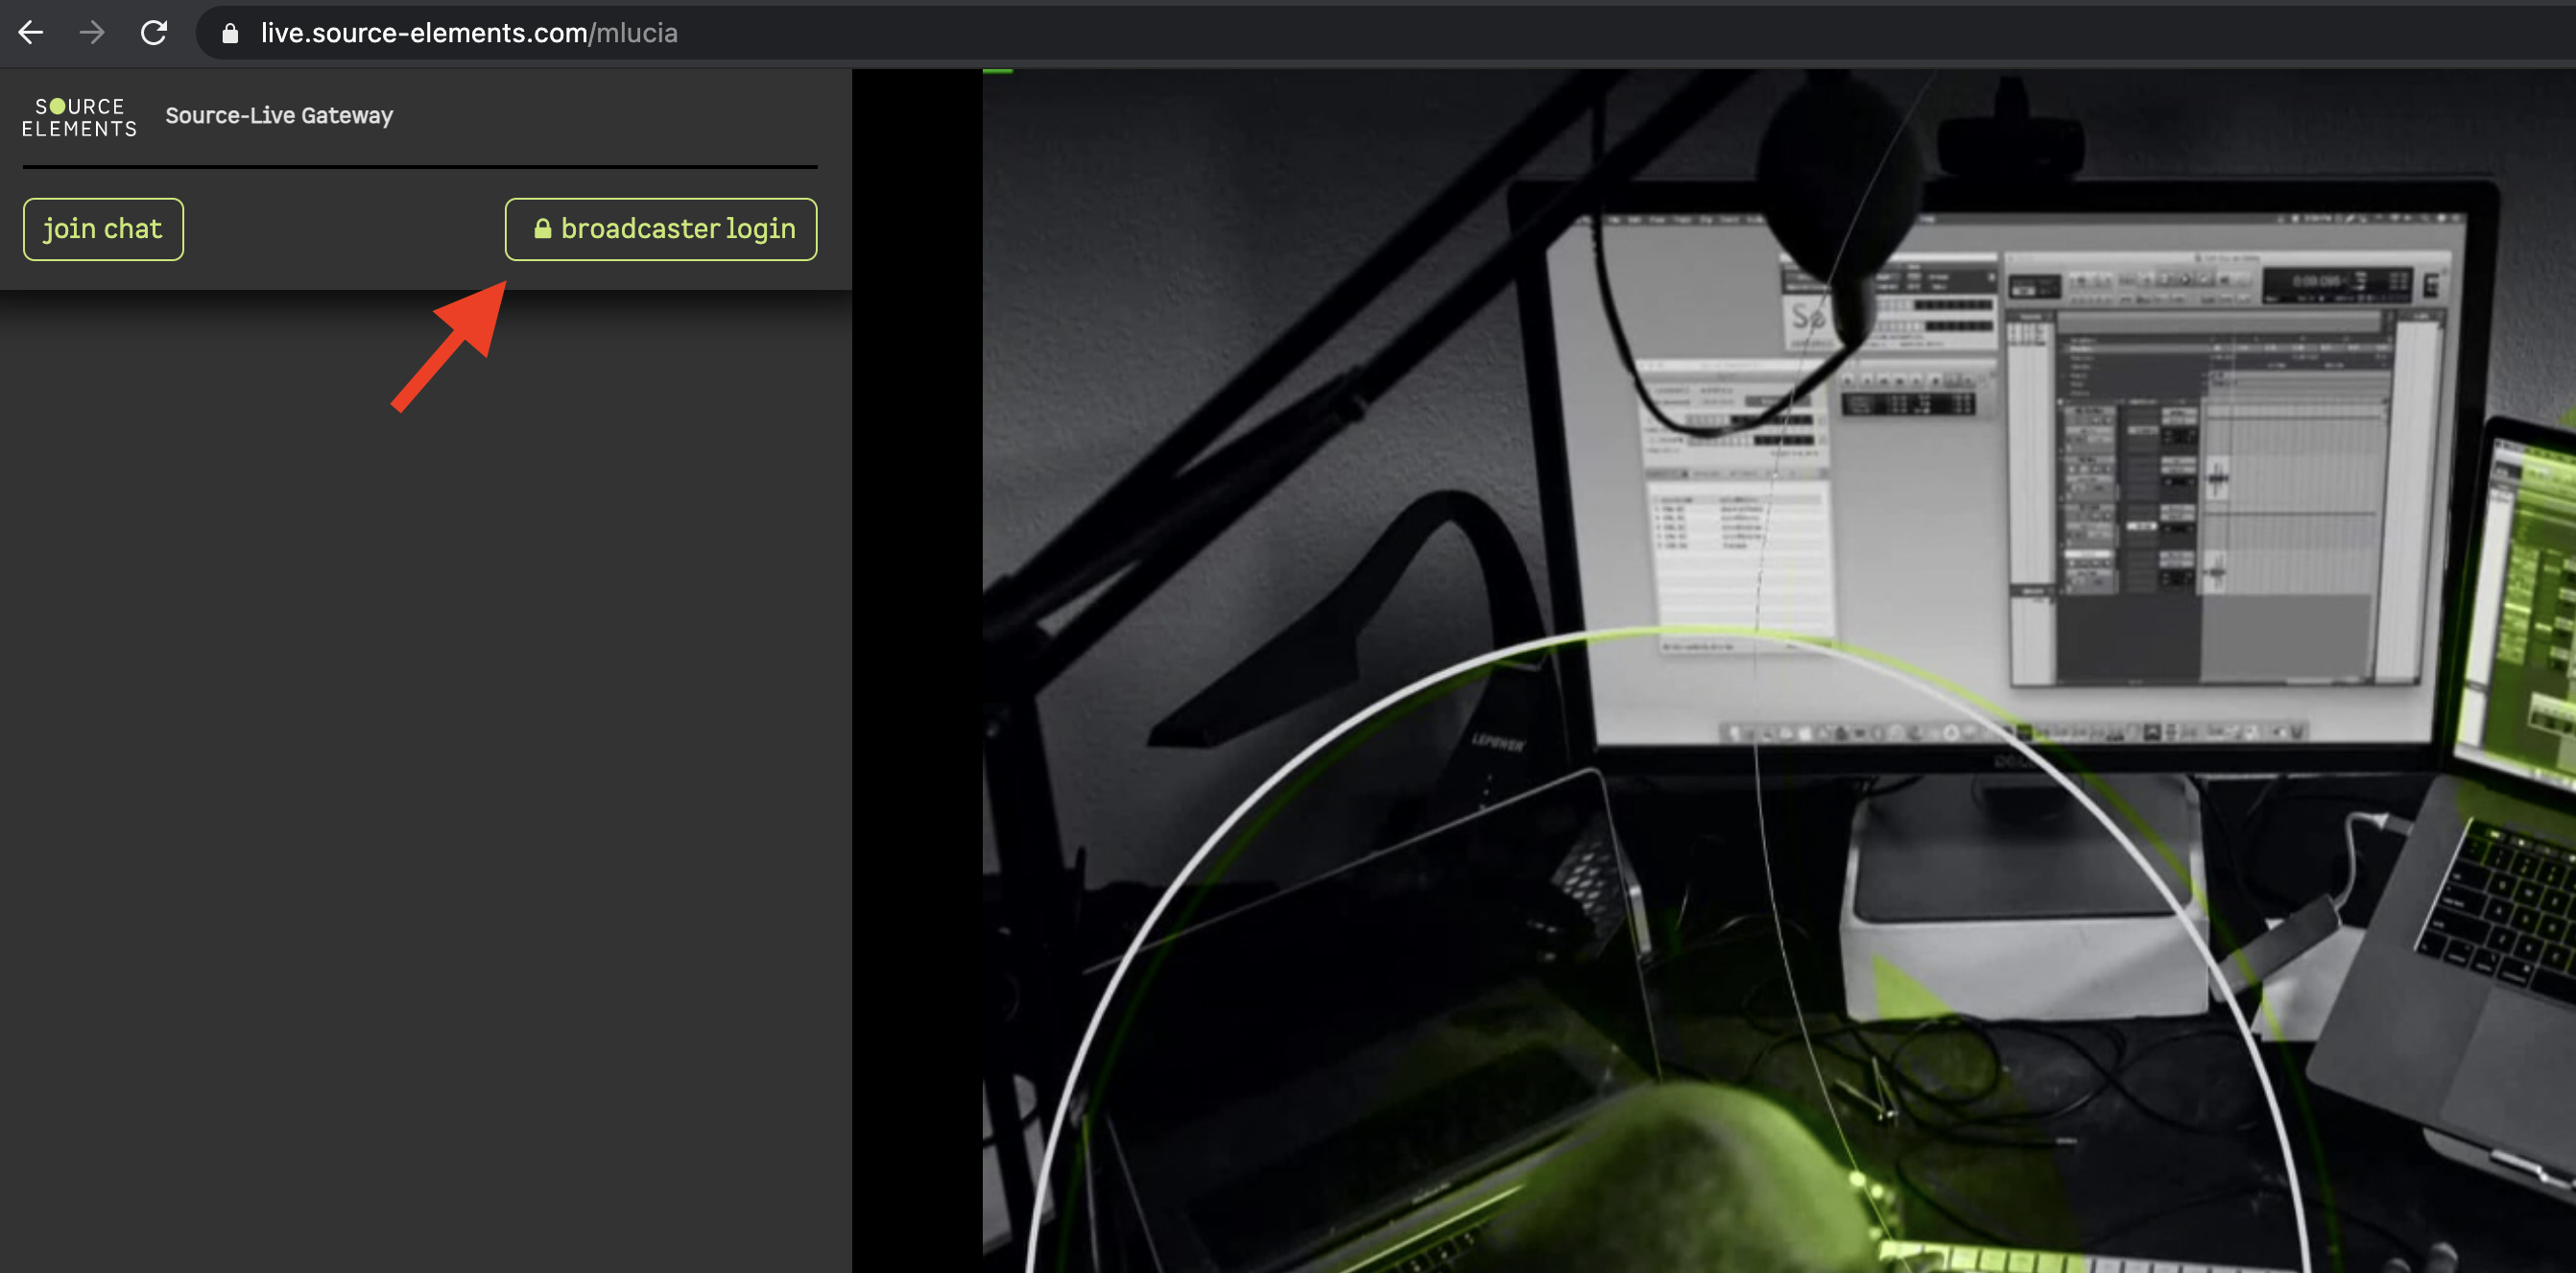
Once you authenticate with your own username and add the necessary session Passkey, you will see the below screen. Click the "Broadcaster Login"
You will then be prompted to enter your account password. This is the password for your Source-Live LL account, not your broadcast. Logging in as a broadcaster will disable your stream.
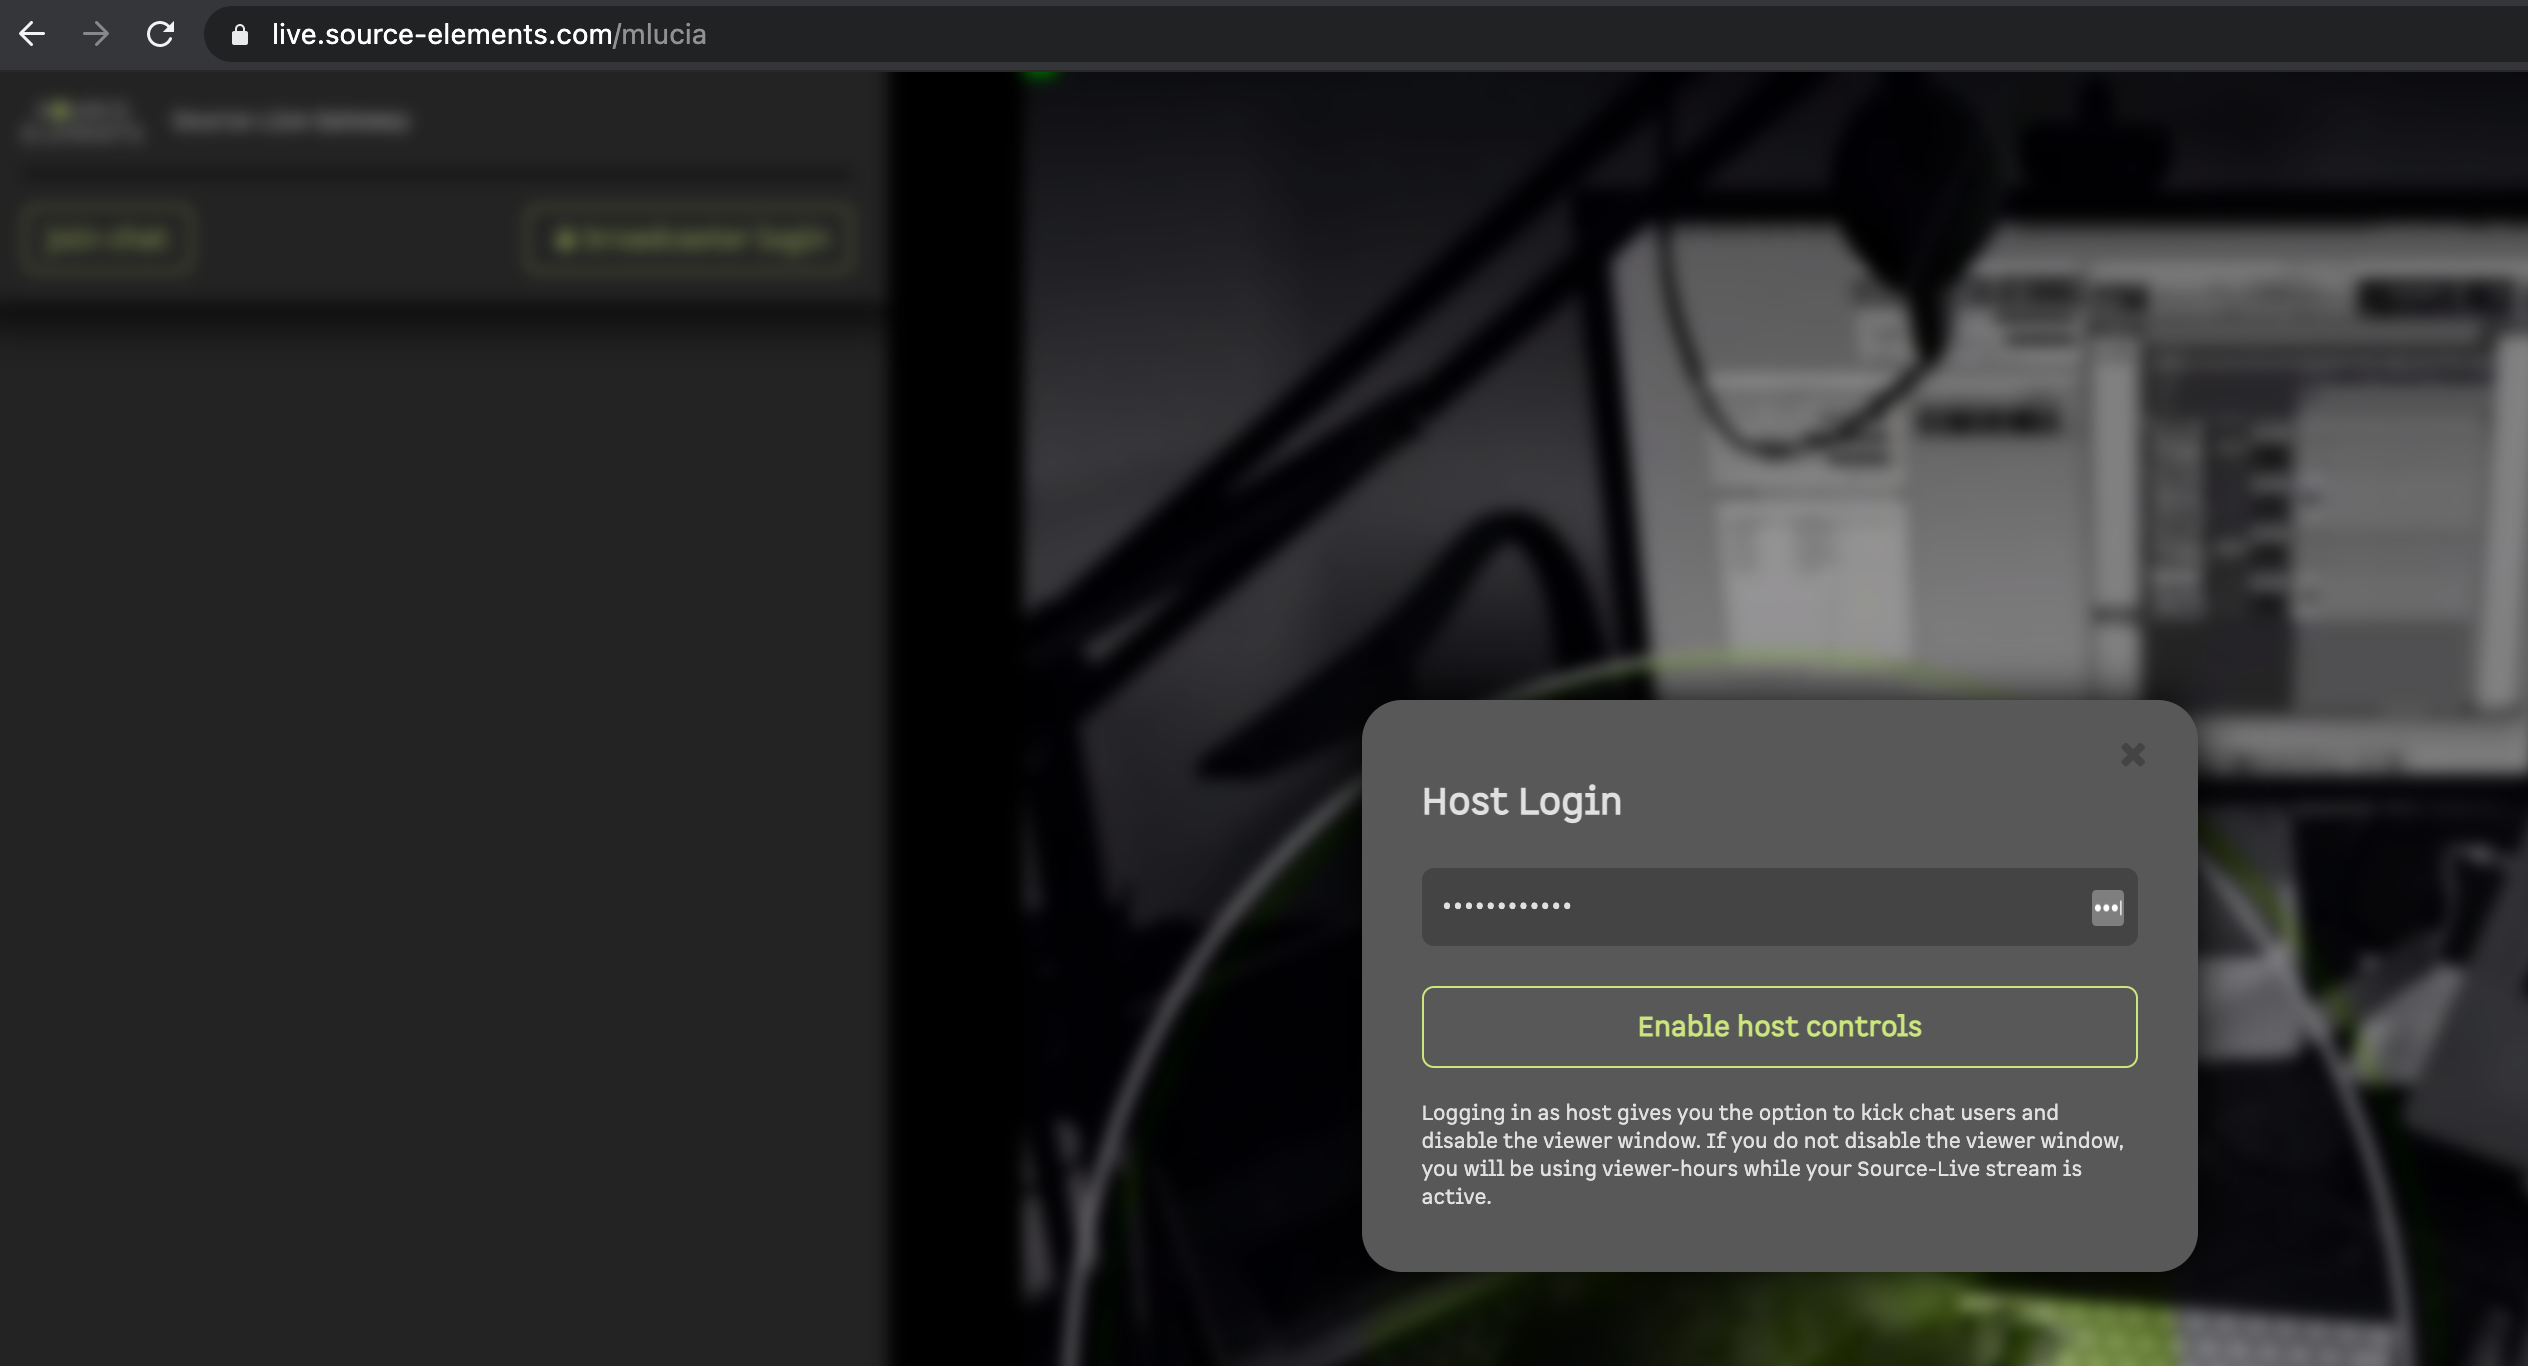
As mentioned in the message above, you will not be able to see your stream because doing so would mean using paid, viewer hours. If you want to monitor your stream while you are logged in as a broadcaster, you can open a second tab and view your stream. You will be using your purchased viewer hours when doing so, however.
Configuring your gateway settings during a broadcast
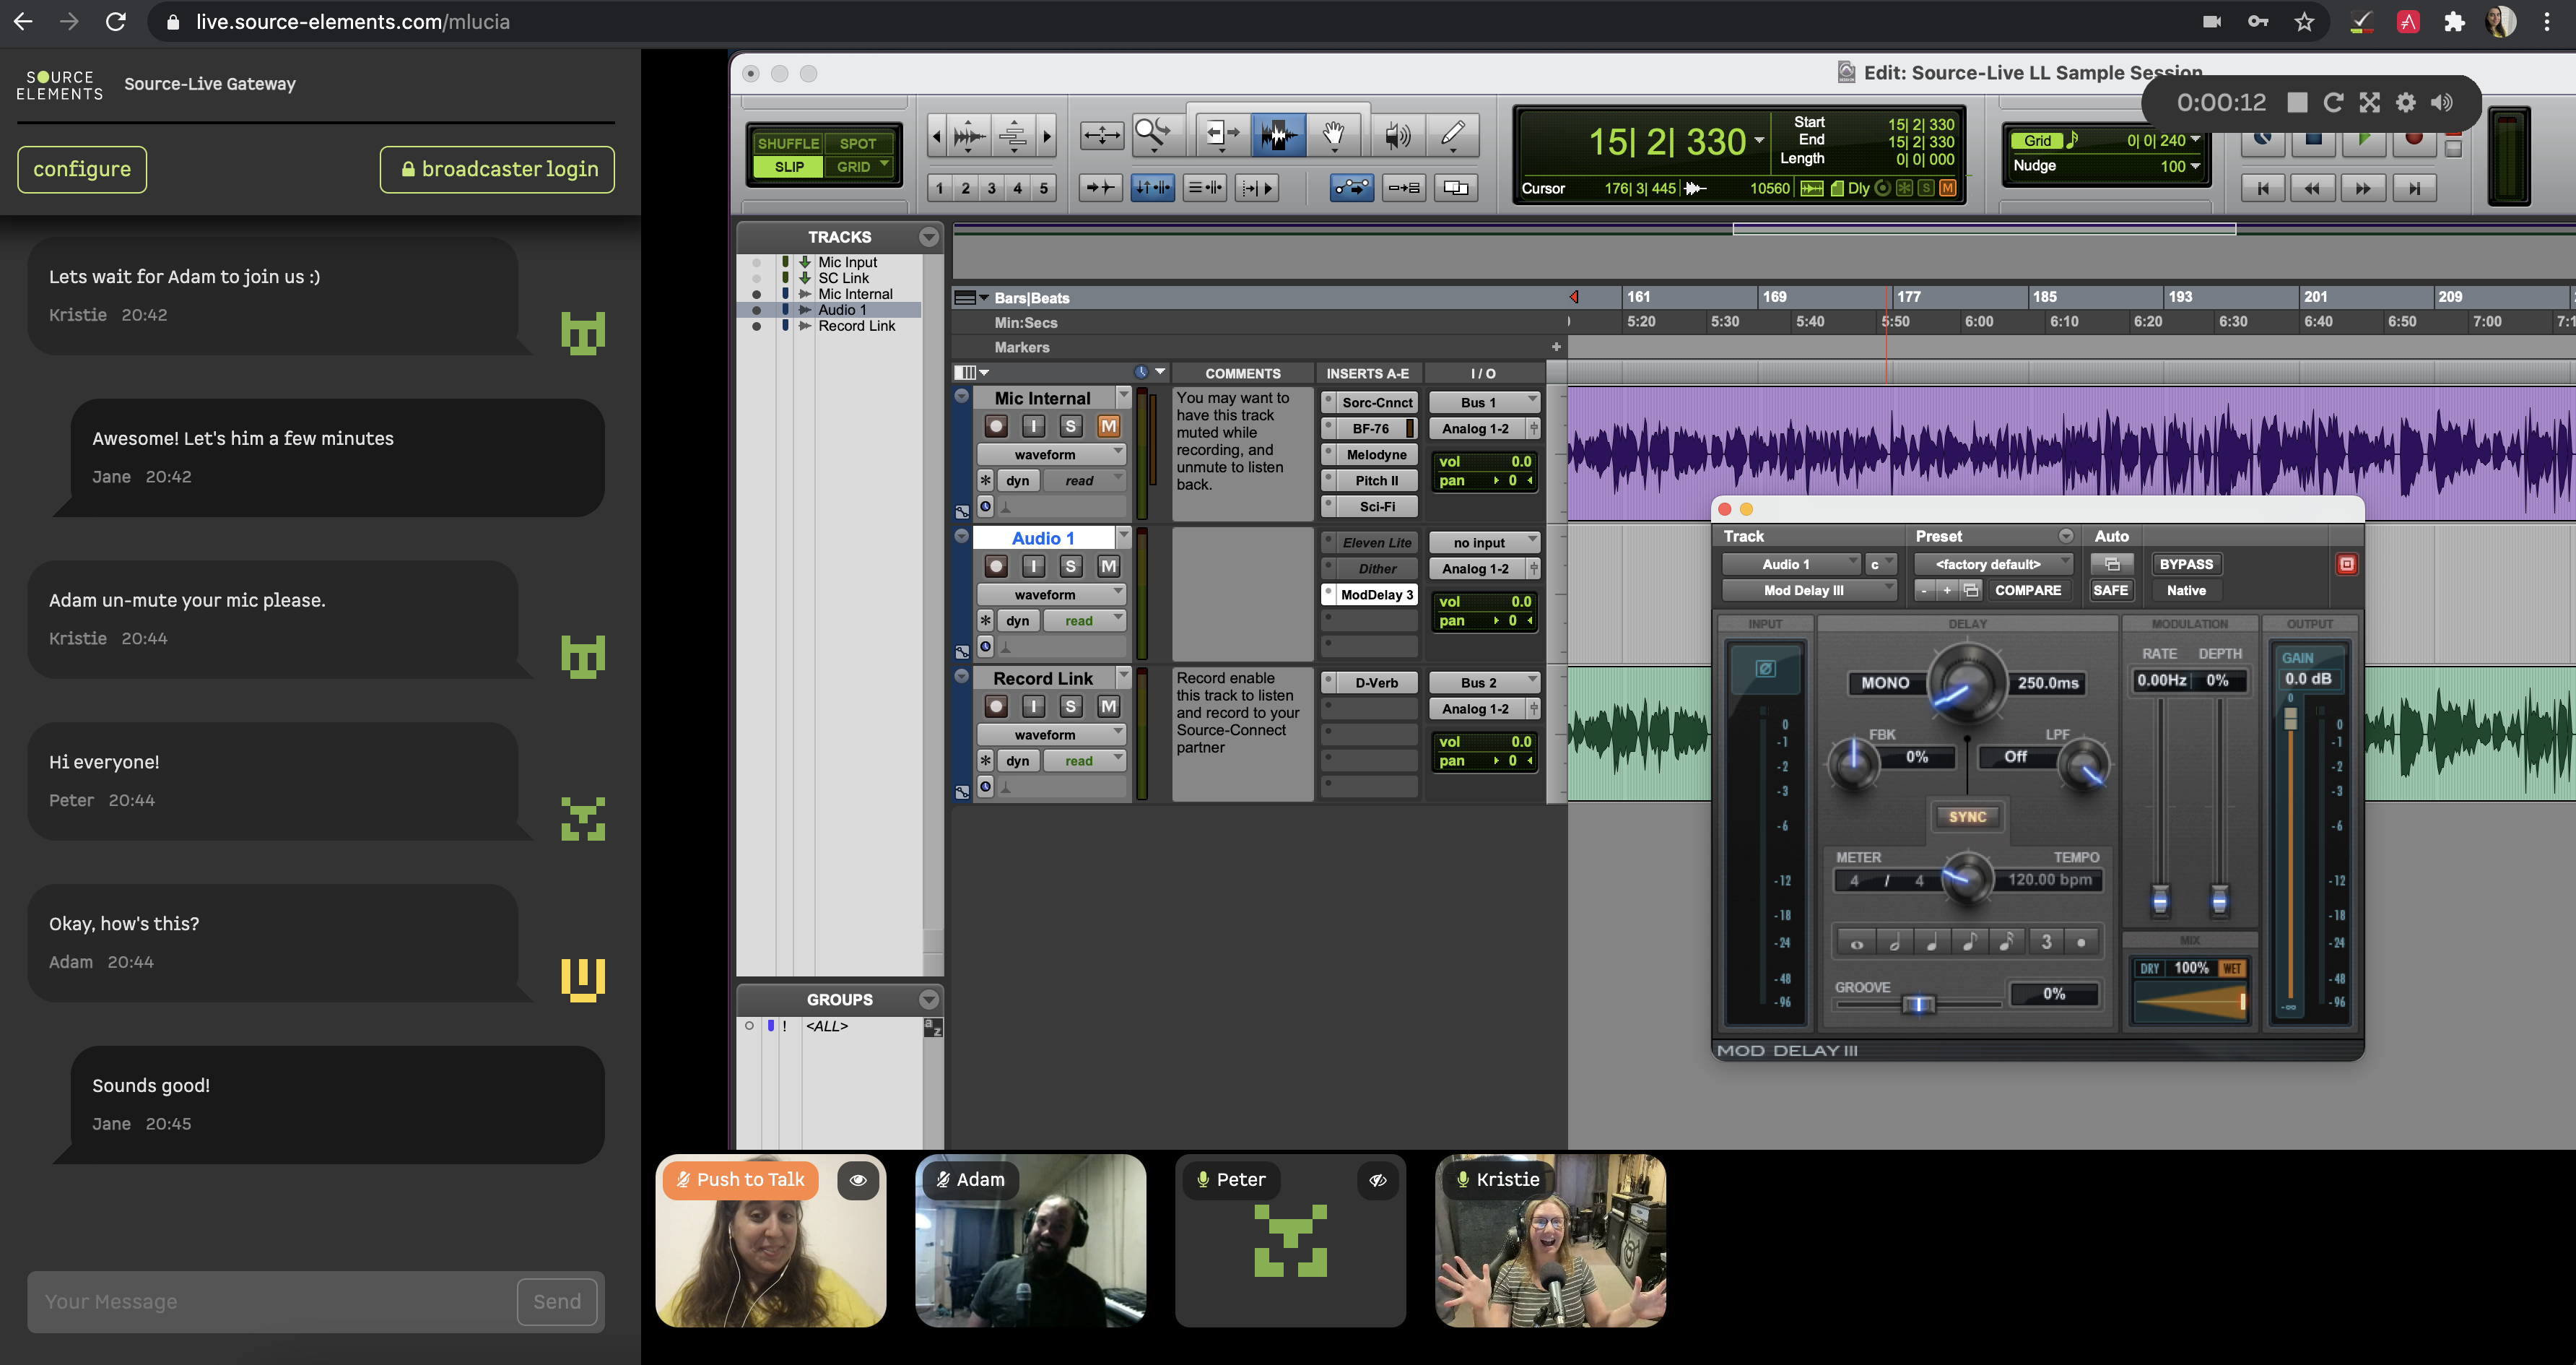
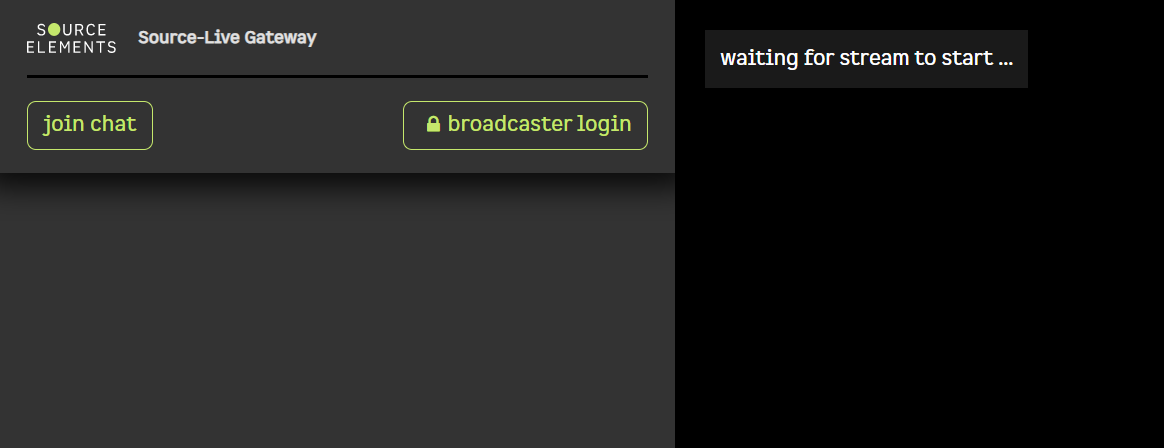
While you are waiting for the broadcast to begin, you can join the video chat to join a face-to-face call. Click the "join chat" button in the top left corner of the screen:
Before joining, you will be prompted to configure the following settings:
- Camera
- Microphone
- Output
You can also mute your microphone by checking the box under the "Microphone" setting. Once you are ready, click "connect to video chat". To change the settings later, click the "configure" button.
Configuring your Settings
In the Source-Live Gateway page, you will see a series of buttons in the top-right hand corner of the screen:
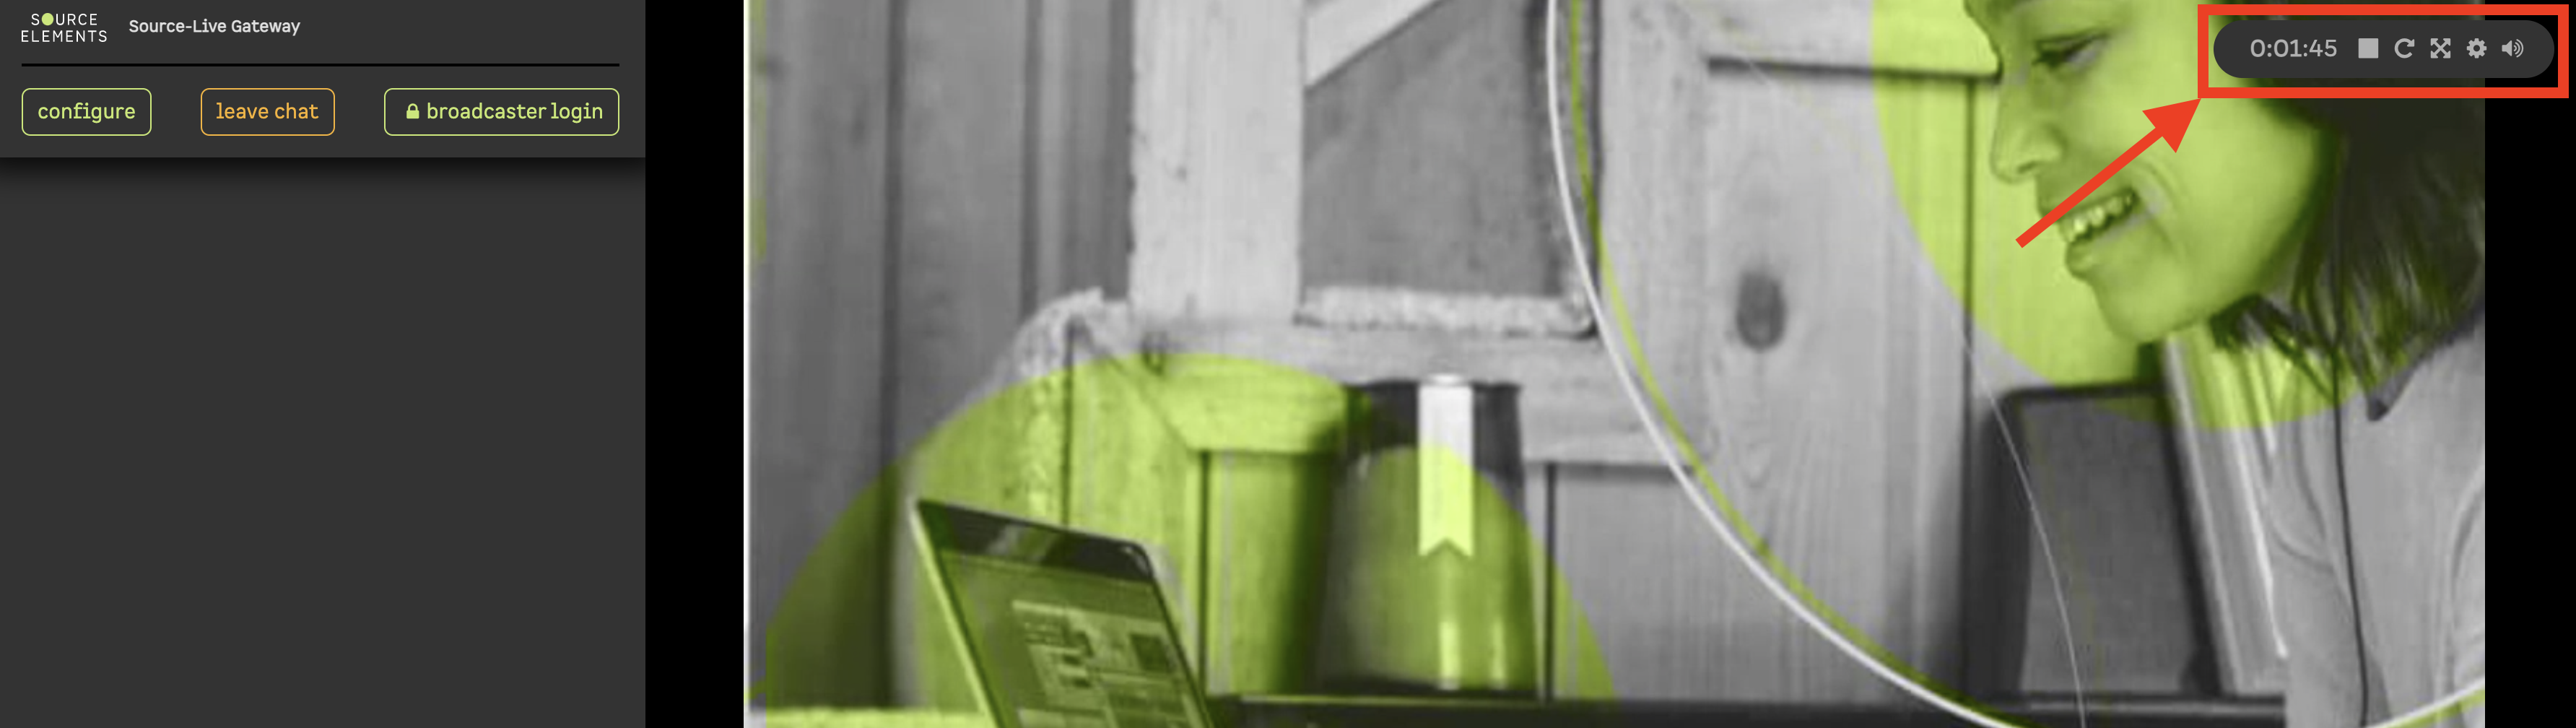
- Session duration timer: indicates how long the stream has been going on for.
- Stop button: you can pause the session for your own user (other users will not be affected by this).
- Refresh button: in case of any service interruptions or unexpected errors, the refresh button will allow you to reconnect to the stream.
-
Settings button: within this menu, you can configure two viewer settings:
- Output: change your external audio output.
- Buffer: select one of the Buffer options to make sure that the video source is only called once per buffer, this avoiding reading from the source by byte. Keep in mind that the higher the buffer value, the higher the possibility of avoiding audible packet loss. On the other hand, a higher buffer value means a longer communication delay. If you are on a T1 or higher connection (both remote plug-ins) you may find that reducing the buffer size offers lower delay with the same quality experience. If you or your remote connection are on cable or DSL, a higher buffer is recommended.
- Mute/Unmute button: mute or unmute the sound from the stream.
Turning on video chat as a broadcaster
If you want to hear audio back from the people receiving your stream, you will all need to join the chat. You can do so by clicking "join chat" in Source-Live Gateway.
This will bring up the Video Chat Settings screen.

Then, click "connect to video chat".
Disconnecting viewers from a session
Once your viewers have connected, you can stop streaming at any time and they will simply be disconnected. If you restart and your viewers are using the Source-Live Gateway, it will automatically reconnect them.
An individual viewer can be disconnected through Source-Live Gateway by clicking the "Kick the User" button in the right-hand corner of the user's video.
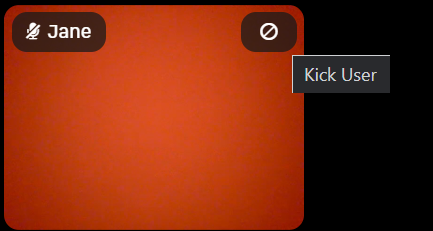
If you have set password protection, you can change the password and that will block them from joining again.
Table of Contents