This article contains information about Source-Nexus I/O and Zoom
- Go to the Zoom website and sign in to your account. https://zoom.us/profile
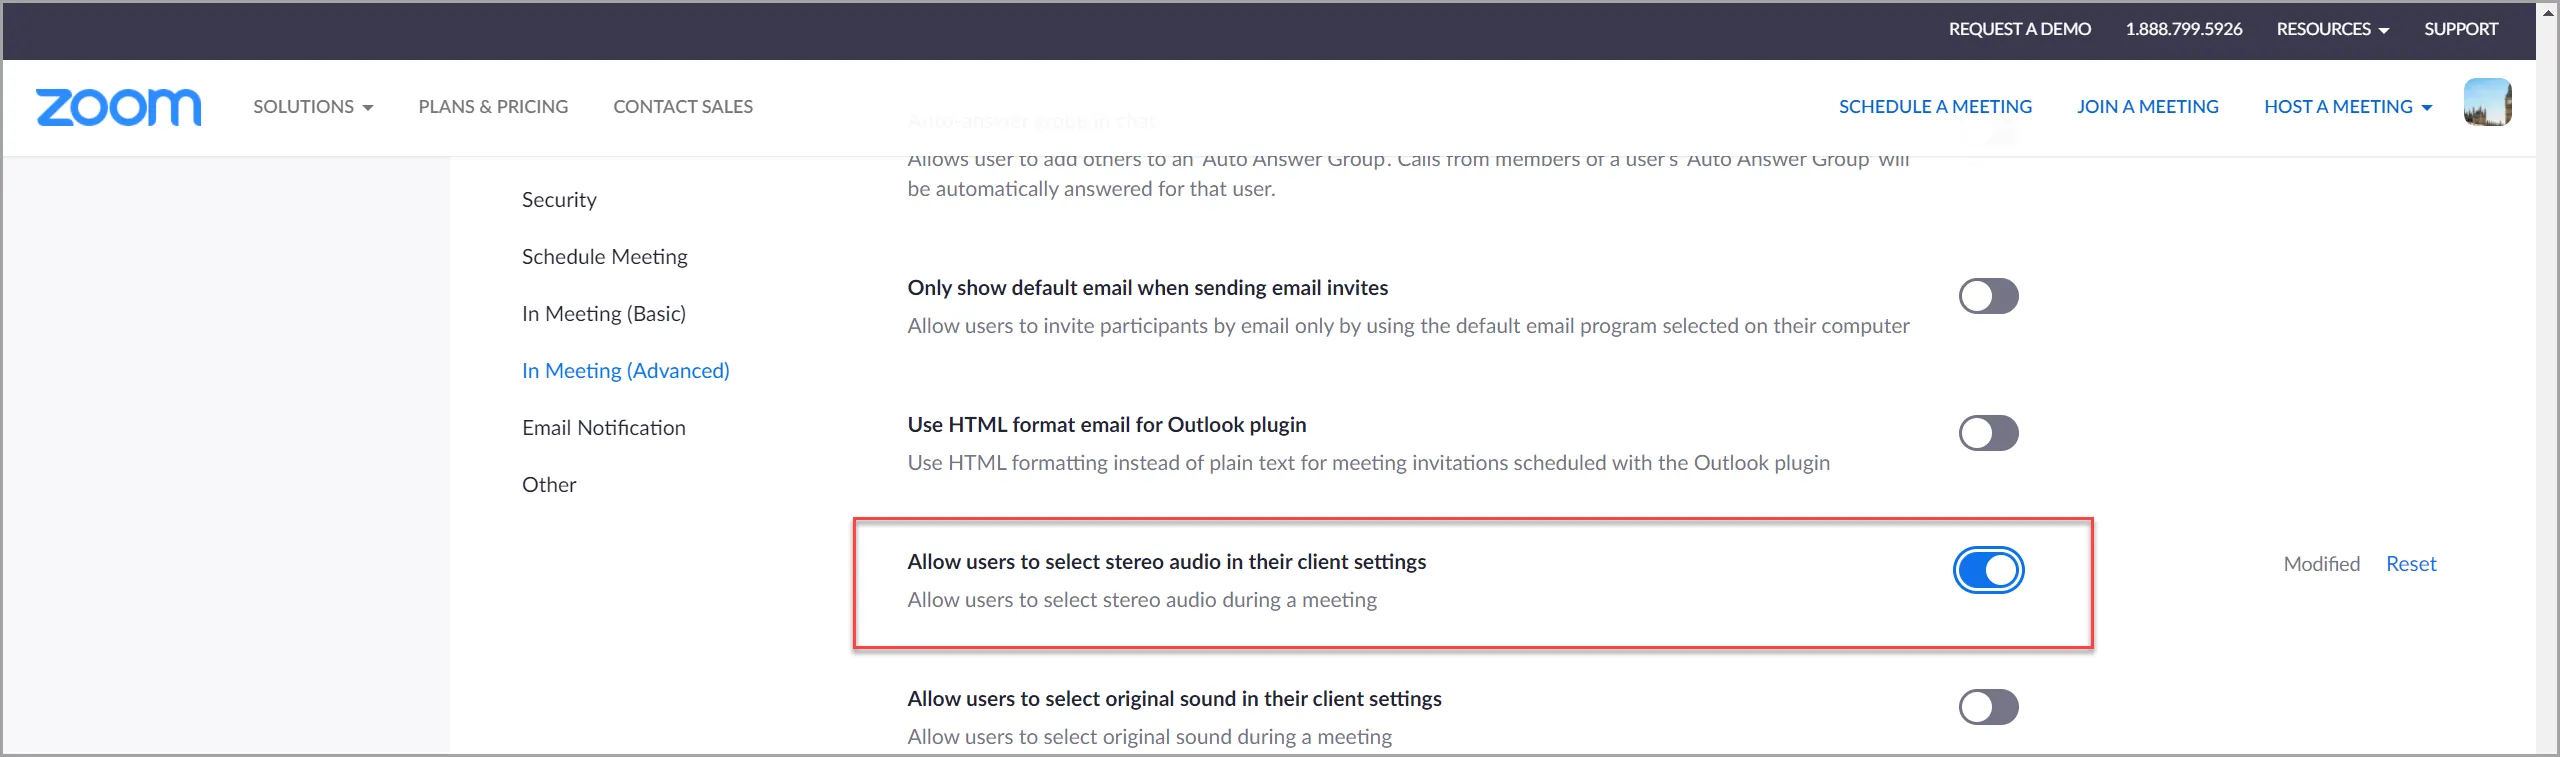
- Go to Settings along the left hand navigation. https://zoom.us/profile/setting
- Make sure "Allow users to select stereo audio in their client settings" is enabled.
- Open the Zoom desktop app and sign in to your account. Sending stereo audio will only work with the
desktop app, and you need to be signed in for it to work.
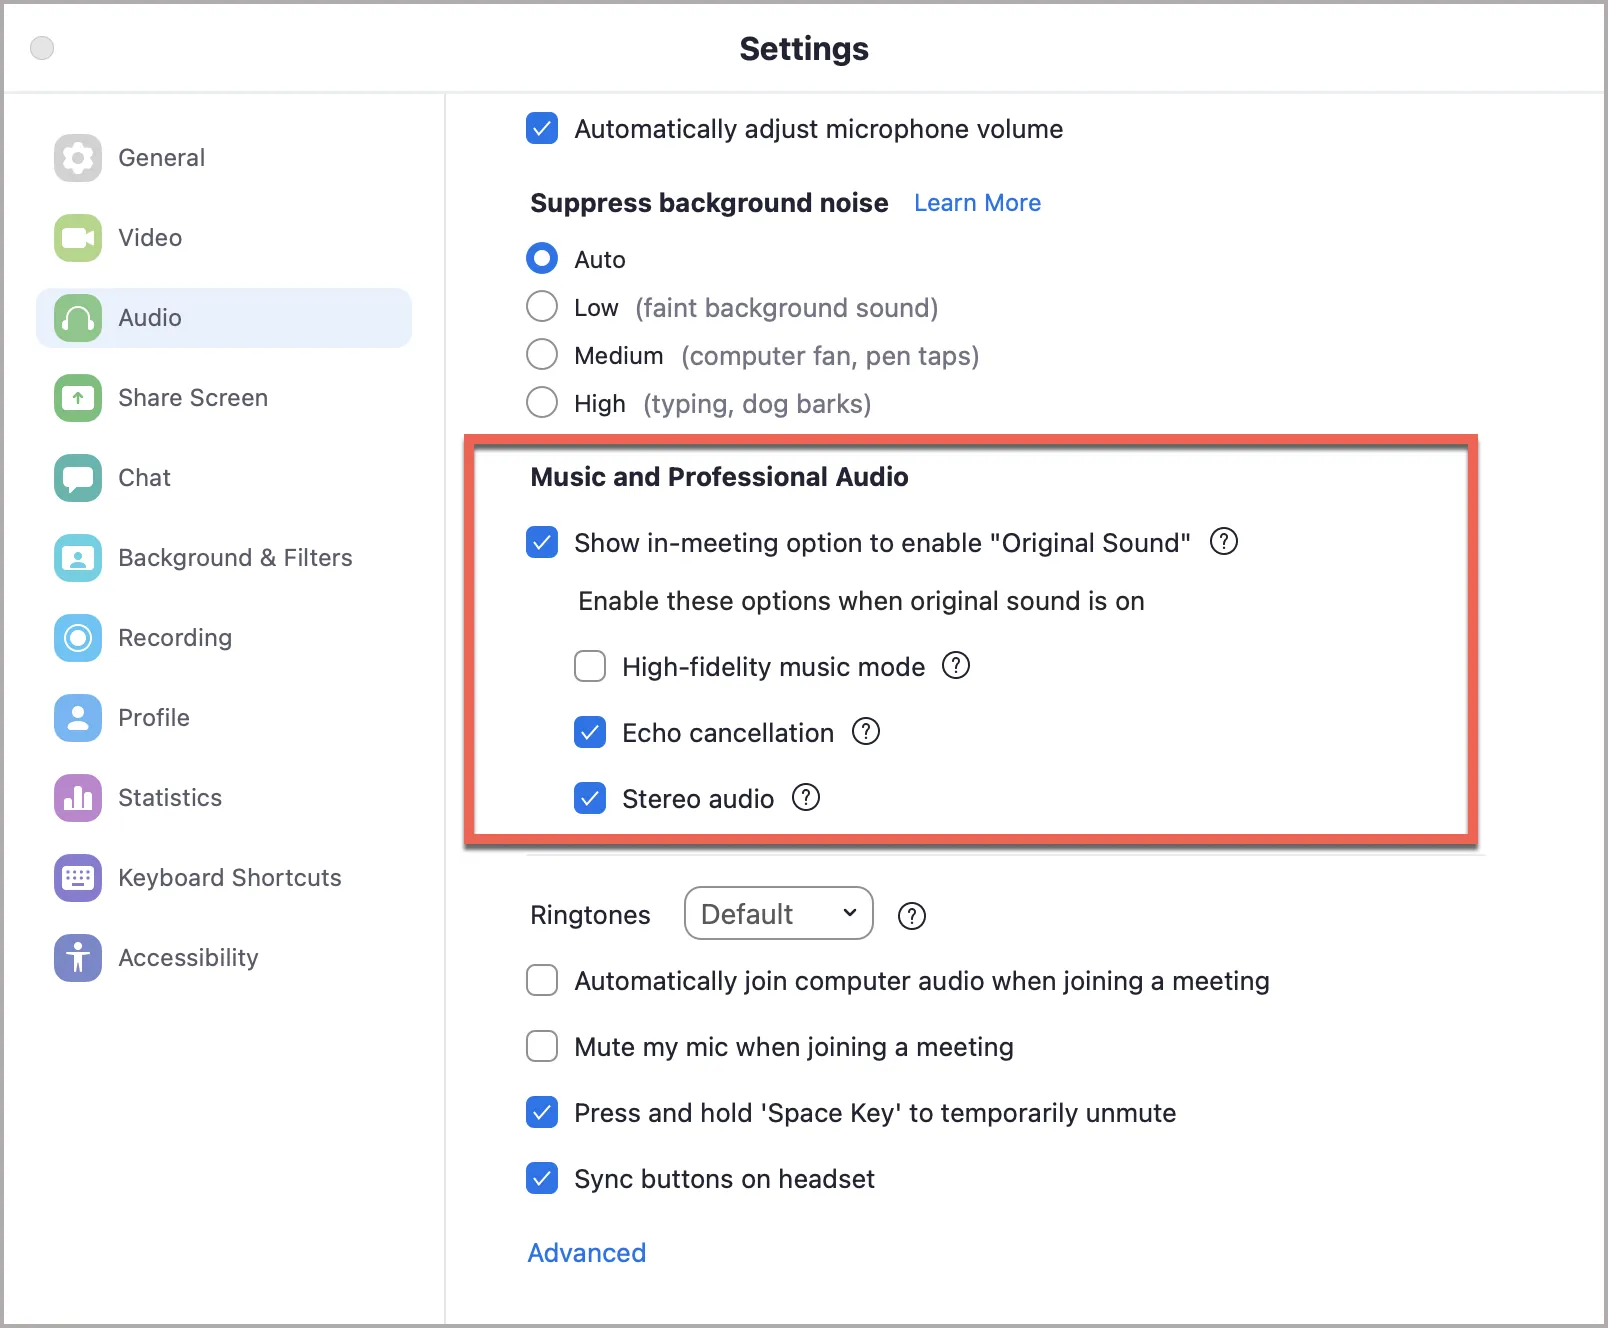
- In the Zoom Settings, go to Audio, and then to "Music and Professional Audio". Make sure "Show
in-meeting option to 'Enable Original Sound'" is enabled and under that "Use stereo audio" is also
enabled.
- Back under the Zoom Audio Preferences, set your microphone to a 2-channel Source-Nexus I/O device.
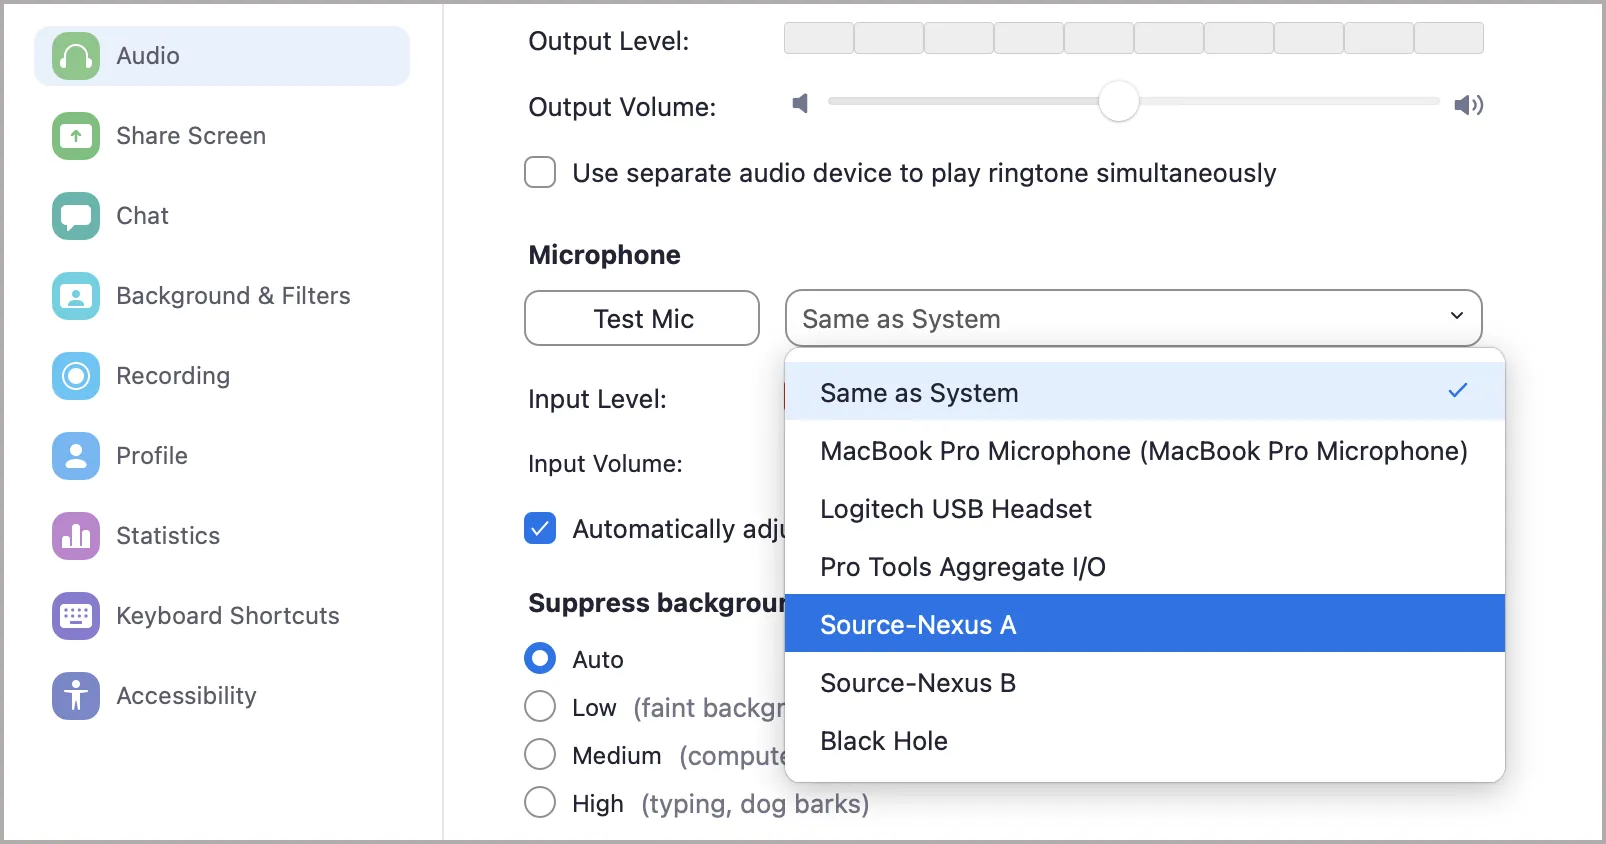 IMPORTANT: The Source-Nexus I/O device MUST be 2-channel only to send
stereo into Zoom. If it is more than 2 channels, Zoom will only send mono. The default Source-Nexus I/O,
Source-Nexus A, and Source-Nexus B drivers will NOT work for this because they have 24 channels. A
custom 2-channel device must be created using Source-Nexus Control Panel. If using Source-Nexus I/O
Basic, the default 24-channel "Source-Nexus" device must be removed and the custom 2-channel device MUST
be named "Source-Nexus" for the Basic plugin to recognize it.
IMPORTANT: The Source-Nexus I/O device MUST be 2-channel only to send
stereo into Zoom. If it is more than 2 channels, Zoom will only send mono. The default Source-Nexus I/O,
Source-Nexus A, and Source-Nexus B drivers will NOT work for this because they have 24 channels. A
custom 2-channel device must be created using Source-Nexus Control Panel. If using Source-Nexus I/O
Basic, the default 24-channel "Source-Nexus" device must be removed and the custom 2-channel device MUST
be named "Source-Nexus" for the Basic plugin to recognize it.
TIP: For the best
audio quality, it is recommended
to disable echo cancellation and enable high fidelity music mode in
the Zoom audio settings. If you disable echo cancellation, be sure to use headphones instead of speakers
to avoid creating feedback.
- Start a new meeting, and make sure "Original Sound" is ON.
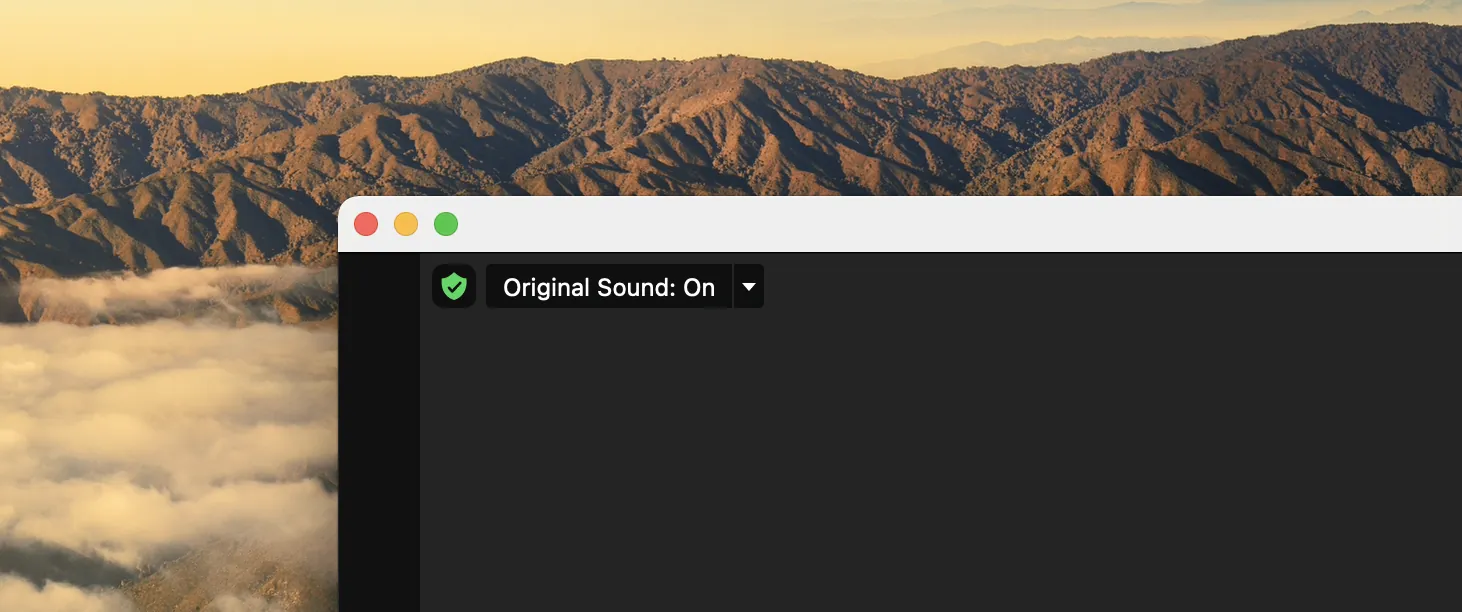
- Zoom is now sending the stereo audio being routed into the 2-channel Source-Nexus I/O device. The
receiving end does not need to do anything differently, they should receive the audio in stereo.
Note: Any recordings made in Zoom will still be mono (last tested with Zoom version 5.4.9).